Post by jspbtown on Sept 16, 2010 14:50:31 GMT -5
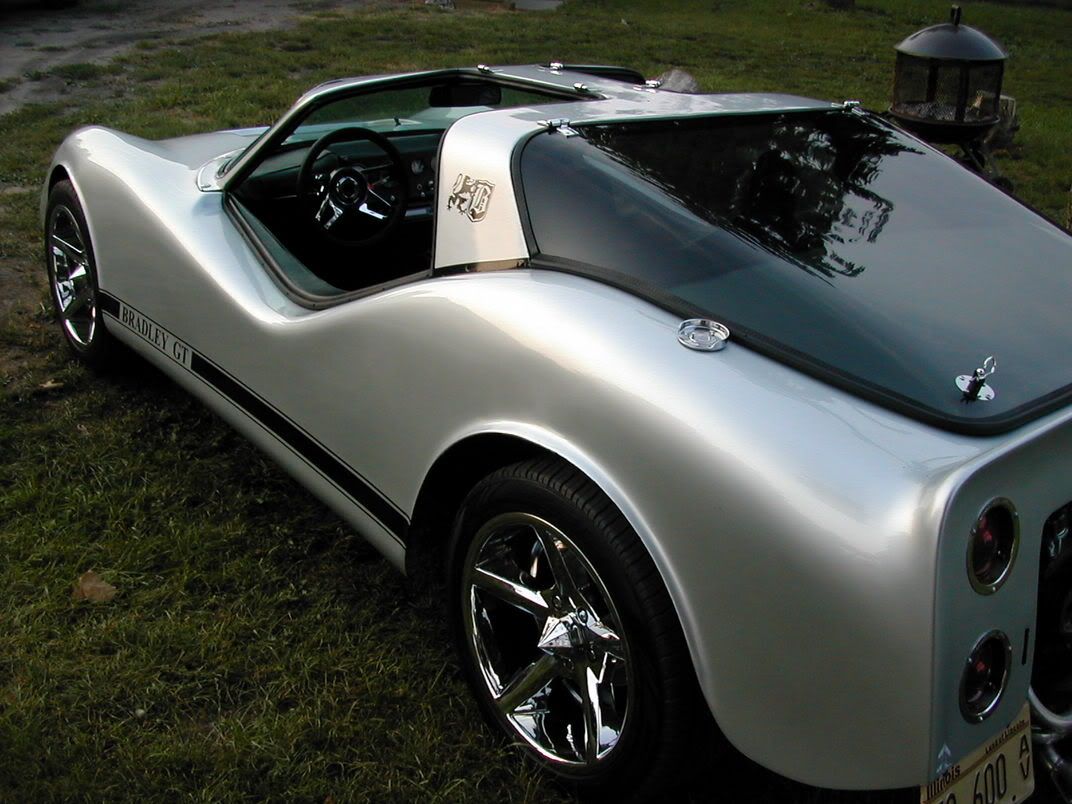
I have posted a few pictures scattered throughout the forum on my very LONG Avenger build, but thought that I could do a dedicated post as I am bored at work right now. I know it is not a Bradley, but maybe someone can pull some ideas for their Bradley project.
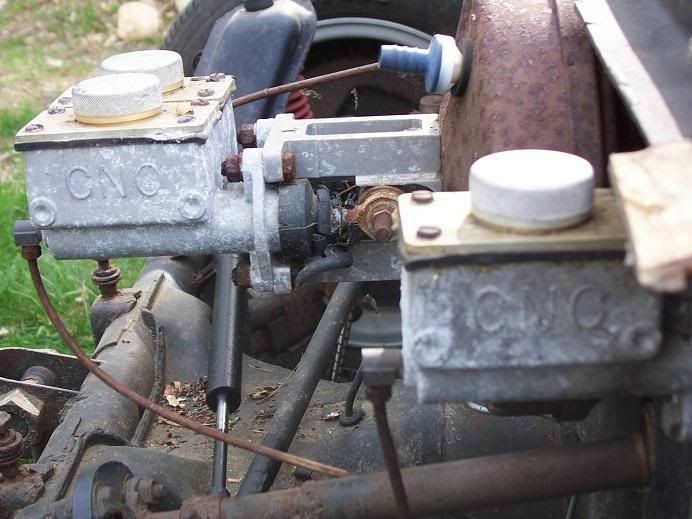
The project involves a mid 60s 3 piece FiberFab Avenger. Its mounted on a VW chassis, with some interesting mods. It has a 2"x2" perimeter frame, dropped fiberglass floorpans, 4 wheel disc brakes, pedals which hange from a custom mount, hydraulic clutch, power assisted dual master cylinders, corvette rear tail lights, and more.
I have added a few custom touches which include Corvette door handles, front & rear hatches with electric bear claw latches and linear actuators, custom fuel cell, custom battery mount, custom door pillar supports, power windows, and more.
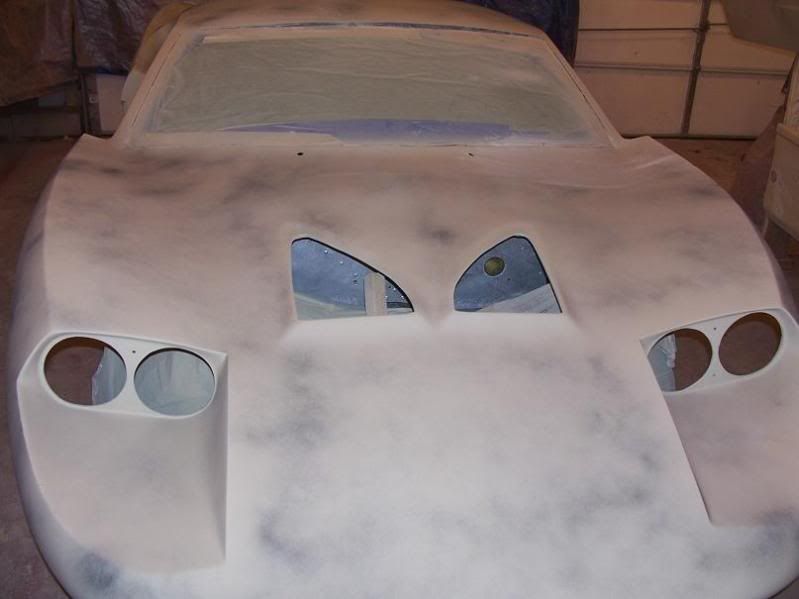
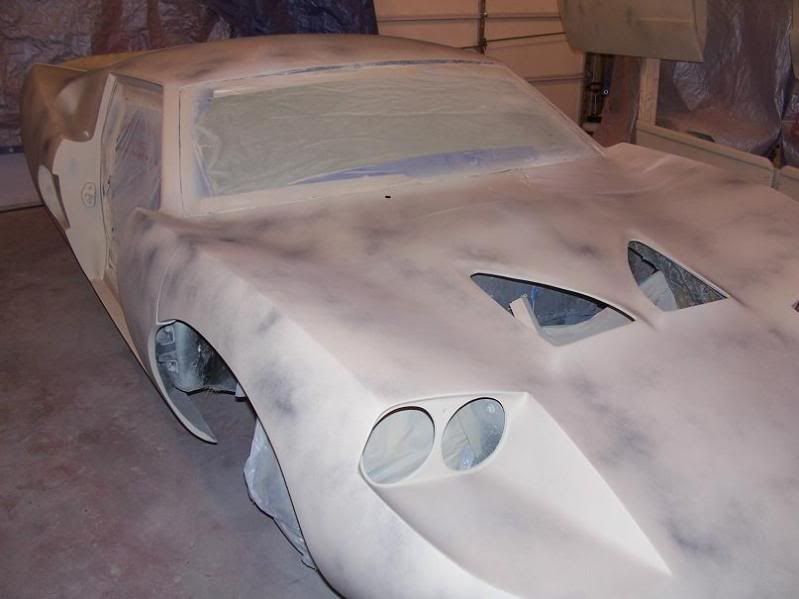
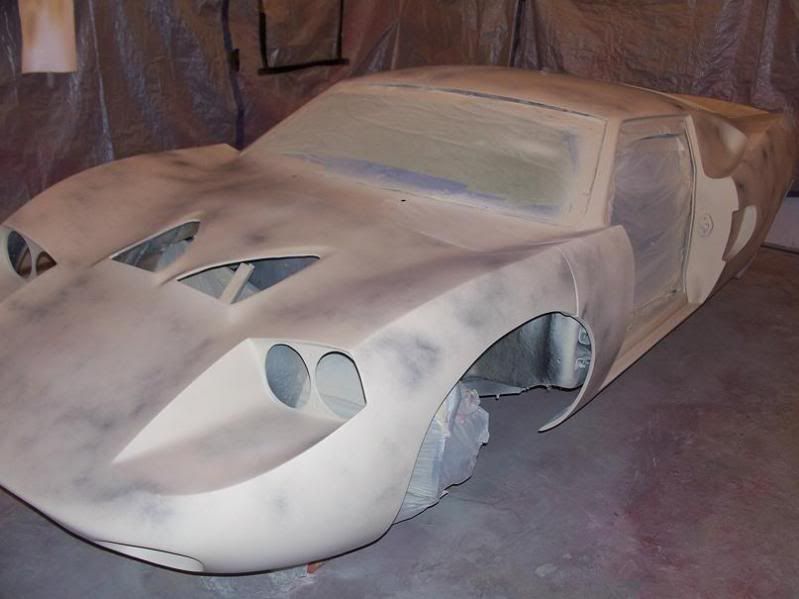
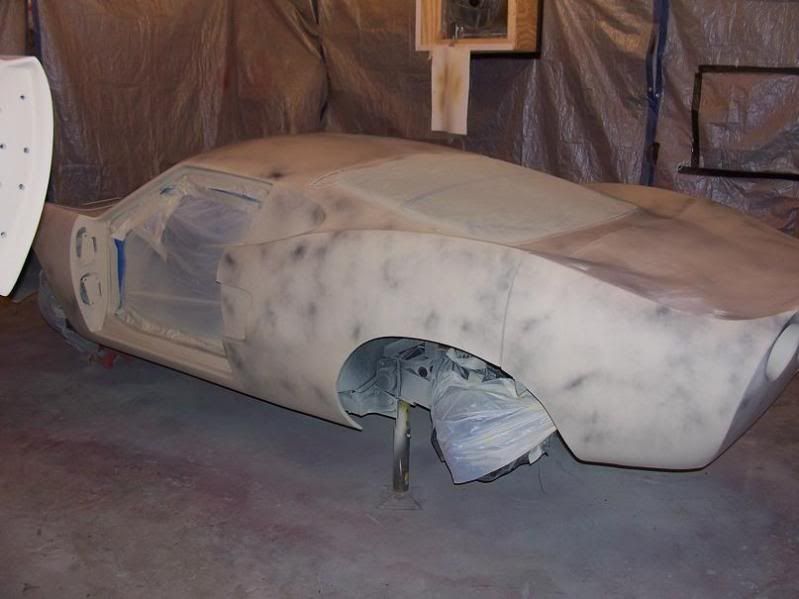
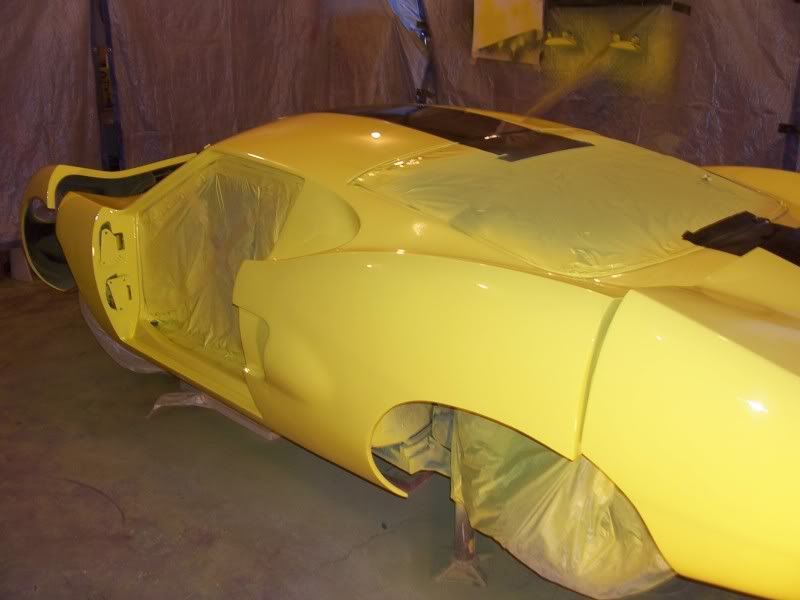
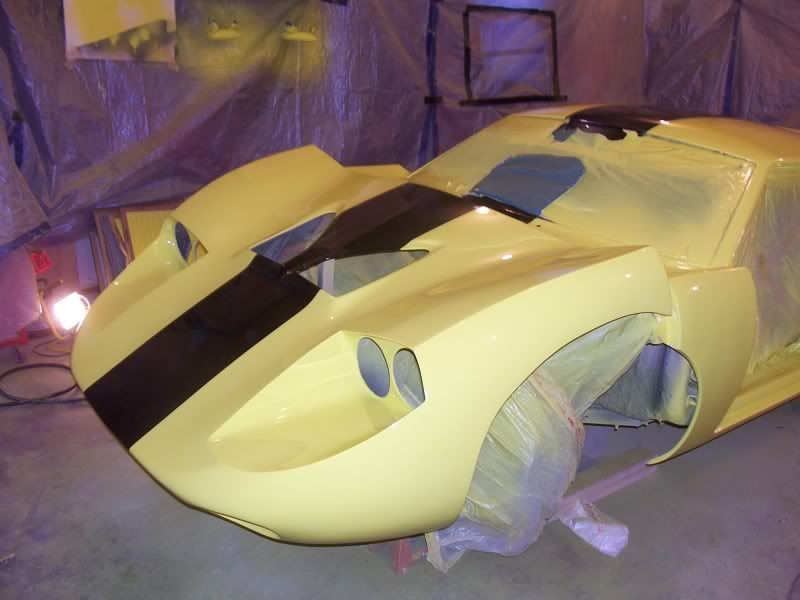
I have been working on this for several years now. I have used 4 gallons of Rage body filler (obviously not all of it remains on the car) to get the doors to line up, as well as the front and rear panels. I have gone through gallons of resin to glass in the structural suports I have added to the doors and hatches. Its basically ready for primer, and then re-assembly.
OK...some pics:
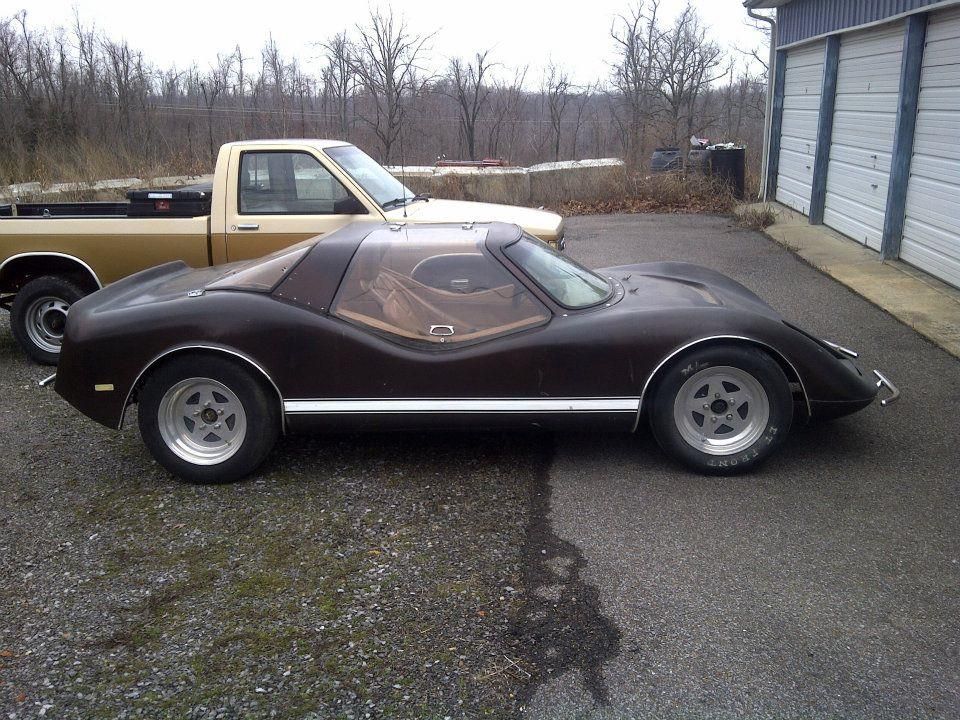
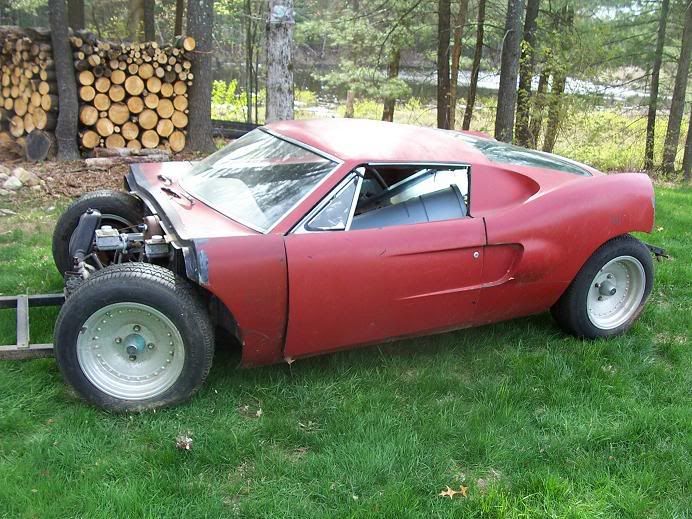
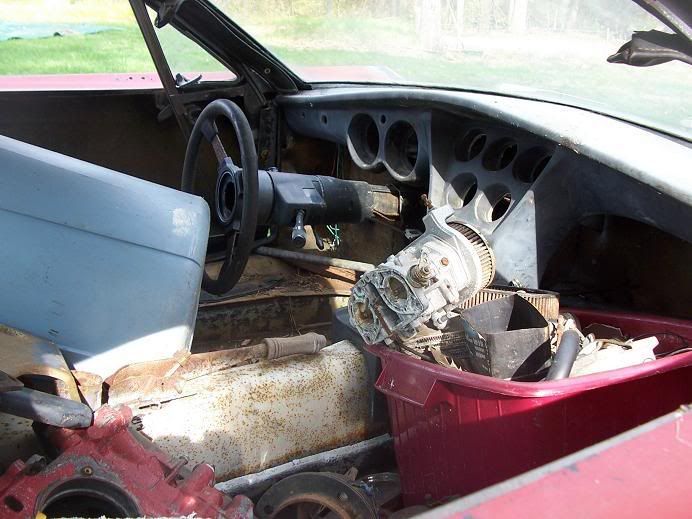
When I got it. See the trash can inside? It was full of parts. Some good...some not so good. The engine was in there in pieces. No animals...which was good.

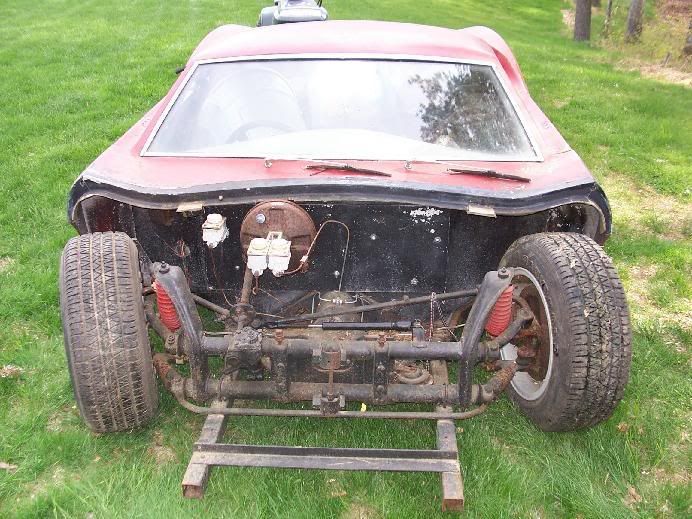
Some of the unique features:
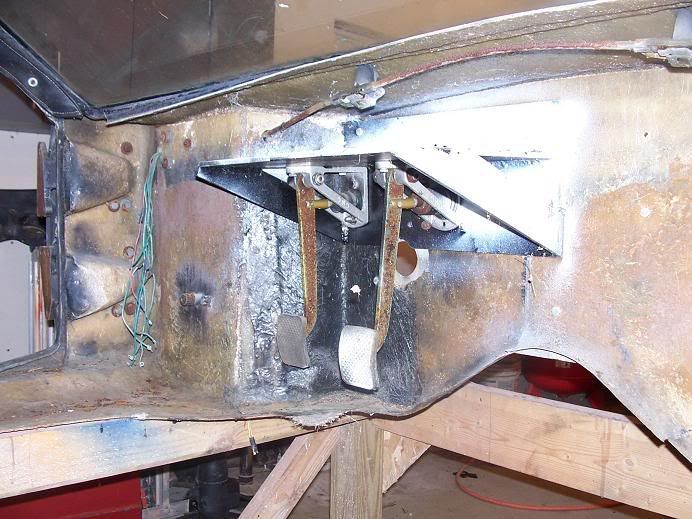
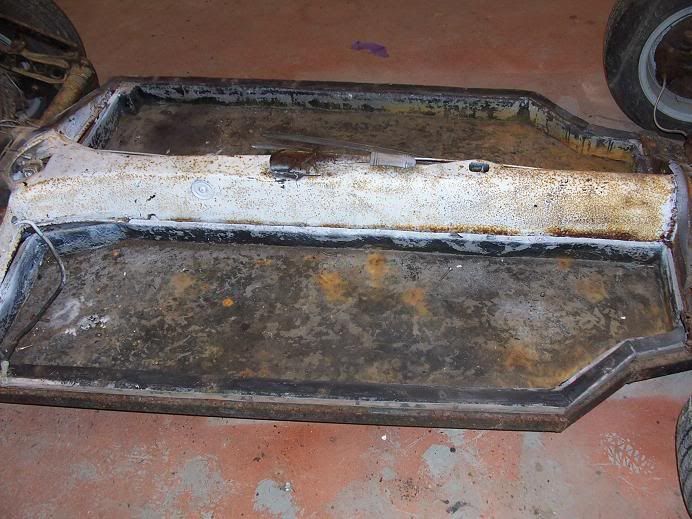
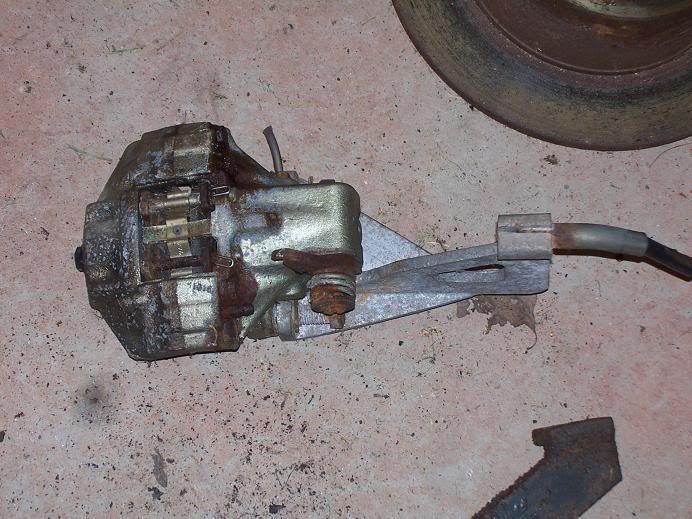
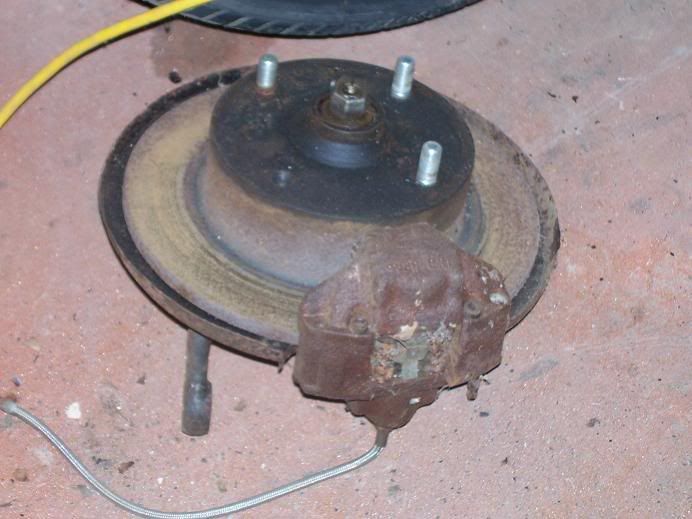
I seperated the body from the chassis to start restoring the chassis.
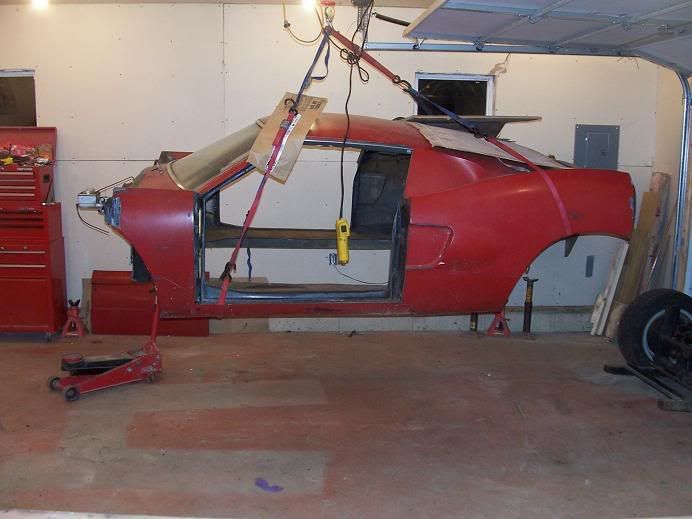
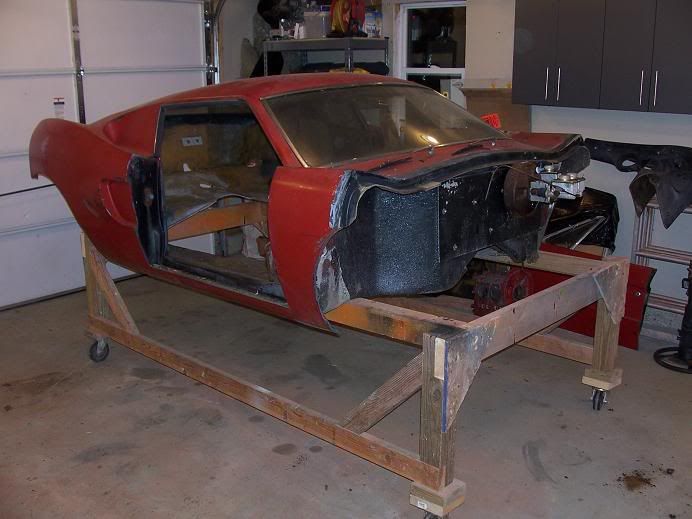
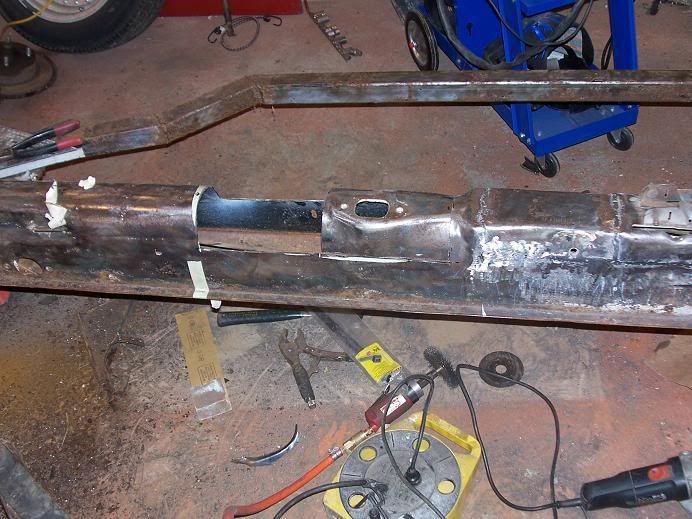
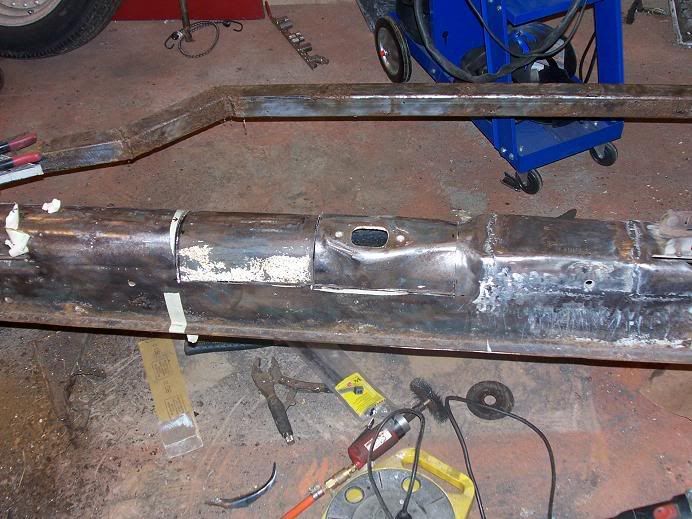
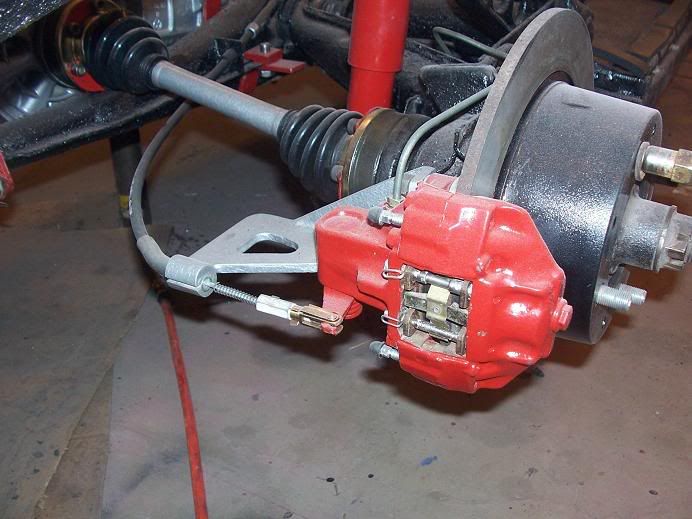
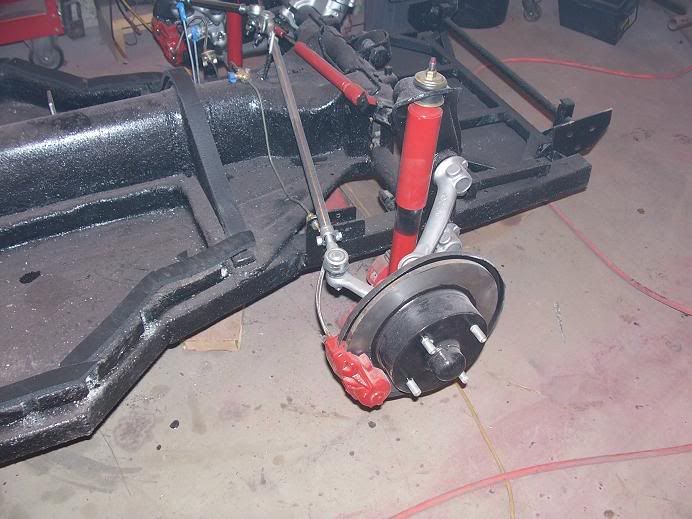
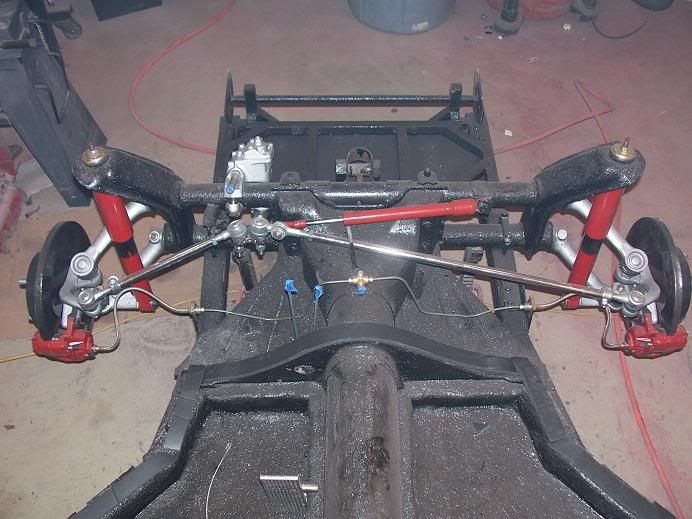
Because I needed the body to be mounted to the chassis to work on the doors (they would have shifted badly if I fit them when the body was on the dolly) I did the chassis first and then started the body. I relocated the shifter and ebrake handle back 8" to make the shifter sit in a better position. The floors were repaired, rusted sections of the frame repaired, new lines run, new brakes done, new front suspension added, new rear substructure and front hinge fabbed up, etc.
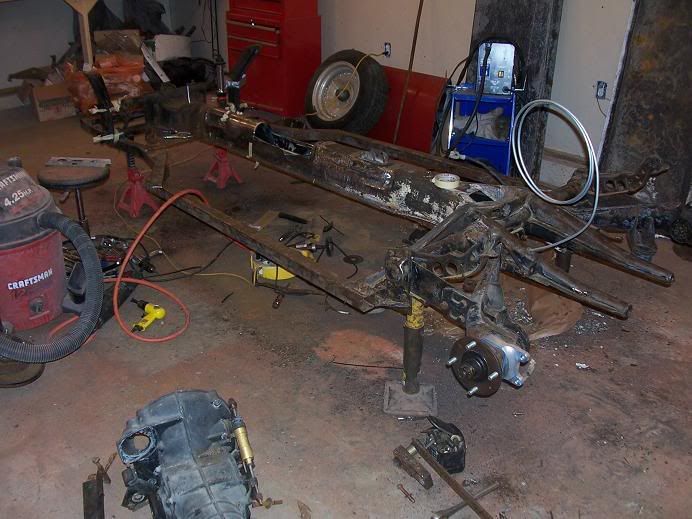
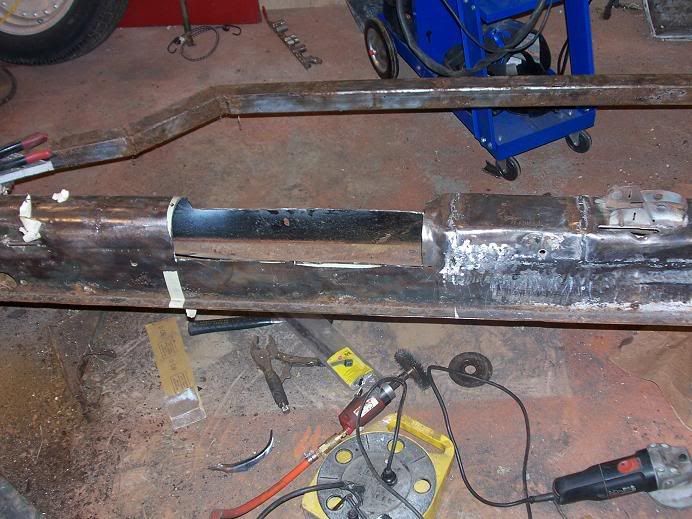
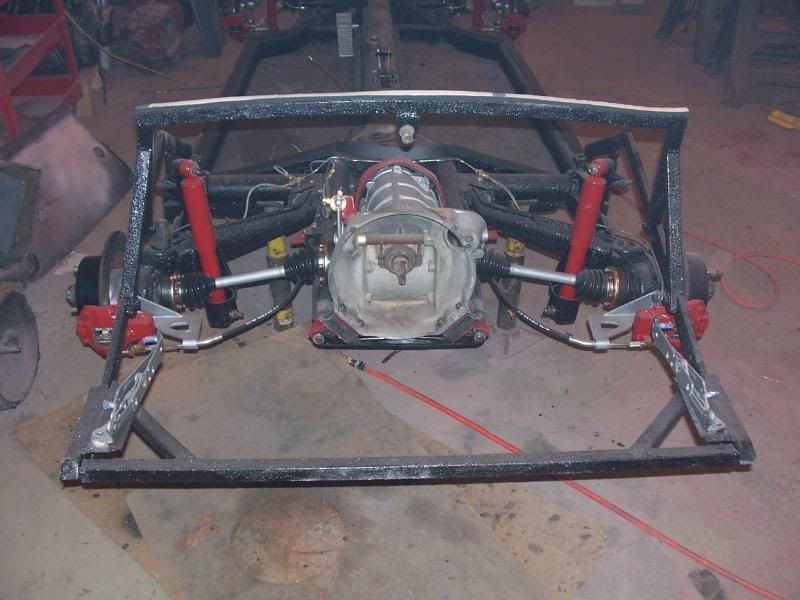
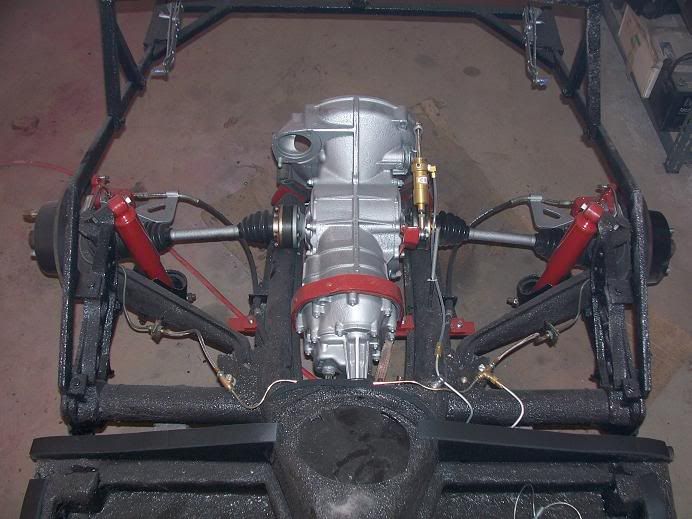
After getting that done I lifted the body off the dolly and slid the frame underneath so I could fit the front and rear hatches. I decided to add significant amounts of 1" square tube to both the front and rear structures. Now everything bolts to steel. It got heavy and alot stronger. I also fabricated the linear mounts as well.
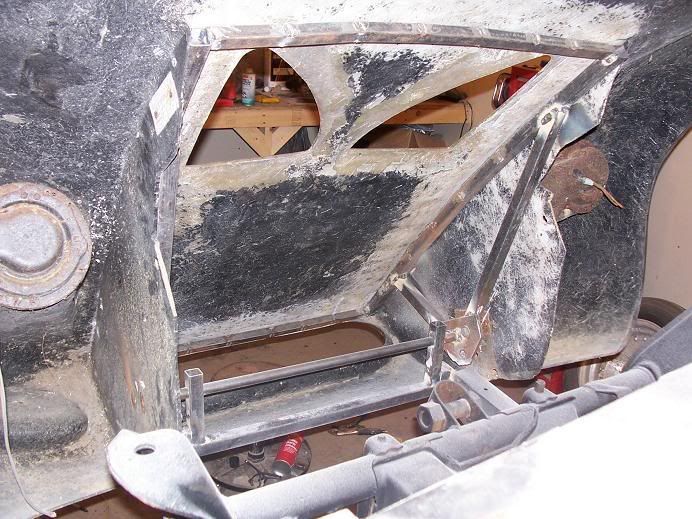
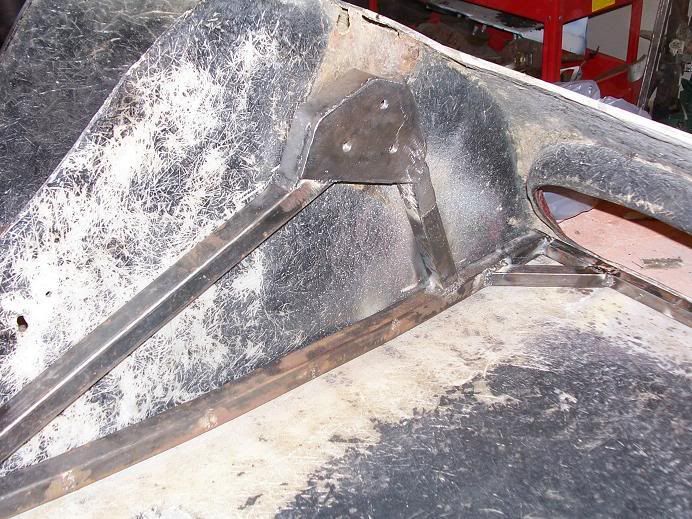
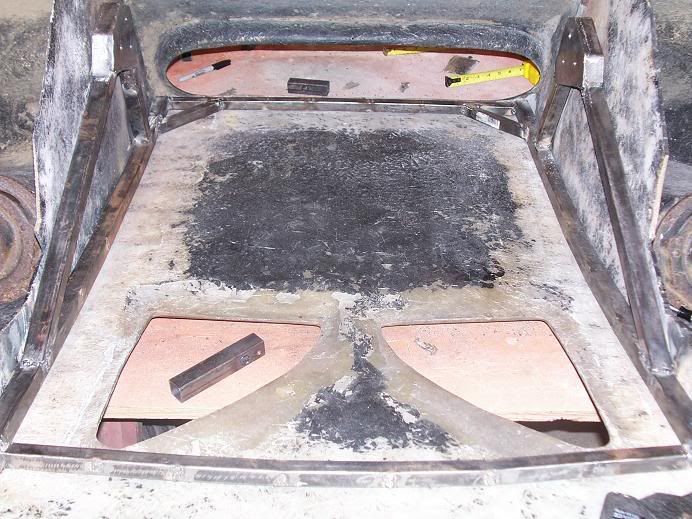
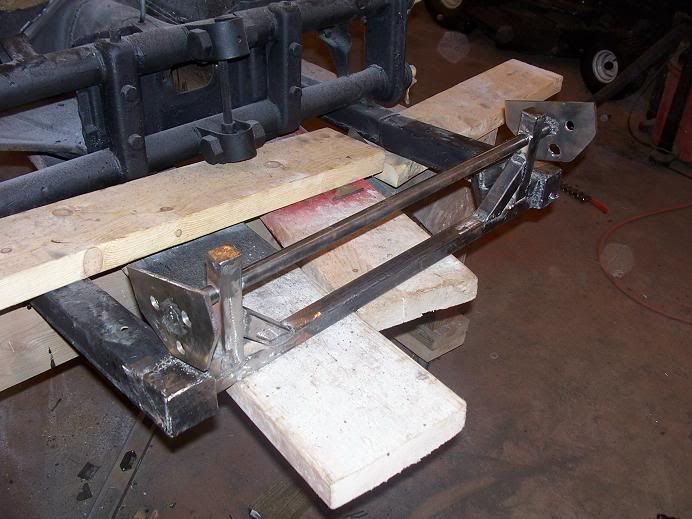
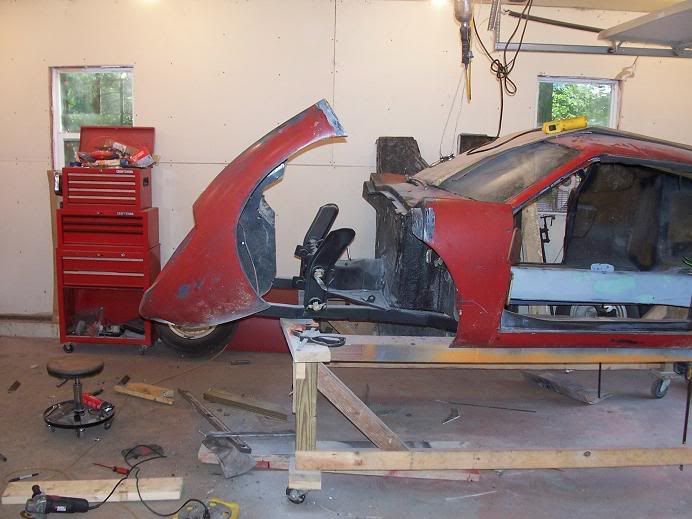
The rear hatch went through several design changes. First was a great design for a slide and flip hinge. I didn't have the tools to fabricate it right so it was a failure. The second design involved a set of factory trunk hinges. After several attempts to locate them correctly, and work with the liner actuators, I was successful.
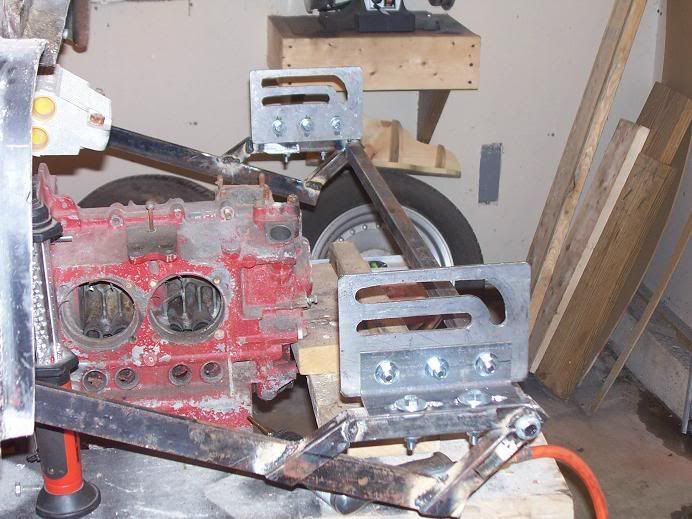
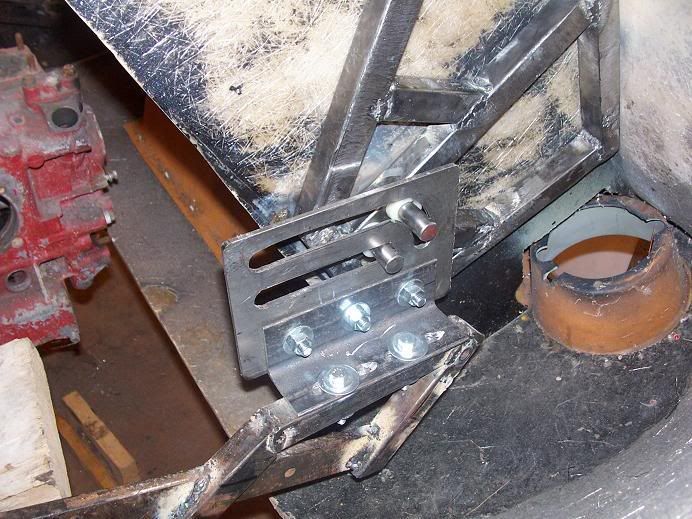
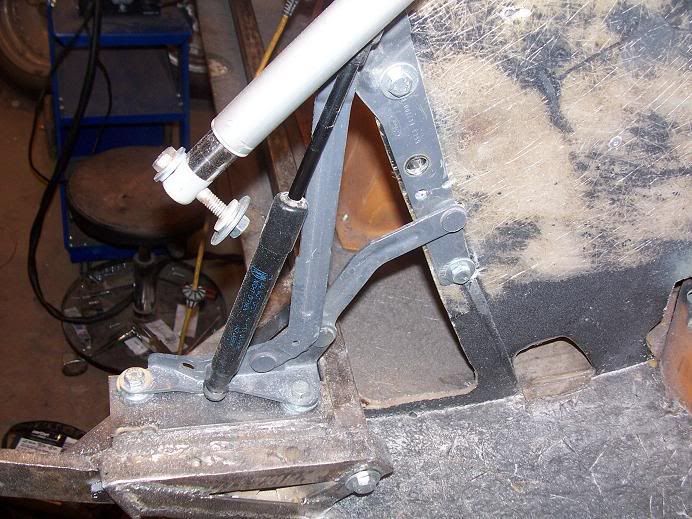
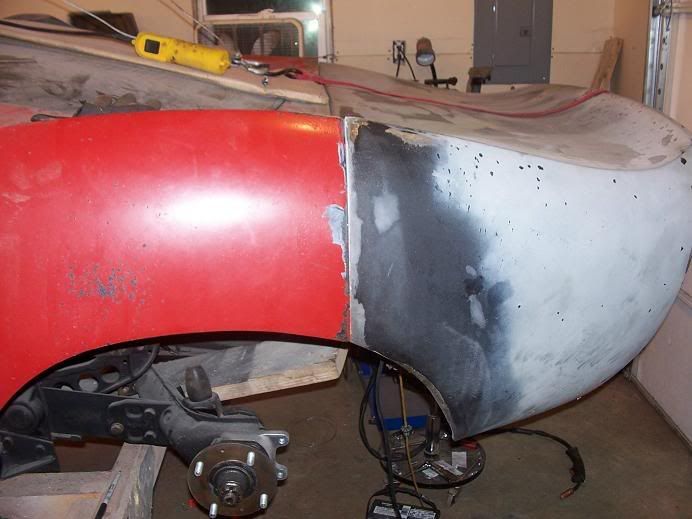
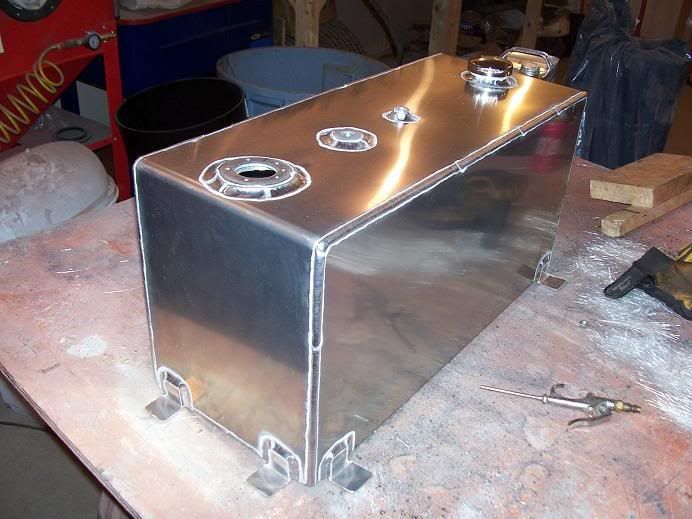
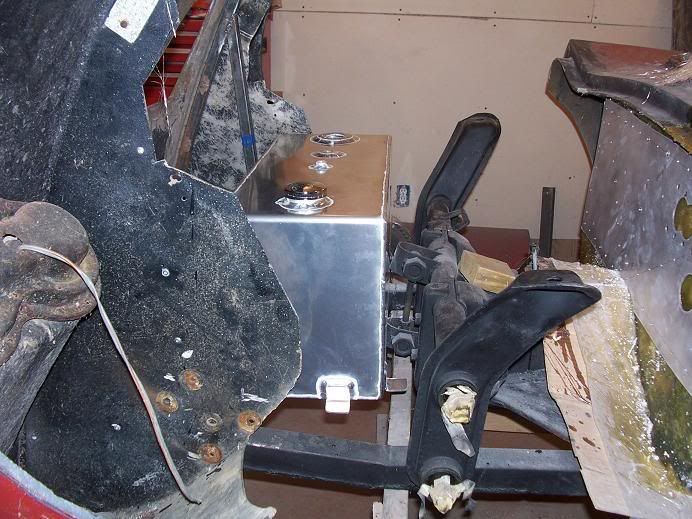
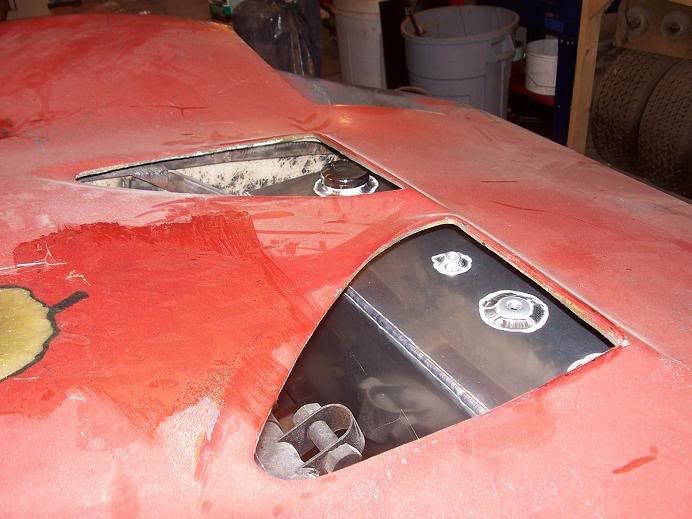
I had a custom fuel cell built to fit into a mount I designed up front. These pictures just show it mocked up. It fits perfectly in the space in the final version.
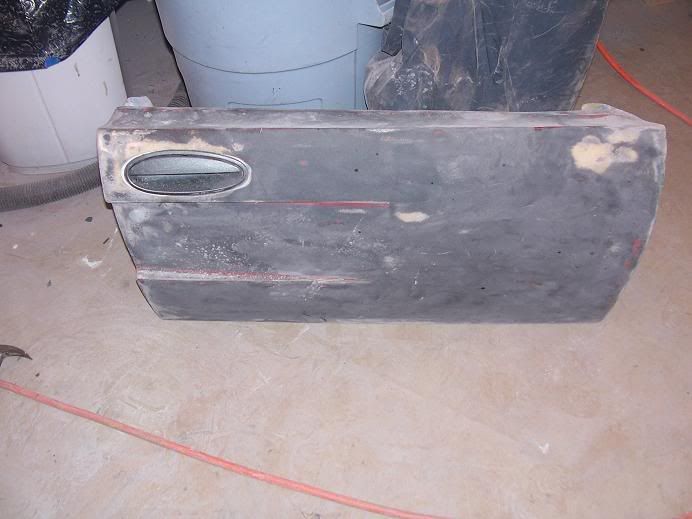
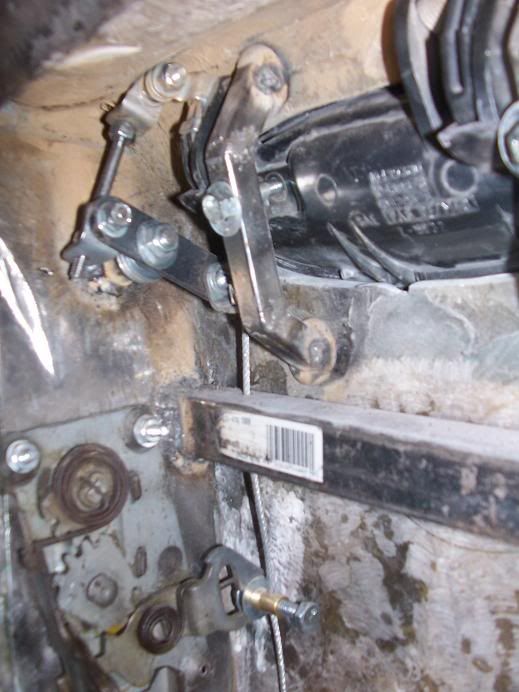
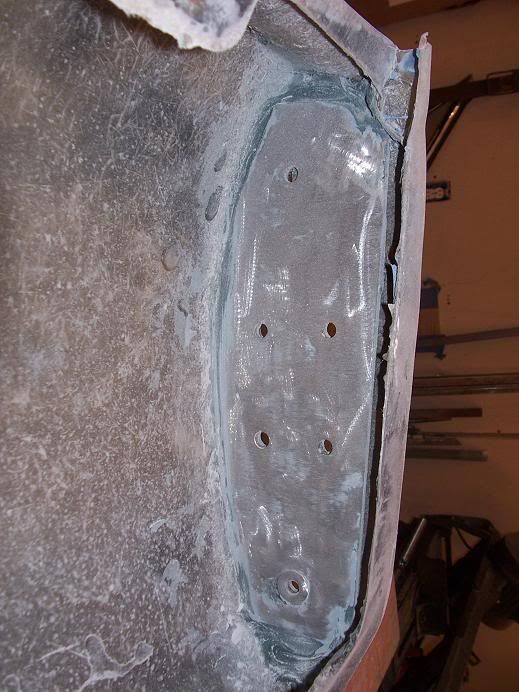
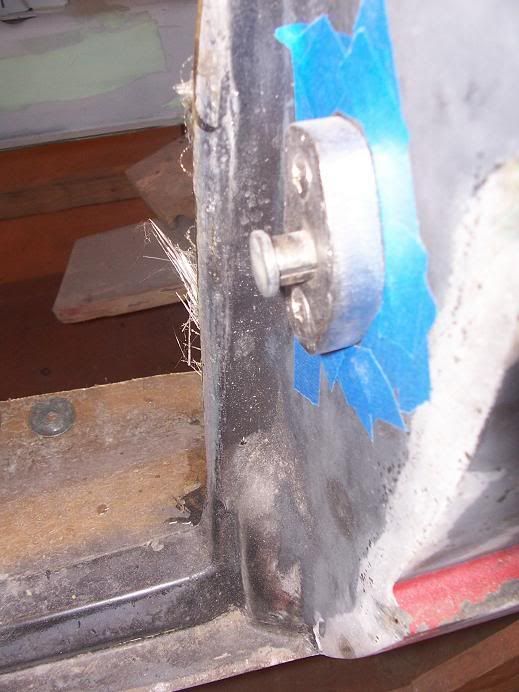
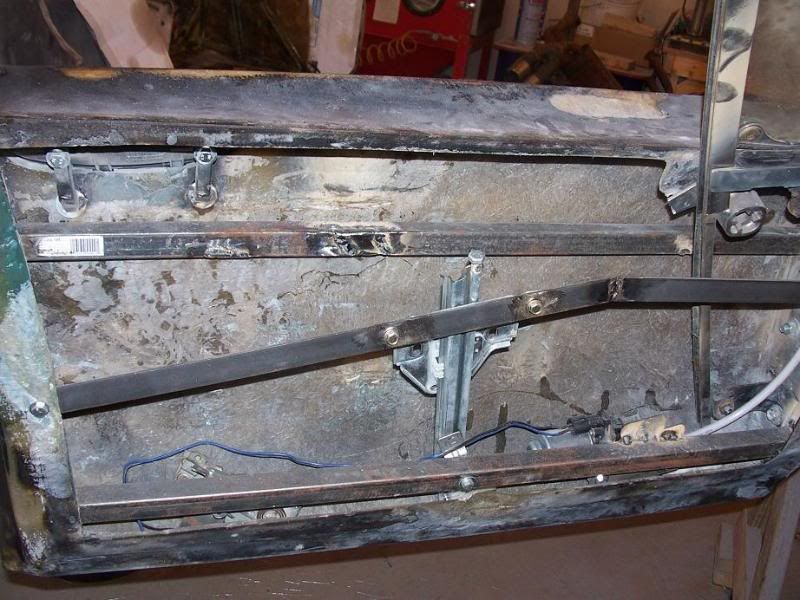
Next came the doors. What NIGHTMARES! Getting a power window set up to work, fitting the actual doors, adding the corvette door handles. Tons of problems and issues. The door handles took 2 stabs at it before I finally found a design that worked with the power windows. The power windows took 4 or 5 designs to work. I used 3/16" steel plate and 1" square tube to stiffin the doors as they were merely fiberglass shells. When I made one thing work, it would make something else not work. When I fixed that, something else wouldn't work. Everything from the shape of the doors, to the shape of the vent window, to the design of the door catch needed to be redone. A terrible experience for sure!
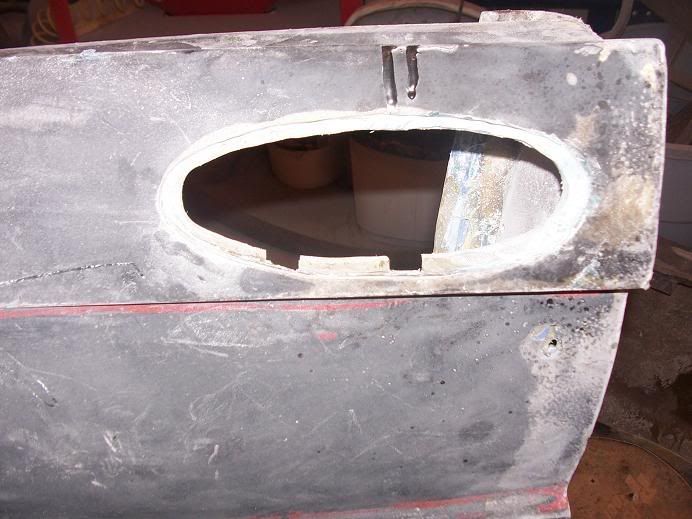
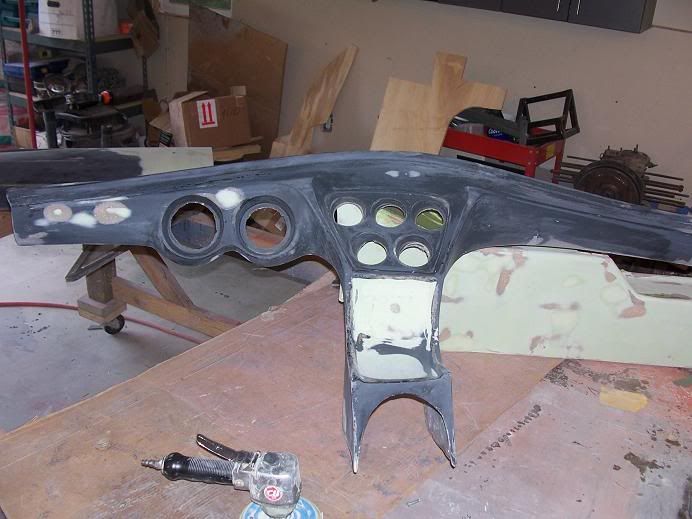
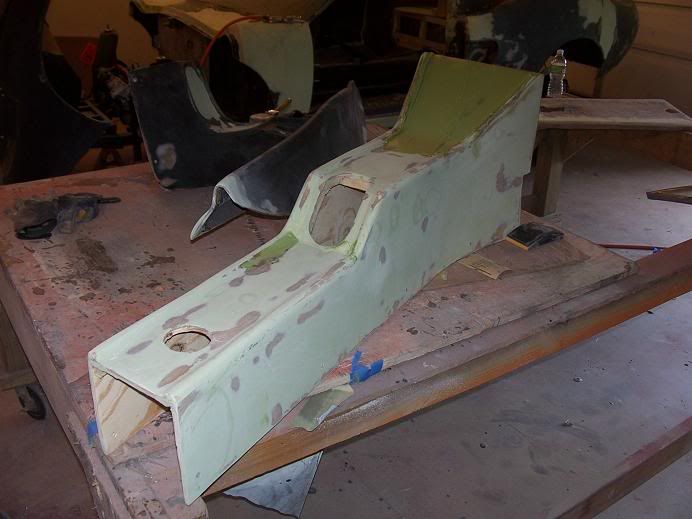
Since I moved the shifter back I decided to make a full length console to finish the interior out. It has a wood core, covered in glass, and smoothed with filler. It will attach to the end of the stock console. The stock console was repaired and in it will go a full set of white VDO guages.
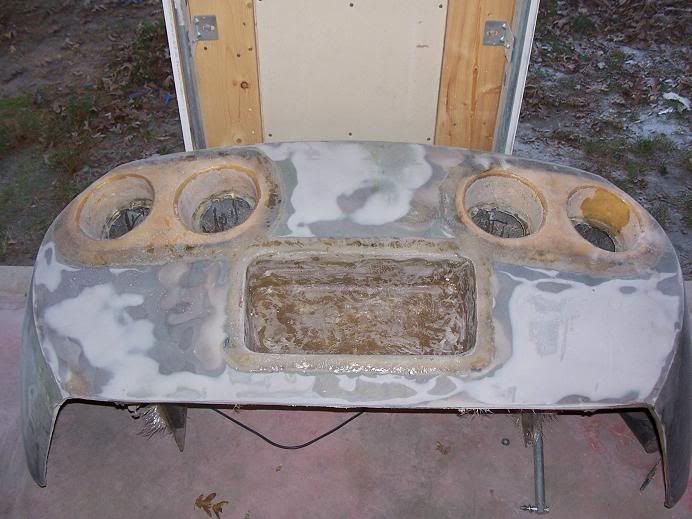
All the body work has been completed. As I stated earlier, I used 4 gallons of Rage. The body fit was terrible as the car probably sat outside for a long time. In addition, the rear as customized with Corvette tail lights and license plate holder. The prior owner cut the flexible bumper of the corvette and removed each side of the lights in a large unit. He then cut the rear glass of the Avenger and riveted the flexible parts in and bondo'd over the rivets. Obviously this cracked badley. I used the flexible parts to make a mold, made new ones out of glass, and bonded them to the rear hatch. I then did the same for the plate holder, turned it the right away (the plate was tilted way down...the prior owner mounted the part upsidedown) and glassed it in.
So thats it for now. Hopefully I didn't bore anyone. Maybe this weekend for priming. If so, then I will be back on it real quick to hopefully finish it for the spring!
The project involves a mid 60s 3 piece FiberFab Avenger. Its mounted on a VW chassis, with some interesting mods. It has a 2"x2" perimeter frame, dropped fiberglass floorpans, 4 wheel disc brakes, pedals which hange from a custom mount, hydraulic clutch, power assisted dual master cylinders, corvette rear tail lights, and more.
I have added a few custom touches which include Corvette door handles, front & rear hatches with electric bear claw latches and linear actuators, custom fuel cell, custom battery mount, custom door pillar supports, power windows, and more.
I have been working on this for several years now. I have used 4 gallons of Rage body filler (obviously not all of it remains on the car) to get the doors to line up, as well as the front and rear panels. I have gone through gallons of resin to glass in the structural suports I have added to the doors and hatches. Its basically ready for primer, and then re-assembly.
OK...some pics:
When I got it. See the trash can inside? It was full of parts. Some good...some not so good. The engine was in there in pieces. No animals...which was good.


Some of the unique features:


I seperated the body from the chassis to start restoring the chassis.


Because I needed the body to be mounted to the chassis to work on the doors (they would have shifted badly if I fit them when the body was on the dolly) I did the chassis first and then started the body. I relocated the shifter and ebrake handle back 8" to make the shifter sit in a better position. The floors were repaired, rusted sections of the frame repaired, new lines run, new brakes done, new front suspension added, new rear substructure and front hinge fabbed up, etc.


After getting that done I lifted the body off the dolly and slid the frame underneath so I could fit the front and rear hatches. I decided to add significant amounts of 1" square tube to both the front and rear structures. Now everything bolts to steel. It got heavy and alot stronger. I also fabricated the linear mounts as well.


The rear hatch went through several design changes. First was a great design for a slide and flip hinge. I didn't have the tools to fabricate it right so it was a failure. The second design involved a set of factory trunk hinges. After several attempts to locate them correctly, and work with the liner actuators, I was successful.


I had a custom fuel cell built to fit into a mount I designed up front. These pictures just show it mocked up. It fits perfectly in the space in the final version.


Next came the doors. What NIGHTMARES! Getting a power window set up to work, fitting the actual doors, adding the corvette door handles. Tons of problems and issues. The door handles took 2 stabs at it before I finally found a design that worked with the power windows. The power windows took 4 or 5 designs to work. I used 3/16" steel plate and 1" square tube to stiffin the doors as they were merely fiberglass shells. When I made one thing work, it would make something else not work. When I fixed that, something else wouldn't work. Everything from the shape of the doors, to the shape of the vent window, to the design of the door catch needed to be redone. A terrible experience for sure!


Since I moved the shifter back I decided to make a full length console to finish the interior out. It has a wood core, covered in glass, and smoothed with filler. It will attach to the end of the stock console. The stock console was repaired and in it will go a full set of white VDO guages.


All the body work has been completed. As I stated earlier, I used 4 gallons of Rage. The body fit was terrible as the car probably sat outside for a long time. In addition, the rear as customized with Corvette tail lights and license plate holder. The prior owner cut the flexible bumper of the corvette and removed each side of the lights in a large unit. He then cut the rear glass of the Avenger and riveted the flexible parts in and bondo'd over the rivets. Obviously this cracked badley. I used the flexible parts to make a mold, made new ones out of glass, and bonded them to the rear hatch. I then did the same for the plate holder, turned it the right away (the plate was tilted way down...the prior owner mounted the part upsidedown) and glassed it in.

So thats it for now. Hopefully I didn't bore anyone. Maybe this weekend for priming. If so, then I will be back on it real quick to hopefully finish it for the spring!


 ) to think about.
