Post by smyrnaguy on Jul 17, 2009 7:47:46 GMT -5
I have 2 Bradley projects and only one very rusty, hole-filled tank between them. Since project #2 will be electric one tank would fill my needs. I knew that I could make one with the right materials and tools. I had neither. No sheet metal, no metal brake. So what could I make a tank out of?.... I was listening to the local radio station's "Swap Shop" program where folks call in about yard sales and general junk they want to buy, sell or give away when it occurred to me that a top loading washing machine might provide just what I needed. I called the show asking for a free junker. 30 Minutes later I had the washer I needed at no cost. The first step was to remove and dispose of the innards. That left me with this: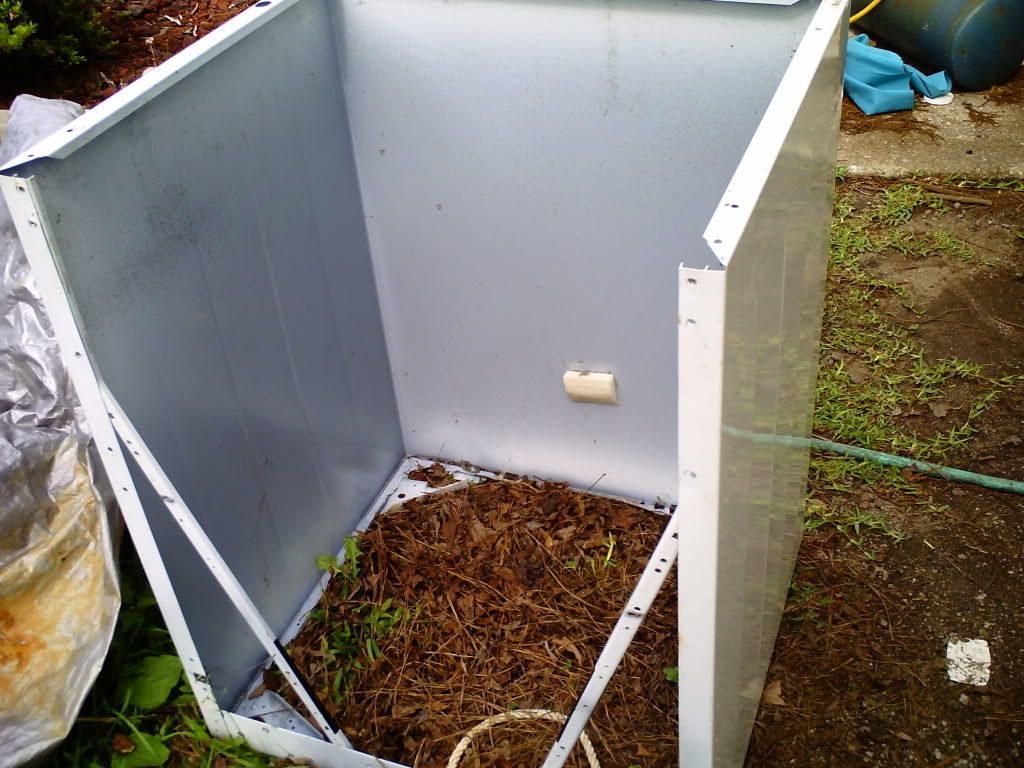
After careful measuring I found I could make the tank wider (3 3/4")and deeper (2" front to rear) than the original. This expands the volume from 12 gallons to a little over 17 gallons.
Next I measured and cut the sides and ends utilizing the corners General Electric made for me.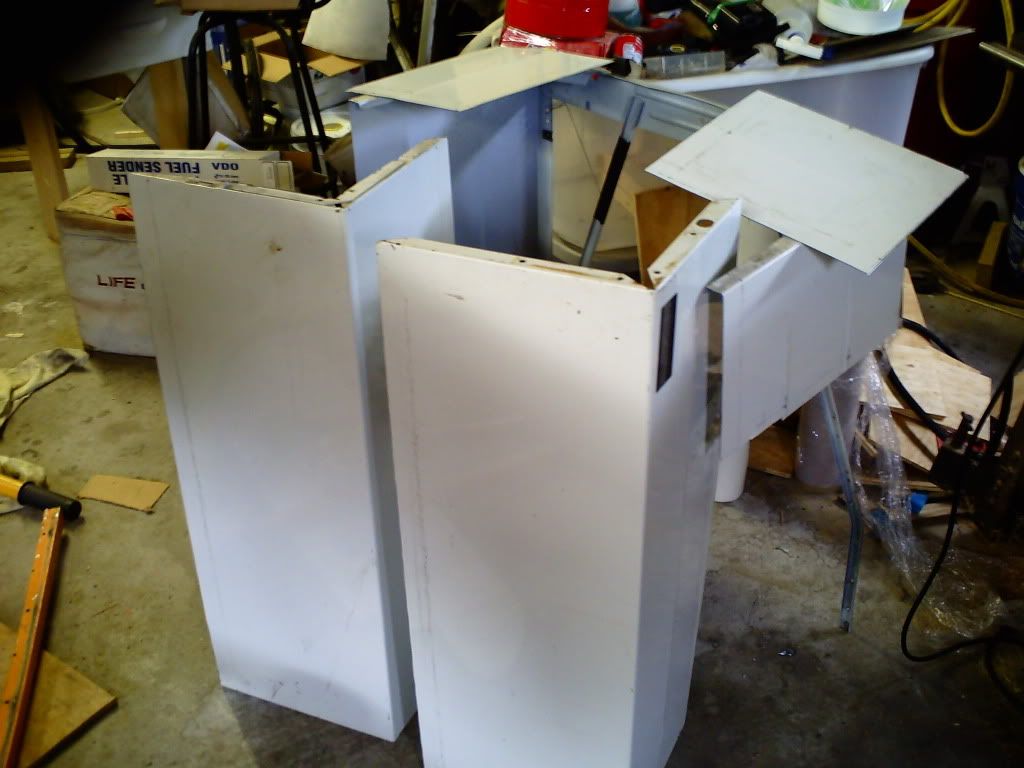
I assembled the long sides first and welded the solid end in. This allowed me to apply seam sealer everywhere except the filler neck end. Next I cut holes for the sending unit and fuel line. Here's how the tank looks with them installed: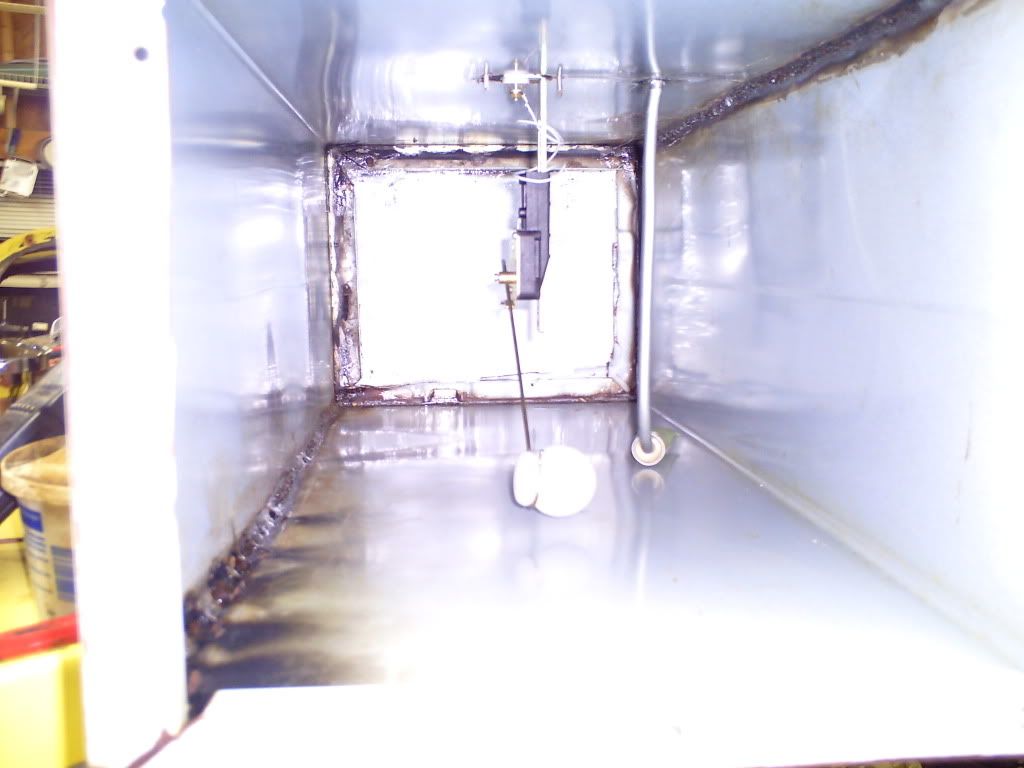
The next step was assembling the filler neck end. I used a section of 2" exhaust pipe for the filler neck with a solid cap welded at one end. I cut a 1 3/4" hole in the top of the neck at the capped end for the filler cap to fit. I cut a hole for the neck and drilled one for the vent tube into the end plate. After these were welded in I had this: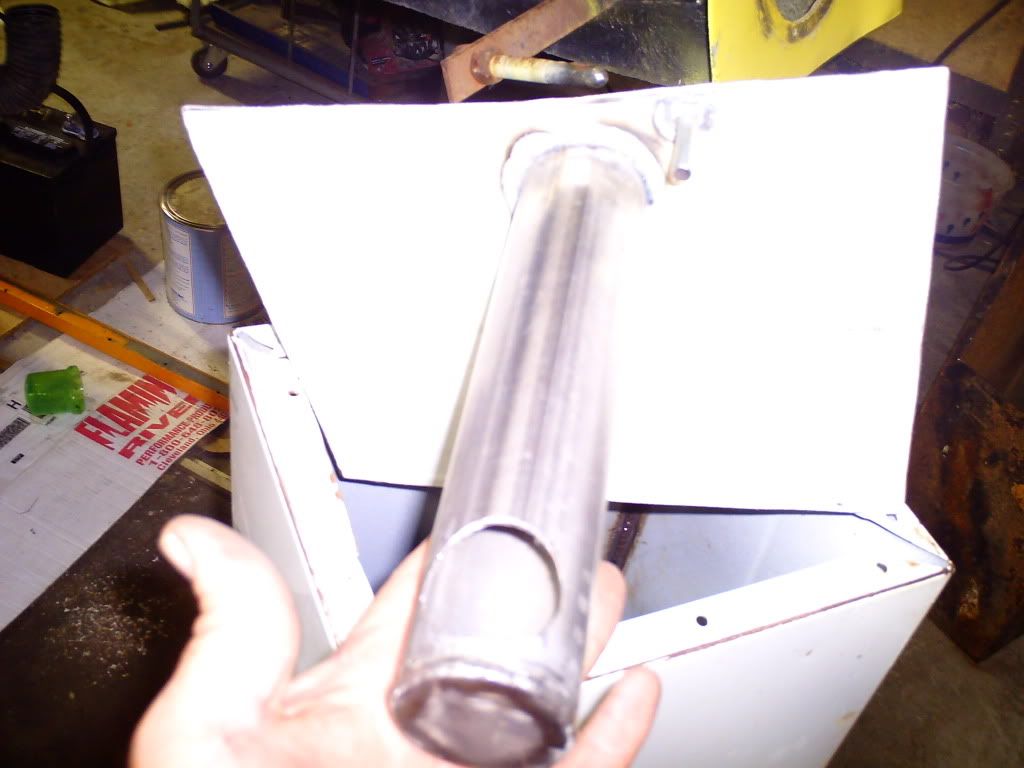
Next I welded the end plate on making the tank complete. To be certain the tank had no leaks I plugged the fuel and vent tubes and stuck a vacuum into the filler neck. While the vacuum tried its best to collapse the tank I went over every seam again with seam sealer. The vacuum soon plugged even the tiniest pinhole with sealer. Here you can see its a snug fit in the car.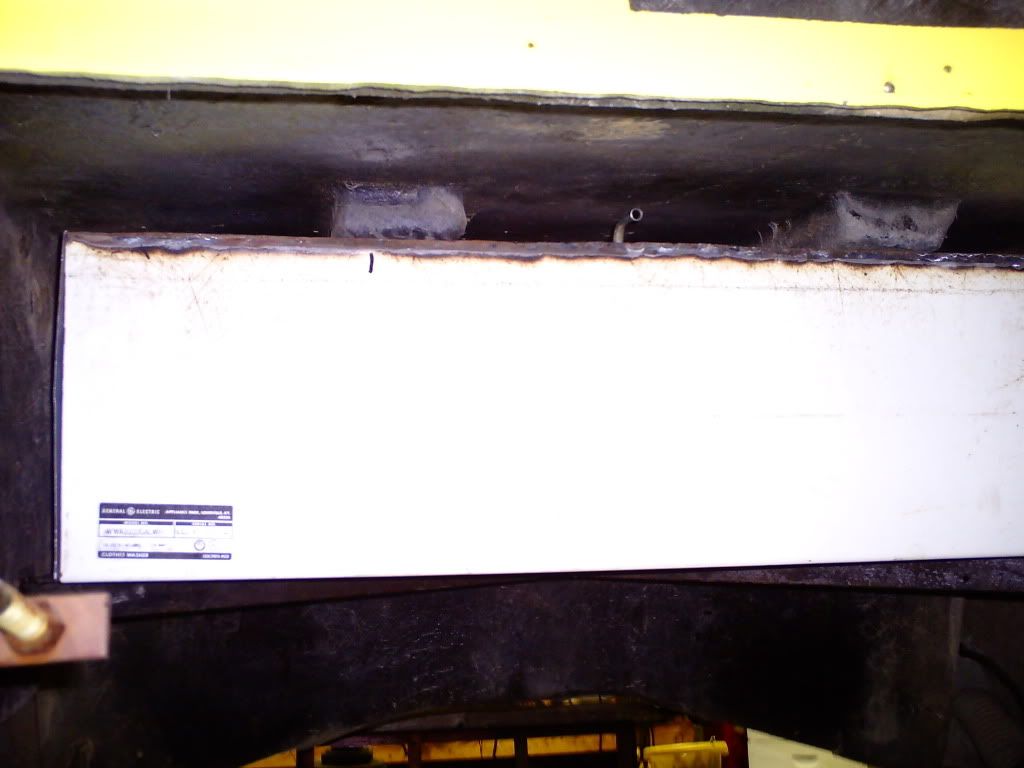
Here is how the filler cap fits into the neck: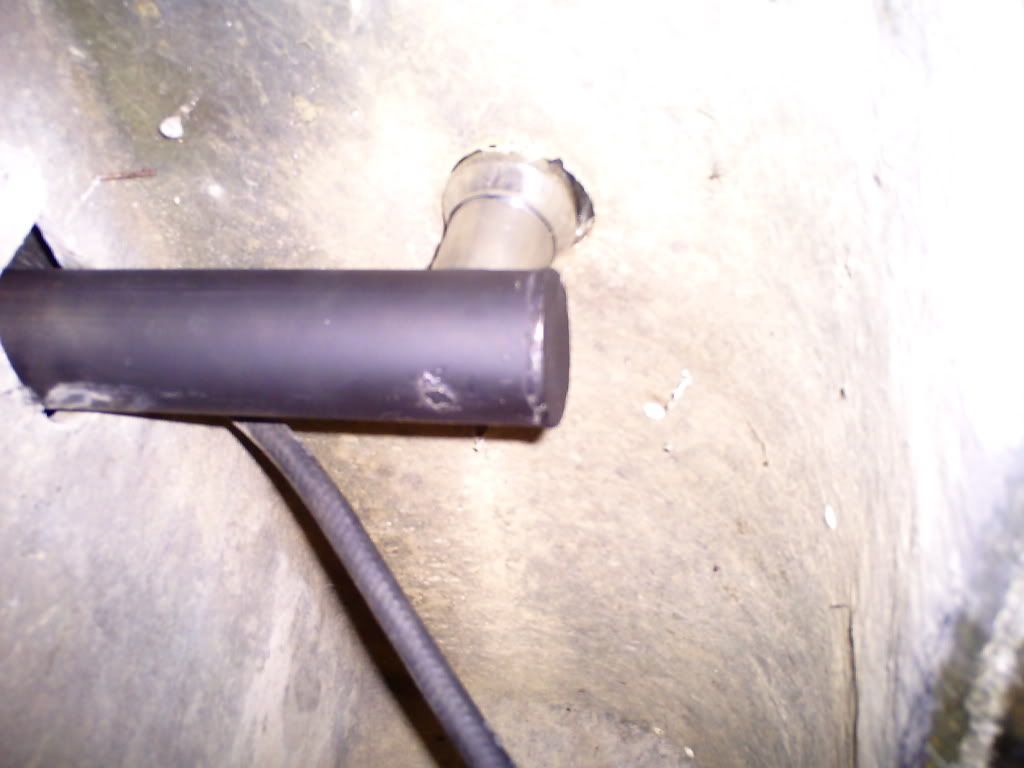
The vent tube will connect to the filler cap just above the neck.
This took about an hour to deconstruct the washing machine and 3 hours to construct the tank and cost $2 for the exhaust pipe. The fuel and vent tubes were made from 5/16" brake line I had laying around. The sending unit is a new VDO unit.

After careful measuring I found I could make the tank wider (3 3/4")and deeper (2" front to rear) than the original. This expands the volume from 12 gallons to a little over 17 gallons.
Next I measured and cut the sides and ends utilizing the corners General Electric made for me.

I assembled the long sides first and welded the solid end in. This allowed me to apply seam sealer everywhere except the filler neck end. Next I cut holes for the sending unit and fuel line. Here's how the tank looks with them installed:

The next step was assembling the filler neck end. I used a section of 2" exhaust pipe for the filler neck with a solid cap welded at one end. I cut a 1 3/4" hole in the top of the neck at the capped end for the filler cap to fit. I cut a hole for the neck and drilled one for the vent tube into the end plate. After these were welded in I had this:

Next I welded the end plate on making the tank complete. To be certain the tank had no leaks I plugged the fuel and vent tubes and stuck a vacuum into the filler neck. While the vacuum tried its best to collapse the tank I went over every seam again with seam sealer. The vacuum soon plugged even the tiniest pinhole with sealer. Here you can see its a snug fit in the car.

Here is how the filler cap fits into the neck:

The vent tube will connect to the filler cap just above the neck.
This took about an hour to deconstruct the washing machine and 3 hours to construct the tank and cost $2 for the exhaust pipe. The fuel and vent tubes were made from 5/16" brake line I had laying around. The sending unit is a new VDO unit.

