|
|
Post by Dan MacMillan on Jan 29, 2012 18:19:58 GMT -5
Wow...page 3 Not too much to report today. Made various hold down brackets. Spent some time brainstorming the throttle setup. I did manage to build the mass air flow to air filter adapter/bracket. Got it installed to complete the intake system. Now I need to get some isolation mounts to secure it to the cage. I chose to retain as much of the stock air intake as possible because research has told me that the mass air flow is tuned via the ecm to the stock plumbing. 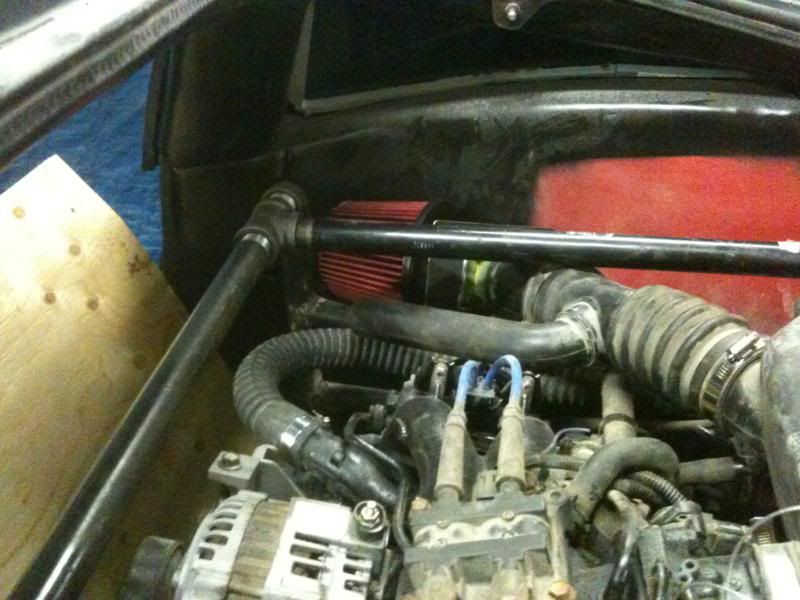 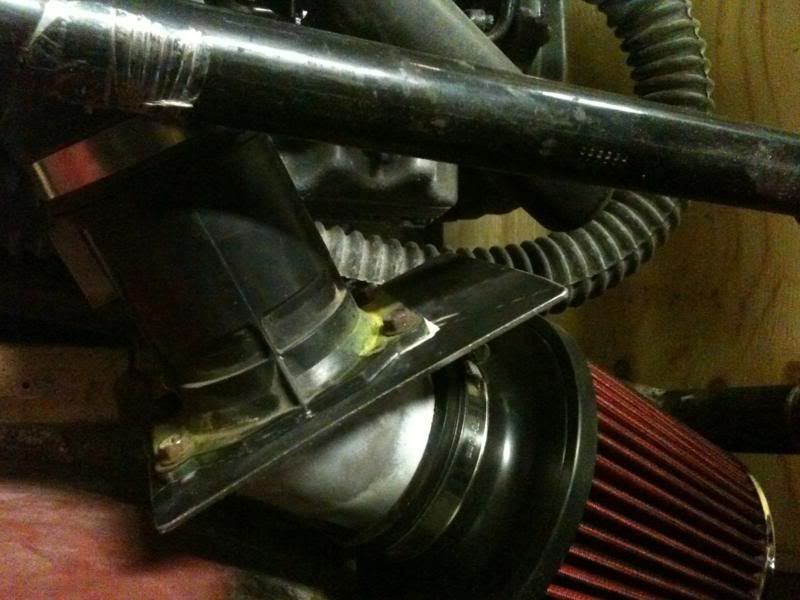 Cannot wait till spring so I can wash this thing off. |
|
|
|
Post by Dan MacMillan on Jan 29, 2012 23:43:21 GMT -5
Bad news today. A fellow co-worker was killed underground. That makes 4 in 8 months.
|
|
|
|
Post by Gary Hammond on Jan 30, 2012 10:59:04 GMT -5
Hi Dan,  Sorry you lost a co-worker. My condolences to you, and to his family. It's always sad when someone is cut down in their prime. Life isn't always fair. We all need to be prepared, because we never know when the end of this life will come and the next life begin. Gary Hammond,  |
|
|
|
Post by Dan MacMillan on Jan 31, 2012 17:56:28 GMT -5
Thanks Gary.
Today I installed the shifter cable and got the shifter adjusted and working. Rad hot air outlets are cut out as well. I am going to have to cut a few more.
I also joined the 2 cooling fans to be a single assembly and installed them. Added a bit more color to the engine.
|
|
|
|
Post by Dan MacMillan on Feb 3, 2012 17:28:06 GMT -5
I managed to get a bit more done. Made one exhaust manifold to clear the torsion housing. There is not much room to work with. This is the easy side to do. The other head sets the outlet further forward over the torsion housing. I reworked a section of the original Y pipe to do this. Not sure if I will keep the flange or just use clamps to secure the pipe. Iy will depend on how tight of a bend I can get. 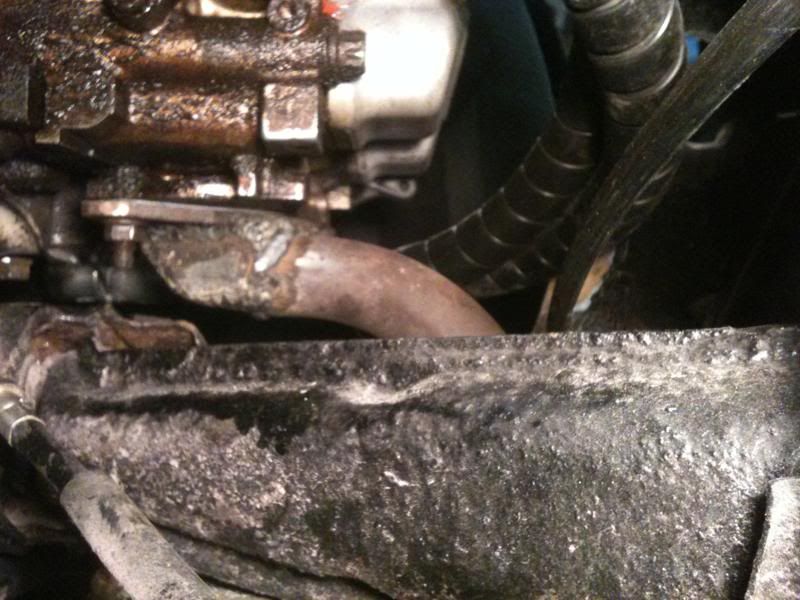 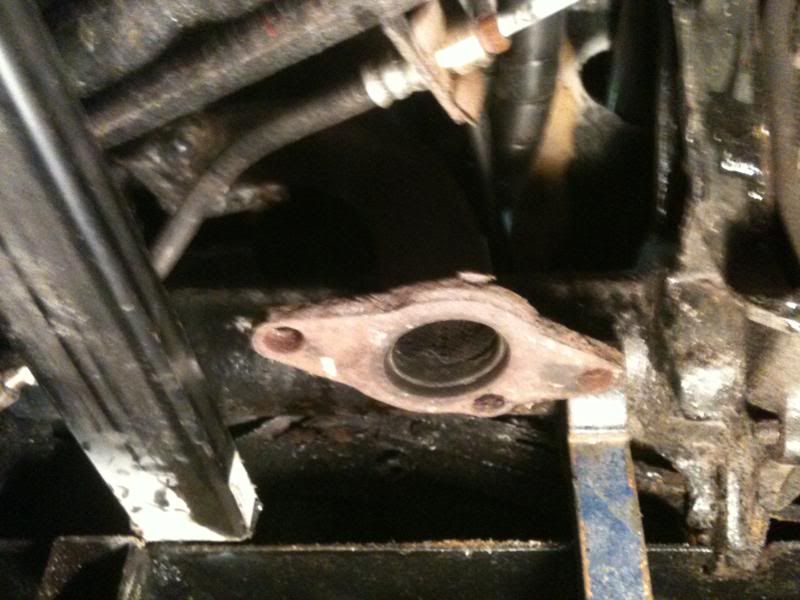 Recognize this part? It used to be the headlight door motor bracket. 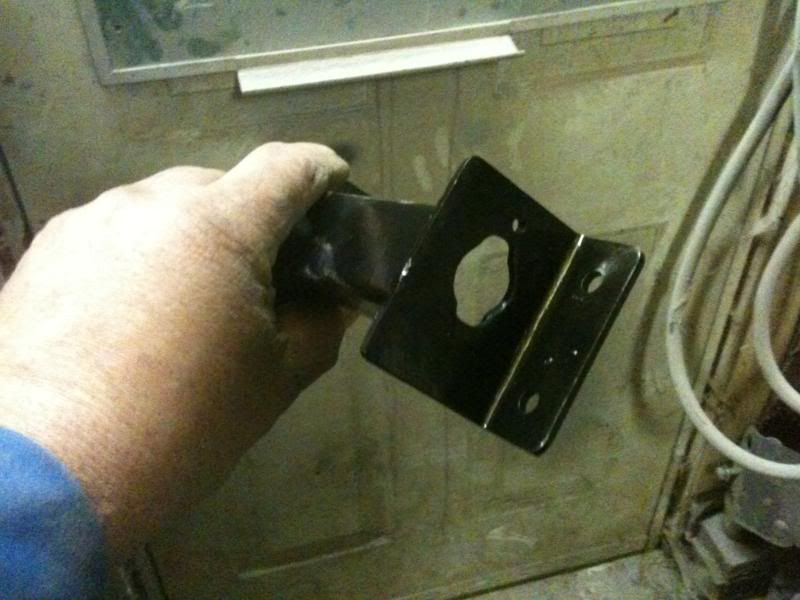 Now it is the throttle cable adapter. 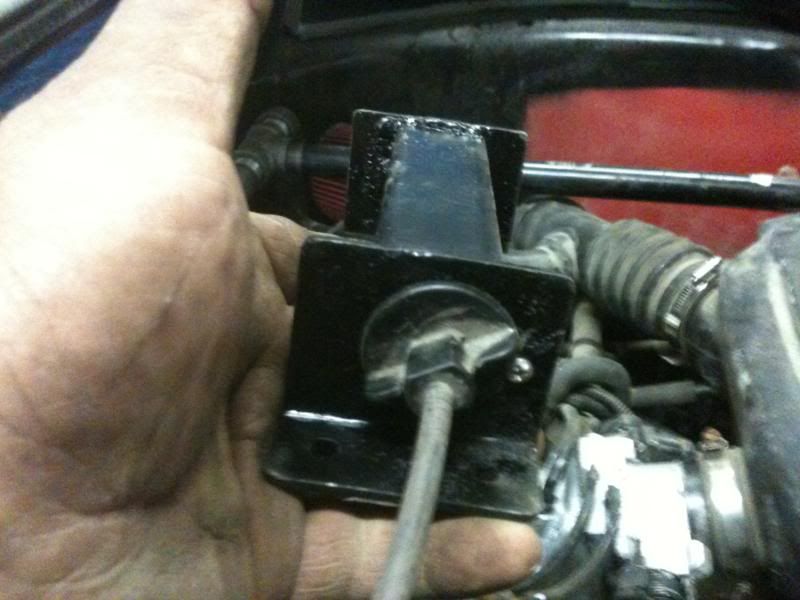 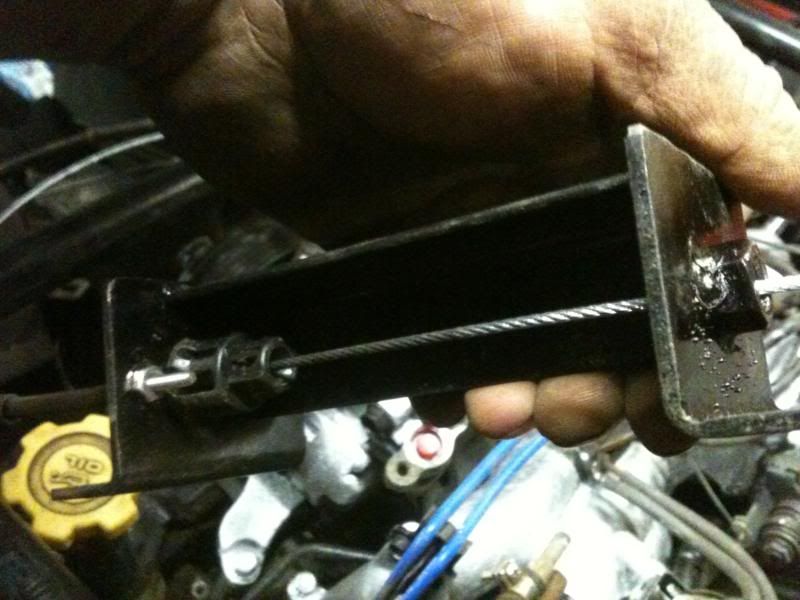 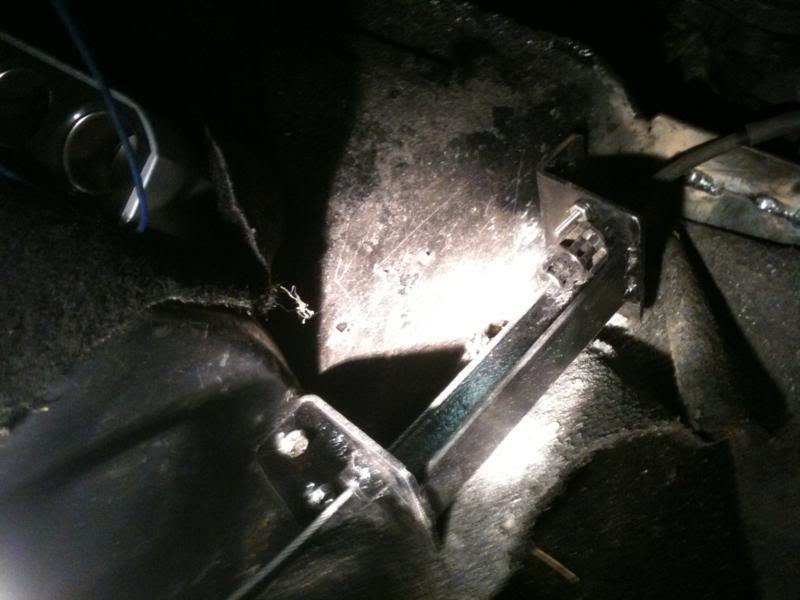 I had to slightly modify the throttle to accept a VW cable nut. [ 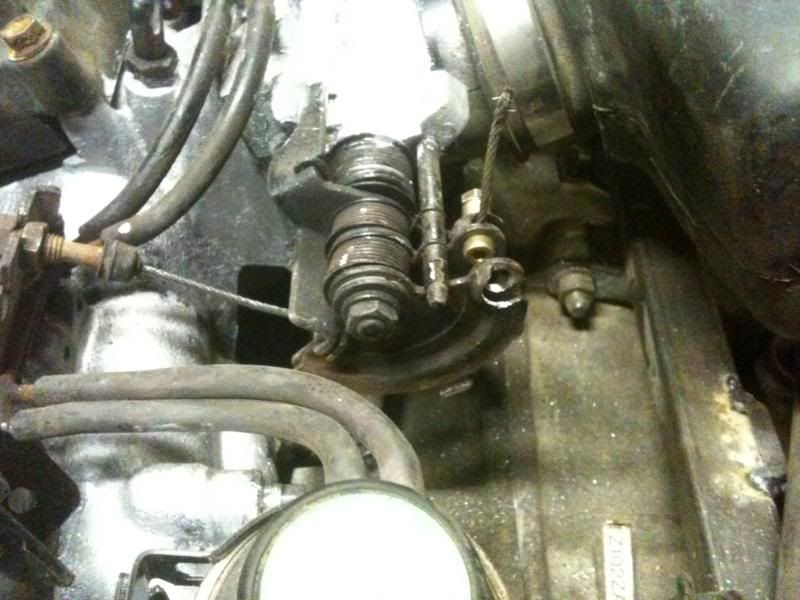 Cooling fans, I ran out of short bolts to join the fans so these will do for now. 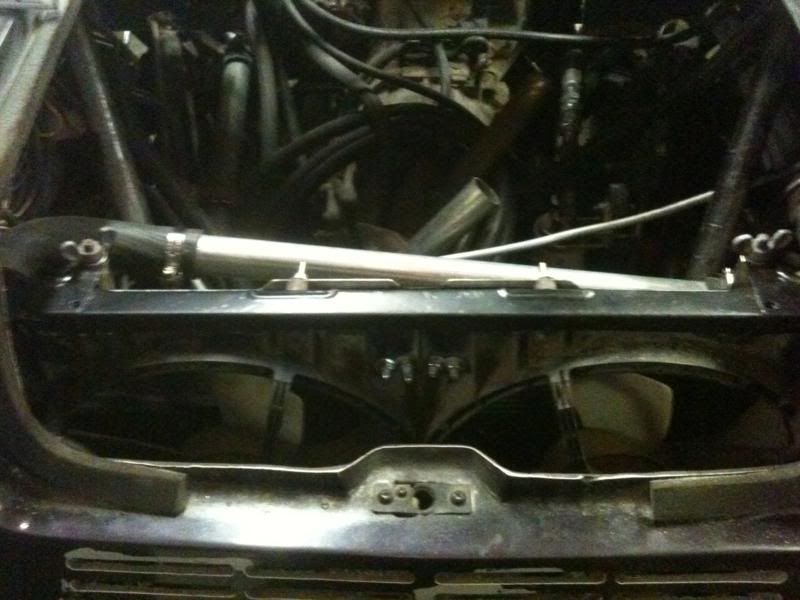 Vents, more to come. As you can see I will have to repaint. Probably redo the whole car. Easier than color matching. 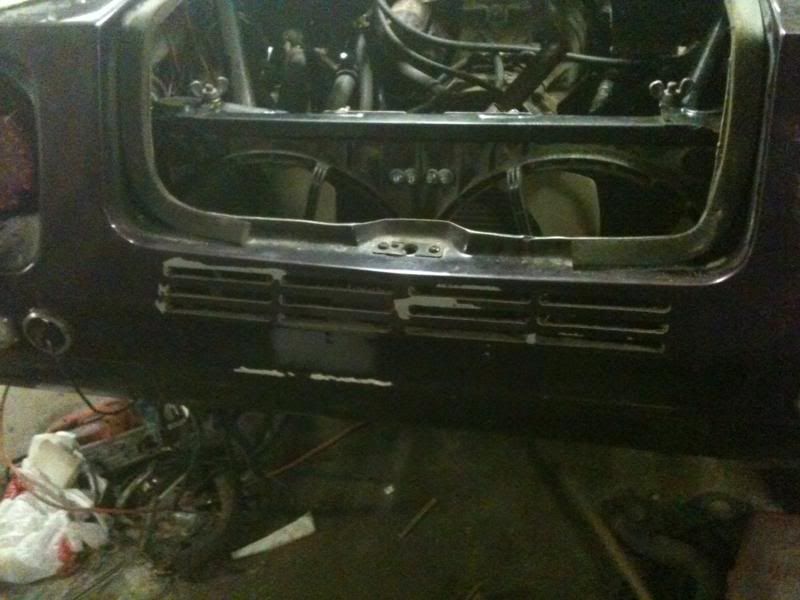 A little color. MMy son says it makes it look like a plastic model kit. What do you think? 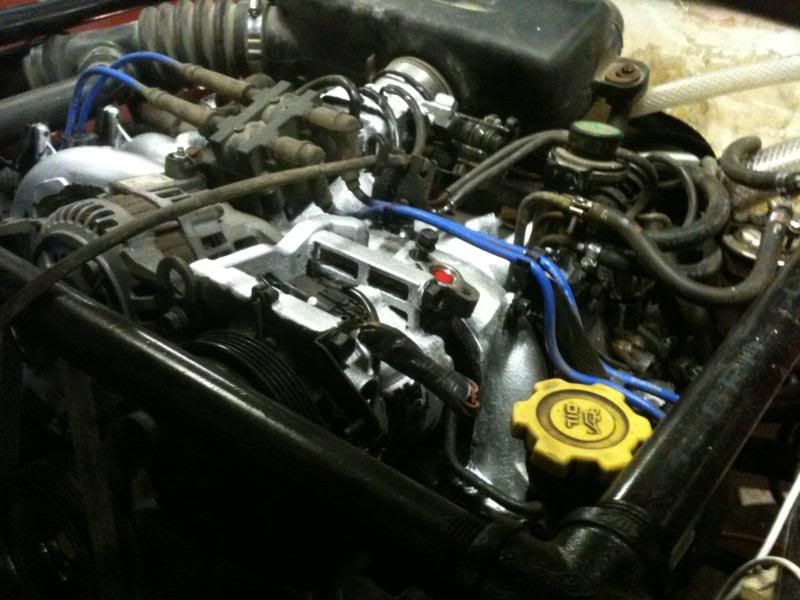 |
|
|
|
Post by Dan MacMillan on Feb 5, 2012 21:31:03 GMT -5
I finished making the other exhaust manifold today as well as making the pipes that the Y pipe will attach to. 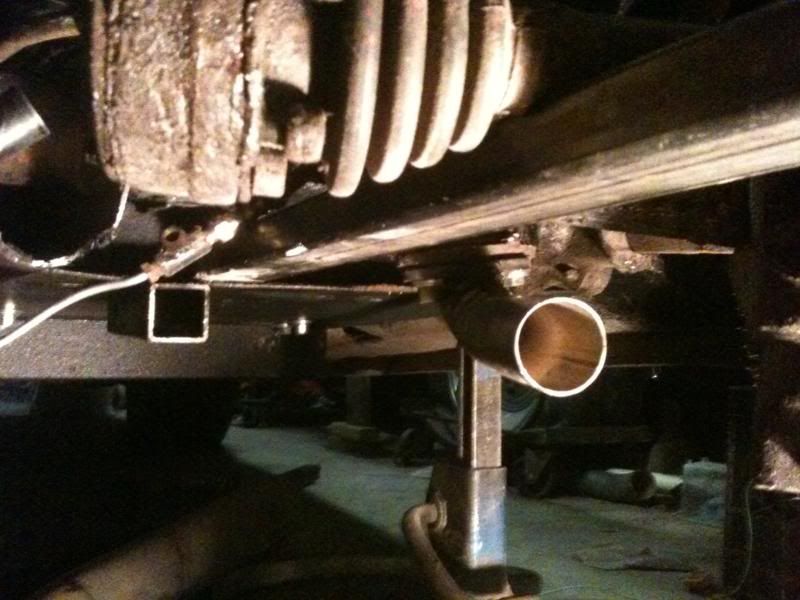 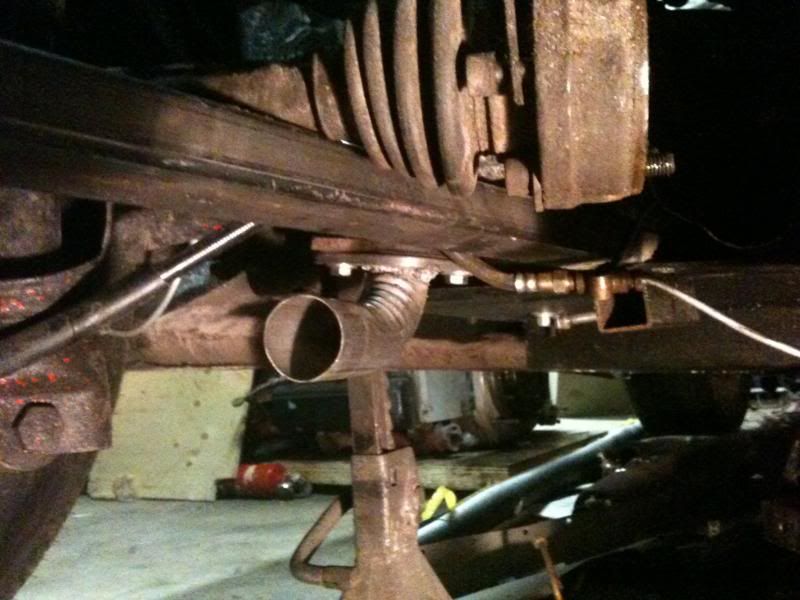 The plan for tomorrow is to make and install the forward throttle guide tube and hook up the pedal assy. Also get started on modifying the axles. |
|
|
|
Post by Dan MacMillan on Feb 6, 2012 20:34:41 GMT -5
Well I am behind once again. I managed to make the rest of the throttle parts but got sidetracked by doing the lower engine mounts. Finished both mount to block adapters, both mounts are on the engine and one side frame to mount support is in place. It sucks when you run out of oxygen and have to cut everything with a chop saw, sawsall and grinder. Very time consuming.
|
|
|
|
Post by Dan MacMillan on Feb 14, 2012 20:12:12 GMT -5
Happy Valentines day. Back at it today. Measured and cut my axles to make a pair of VW/Subaru axles. Spent a few hours running around looking for a machine shop that could build them. Should be ready tomorrow. Finished building and mounting the last engine mount to frame support. What a difference with the lower mounts installed. I also did some more work on the engine firewall and cover. 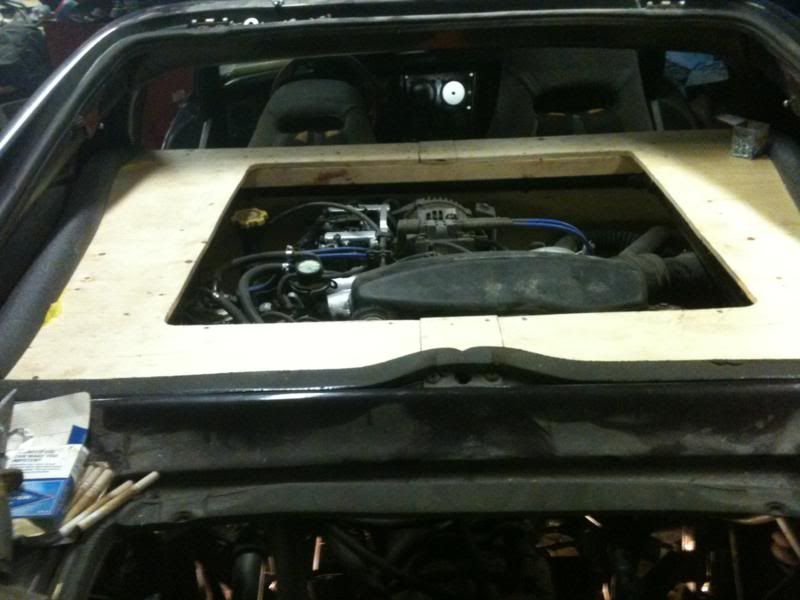 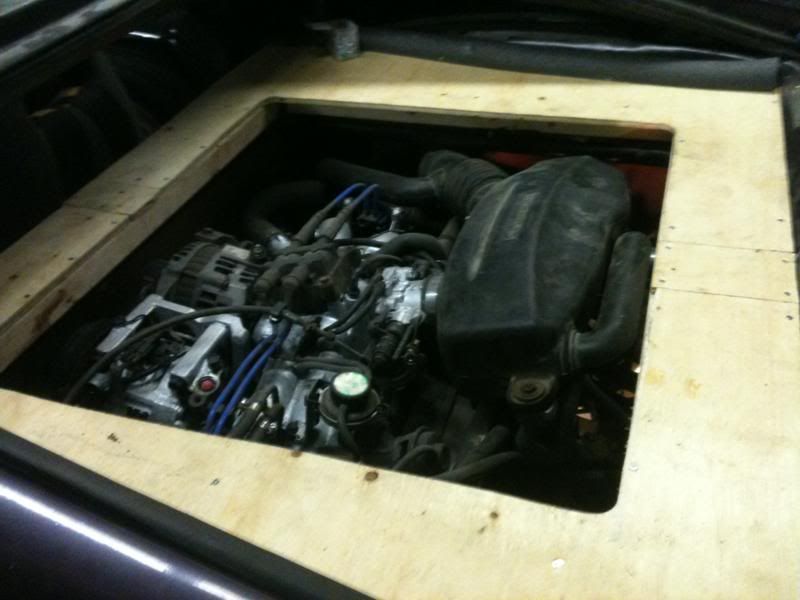 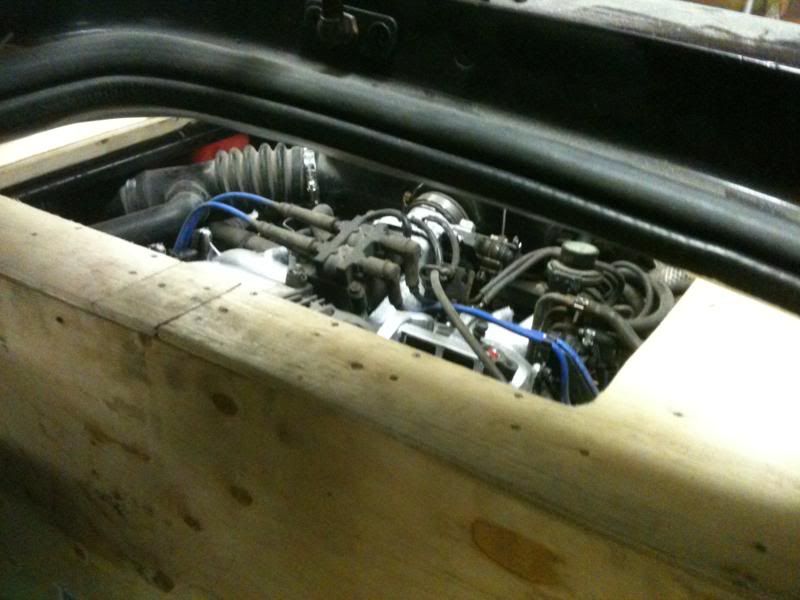 |
|
|
|
Post by Dan MacMillan on Feb 22, 2012 14:06:00 GMT -5
Today is gas tank day. Had the metal cut and bent then I went at it. Roughly 20 feet of welding. 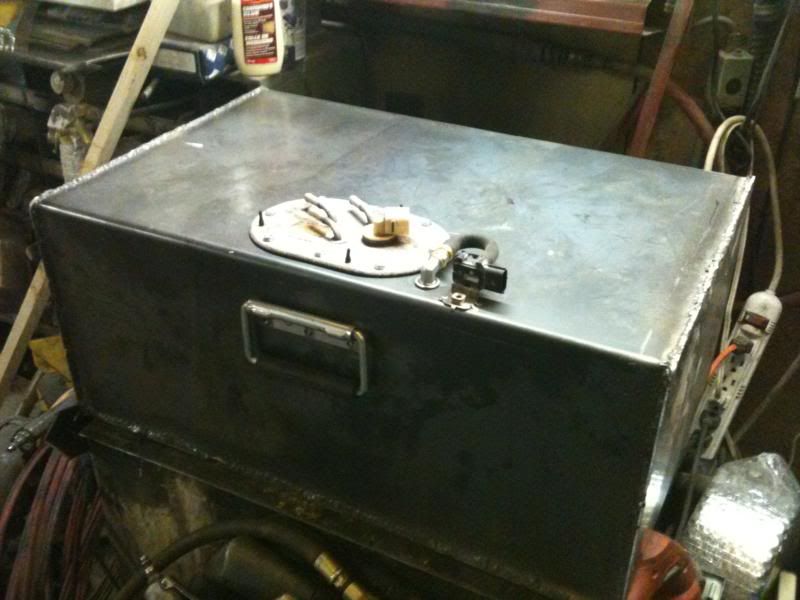 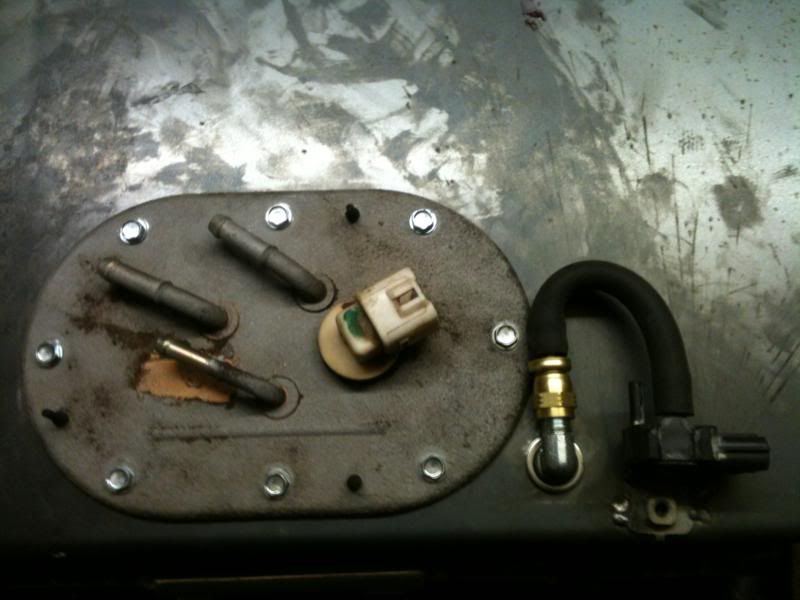 Off to store for fill pipe. It fits 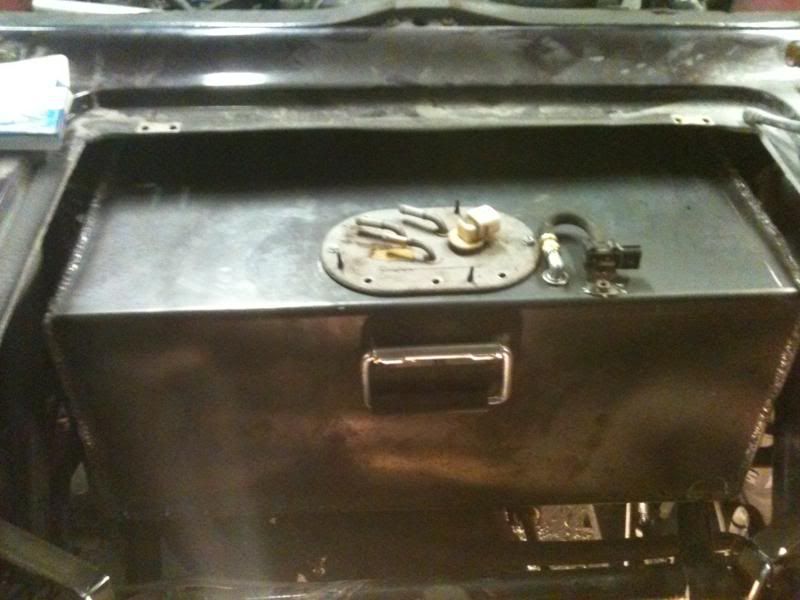 Beginning of fill pipe Going to have to get creative again to hook it up to my cap assembly. 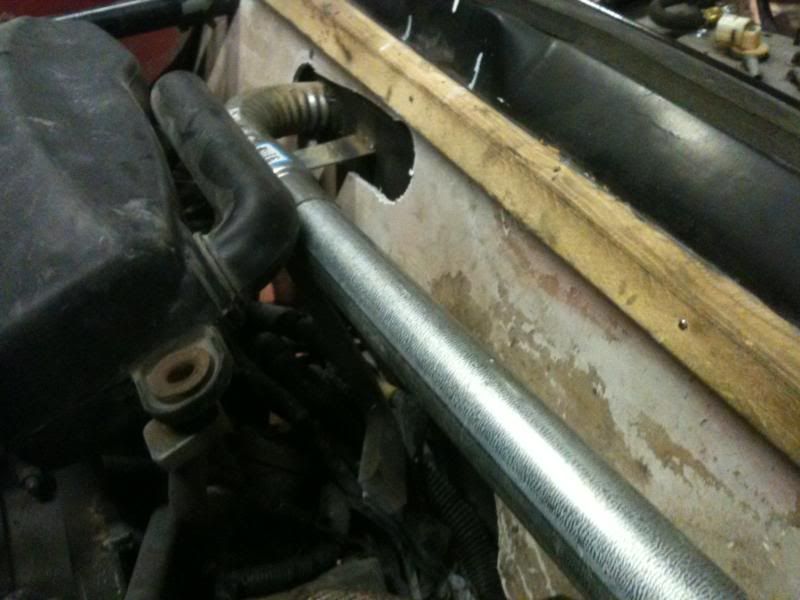 The axles. For some reason the Subaru had 2 different inner cv joints. Probably one is an aftermarket replacement. I had the machine shop turn down 2 1/2 inches of the Subaru axle to 3/4 inch. Then they bored out the VW axle the required amount to achieve a press fit. Total axle length, end to end, is 14 1/8". Next they welded the two together. Finally an 11/32 hole was cross drilled through the axle and a 3/8 grade 8 bolt was machined down to a press fit and installed. This was done to be able to keep the hardened CV splines. They tell me that even without the pin going through the axles, I will destroy the CV before the axle lets go. Time will tell. 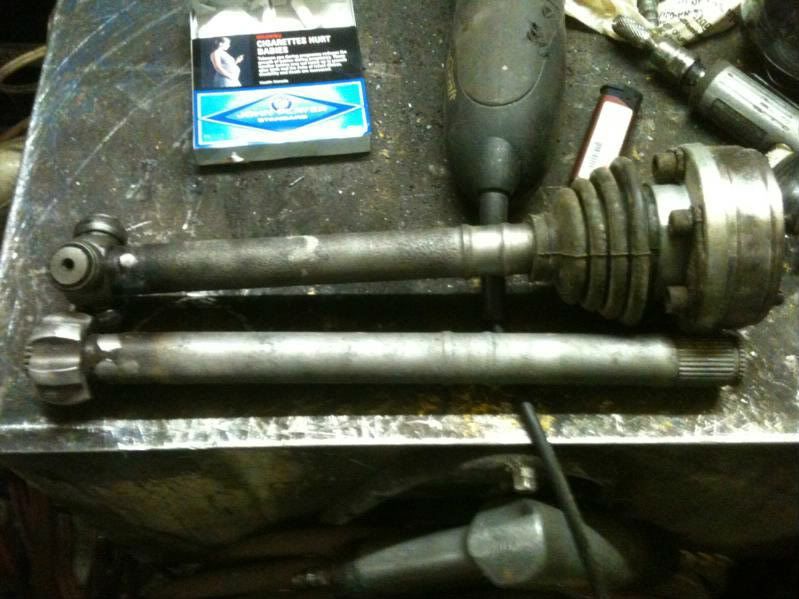 |
|
|
|
Post by Dan MacMillan on Feb 26, 2012 18:31:17 GMT -5
Today I finished assembling the axles and installed them. 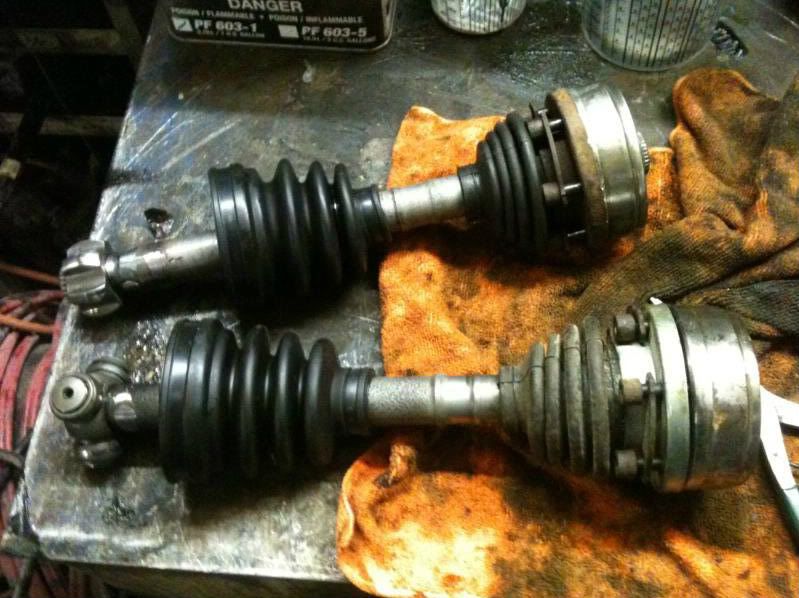 Also built and installed the fuel tank support and straps, Coated the outside of the tank with Hippo 2 part bed liner. Does this stuff ever get hard, feels bulletproof. When the weather warms up I will remove the tank again and put a liner in it. 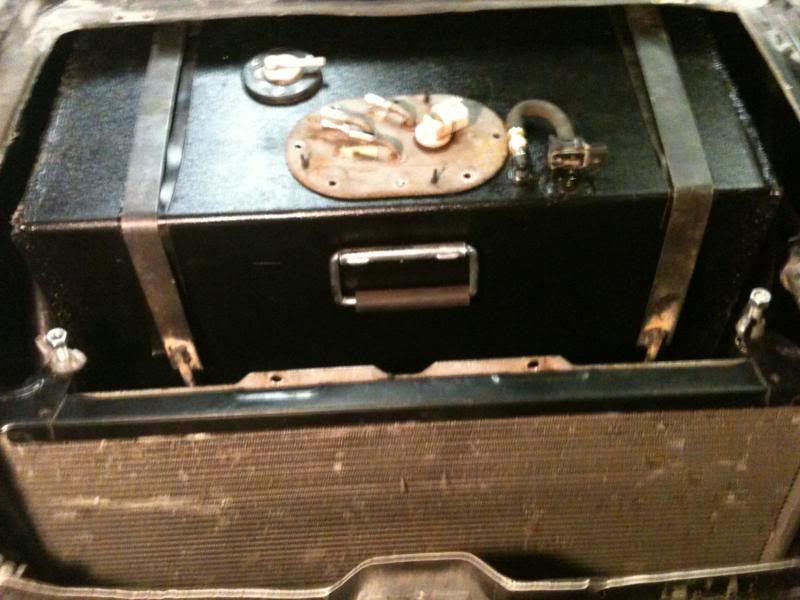 |
|
|
|
Post by Dan MacMillan on Mar 14, 2012 21:02:34 GMT -5
Yesterday was quite the trip. I decided it was time to line my fuel tank. I used a product called Kreem. www.kreem.com/fueltankliner.html It is a very easy process. Wash the tank with soap and water, rinse, add rust remover/etching solution acid part A, rinse, add cleaner/water absorber part B, dump out and add liner. The instructions say it must be a well ventilated area. Well as it still isn't warm enough outside, I got the bright idea to do it in our bathtub- door closed -ceiling fan on. How bad can it be? Washing went ok, fruity smell. Rust removal went ok,, sweet smell. Part B application, downright nasty, powerful enough to revive a dead dinosaur. Liner, Part B on steroids. My cartridge mask for painting had no effect. It was quite the trip. If anyone uses it, do it outside. Today I finished my exhaust. 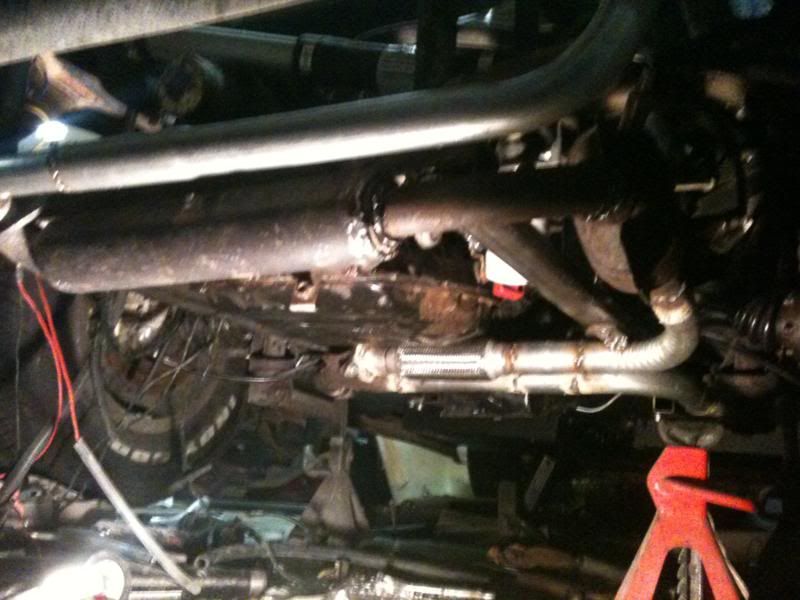 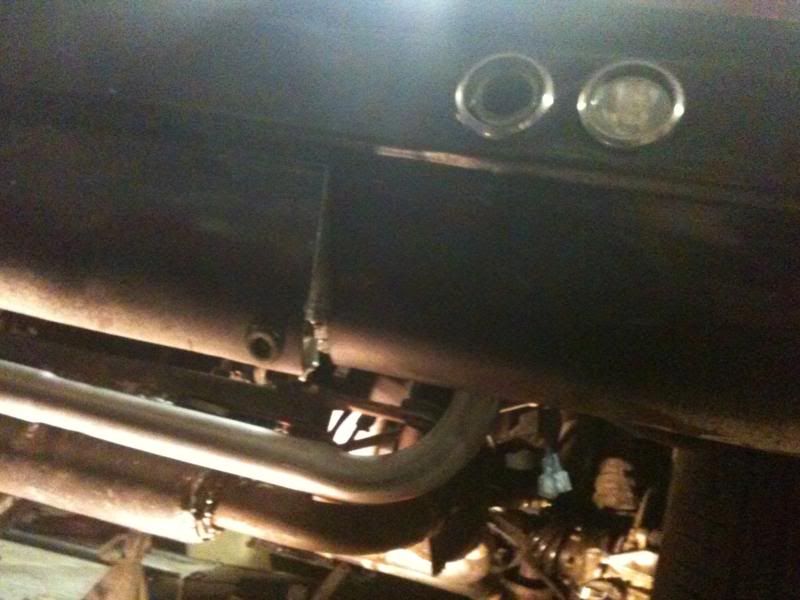 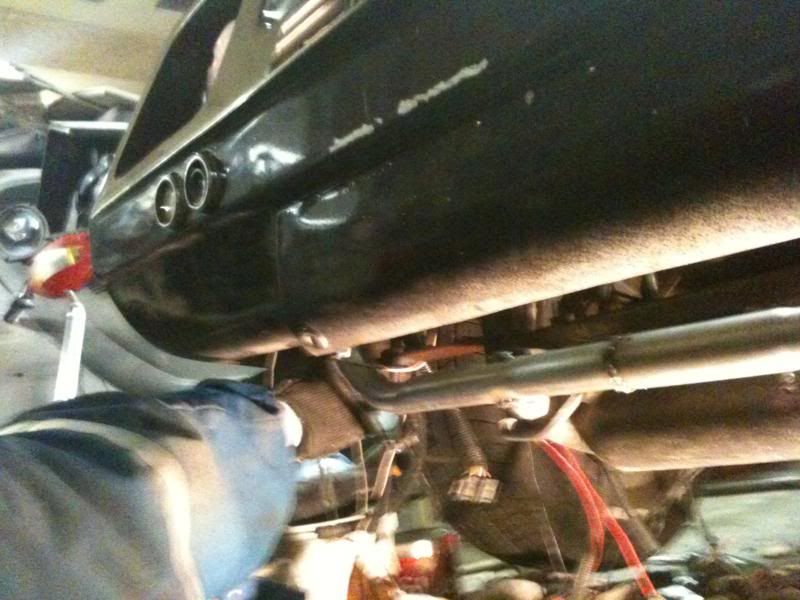 Had to eliminate one cat and relocate one O2, Everything after the flex pipe is solid mounted to the frame. I have done this before with excellent results. Due to the way the resonstor attaches to the tailpipes I may have too much backpressure. Once it is running I can measure the backpressure and redesign the tailpipes if needed. Can't wait to finish all the mods so I can get some paint on this thing. |
|
|
|
Post by Dan MacMillan on Mar 25, 2012 18:34:27 GMT -5
The last few days I tackled the Bradley to Subaru electrical interface. Still need to secure some wiring. 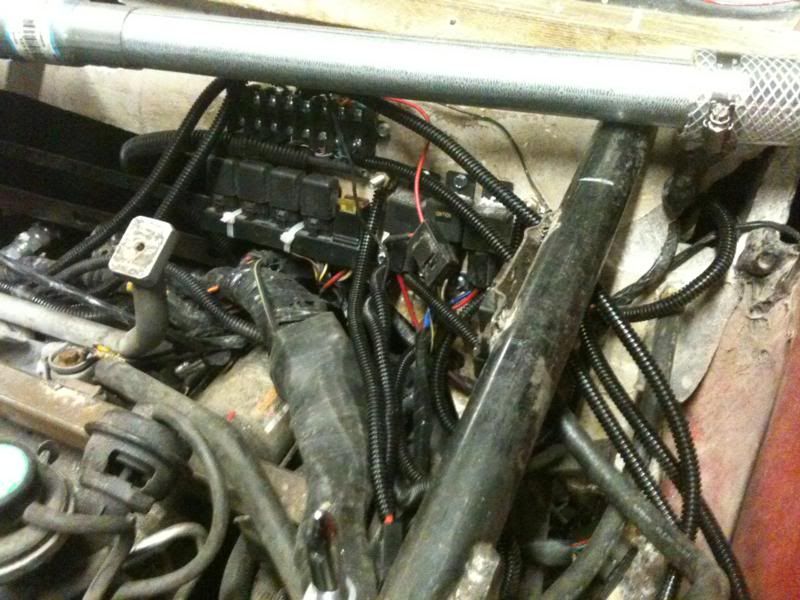 That big rubber taped harness is all the Subaru wiring from the engine and trans to the ecm and relay group. 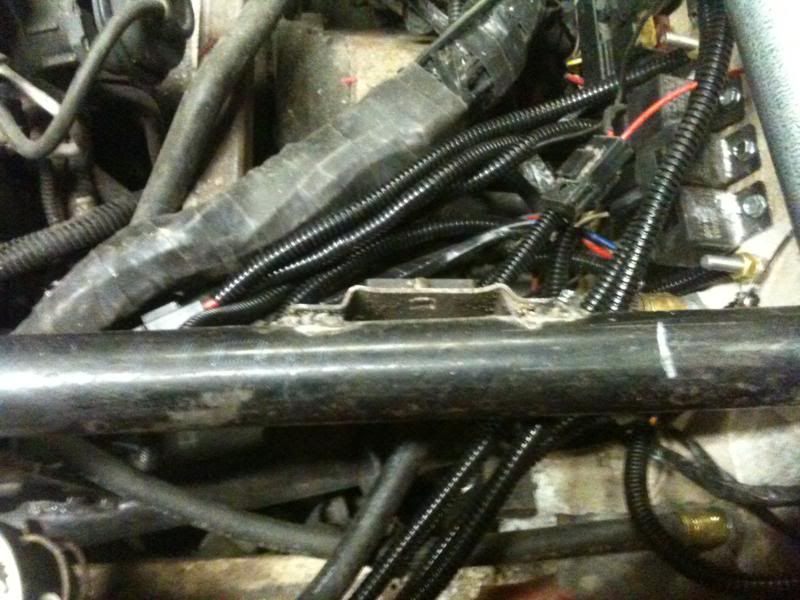 Fuel hose bulkhead fittings. 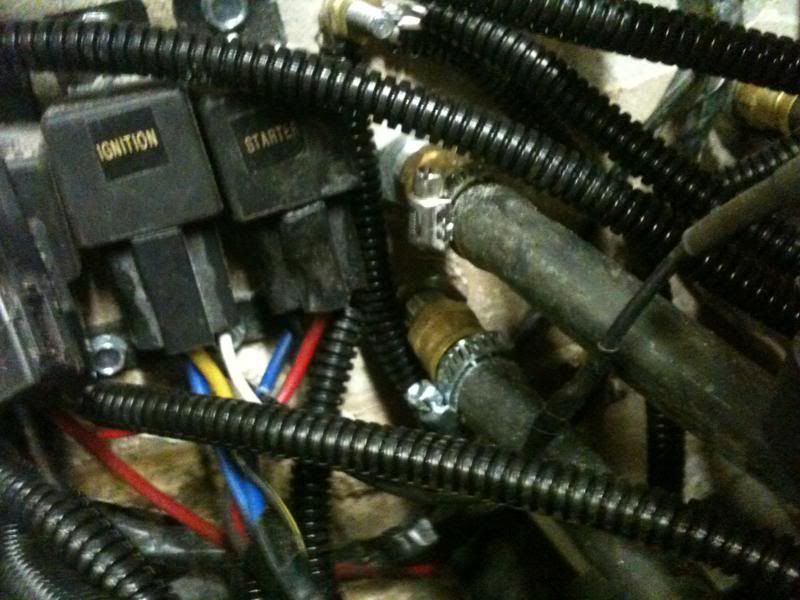 As my battery is up front I used welding cable to run power to the back. Main power coupling. Pinned so it cannot disconnect. 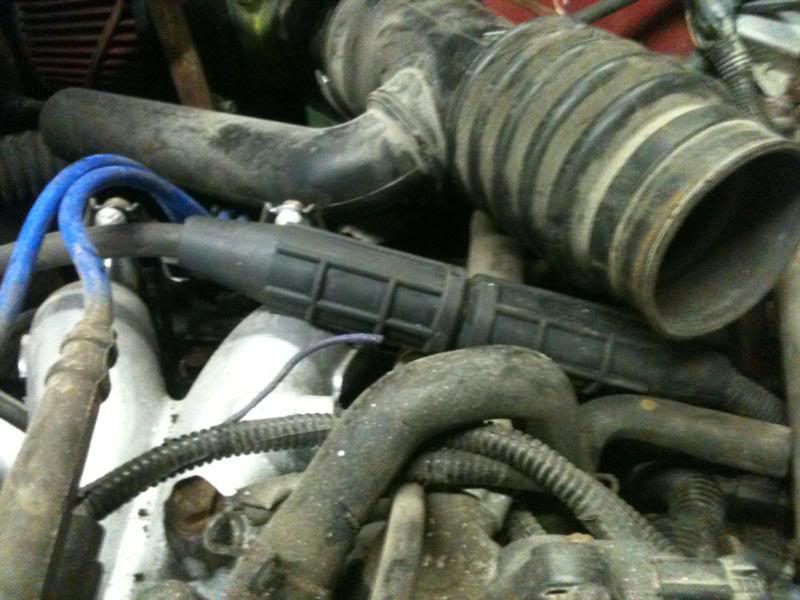 Finished the fuel tank and installed it for the last time. Installed a secondary fuel filler in case the main one is too slow, due to the minimal slope. 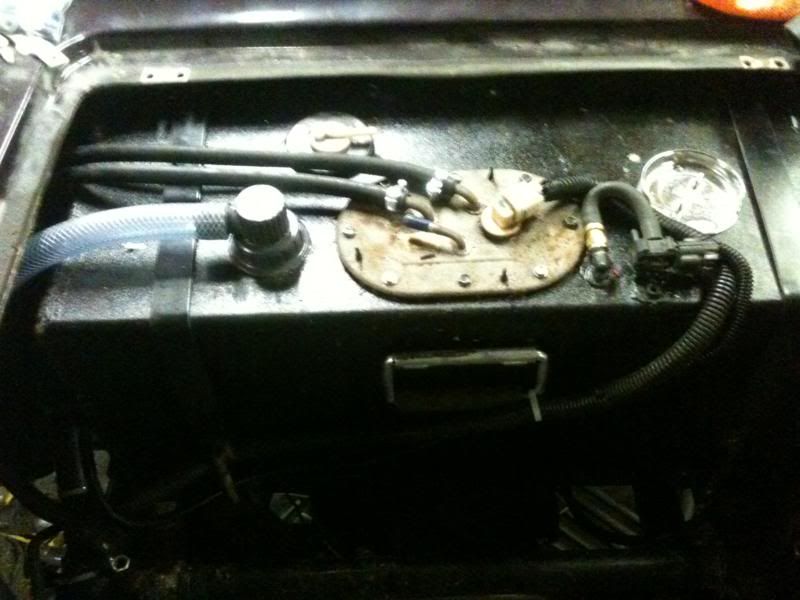 Looking cleaner 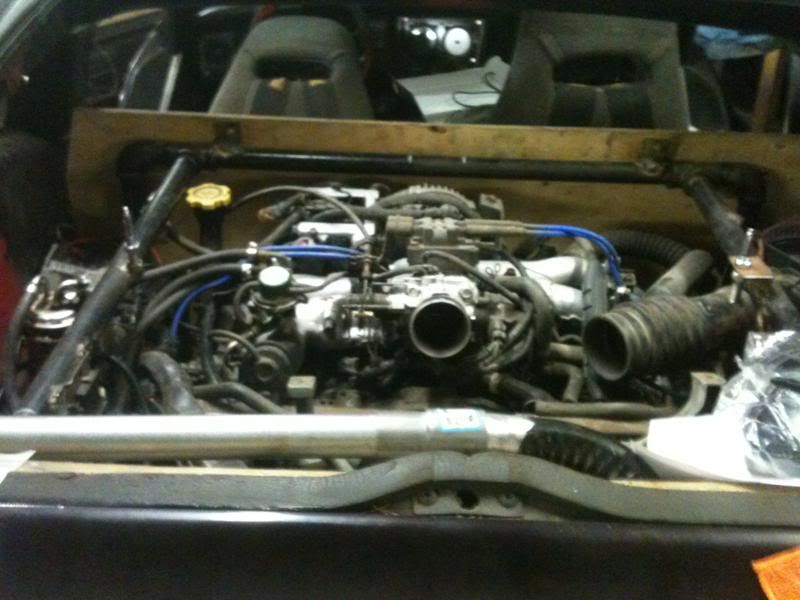 I also installed the evap system. Next is the heater core. Subaru is nice, the tubes on the core are removeable so I can make my own when I figure out where to put it. 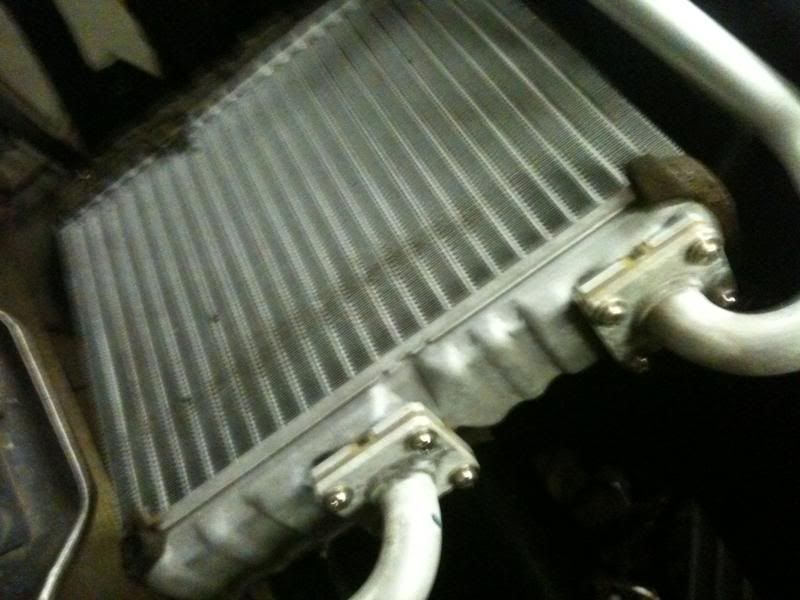 I'm back at work for 4 days then off for another 5. The goal is to fire it up by April 3. |
|
|
|
Post by skip20 on Mar 26, 2012 6:59:23 GMT -5
It's looking good & back on the road soon also.
Mine is just sitting up on the hoist..
|
|
|
|
Post by Dan MacMillan on Apr 1, 2012 16:55:34 GMT -5
The Bradaru is alive ;D ;D
No it is not an April Fools joke.
Have a check engine light due to my fuel sending unit, easy fix. Also during the many times installing the original rad I managed to put a tiny pin hole in the core. I will use a sealer for now so I can finish filling the cooling system to test it out.
|
|
|
|
Post by Dan MacMillan on Apr 12, 2012 16:07:55 GMT -5
Fixed the check engine lights, no codes now. sealed the rad. Did bit more in cosmetics and driveline. Polished and added 3 of the rad grill pieces. Started carpeting the upper engine cover and installed the rear speakers. Finished installing the Subi CV boot clamps. As the Subi wiring includes the Subi speedometer, I brought it up to 60 mph on the stands. Shifts good, gets there real quick and no vibrations.
Put on a whole 2km without leaving the garage.
|
|
|
|
Post by Dan MacMillan on Apr 12, 2012 18:11:57 GMT -5
The grille pieces, Many thanks to John aka MJ for doing the hard part of designing then and cutting them. All that was left was to sand them down with 400 on my oscillating sander them polishing them on my bench grinder. Still have 2 to polish and install. 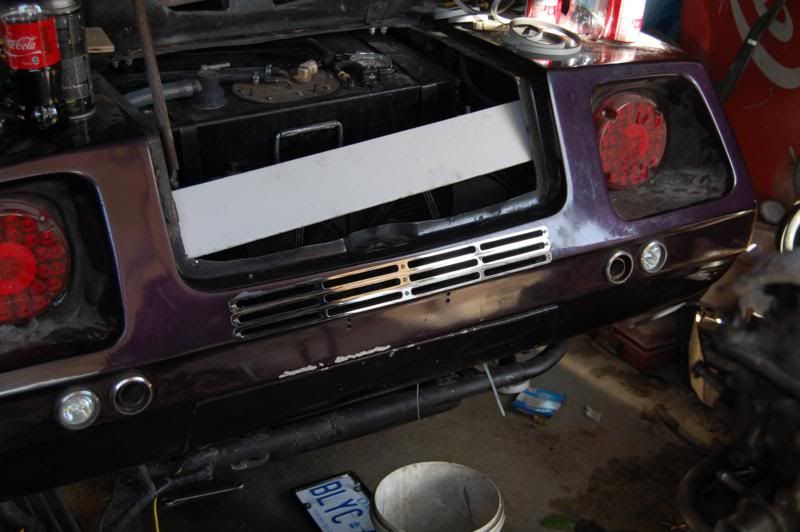 I want your opinions. 1 Should I put the remaining 2 in between the exhaust outlets in line with the others. 2 Should I put the remaining 2 in between the exhaust outlets cut in half and shifted towards the pipes. 3 Should I put the remaining 2 on the panel just below the outlets. Barely visible. Keep in mind option 1 is partially blocked by the license plate. Please give your reasons aesthetically/functionality. Finished the top of the engine cover, clean and simple. 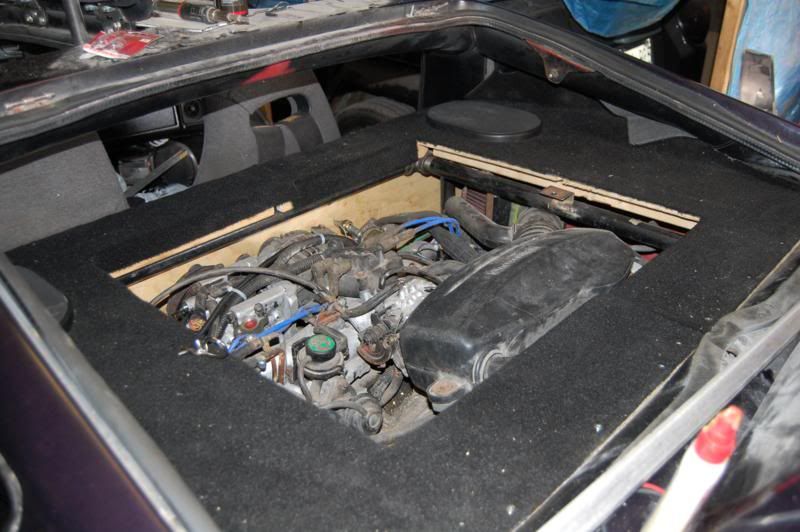 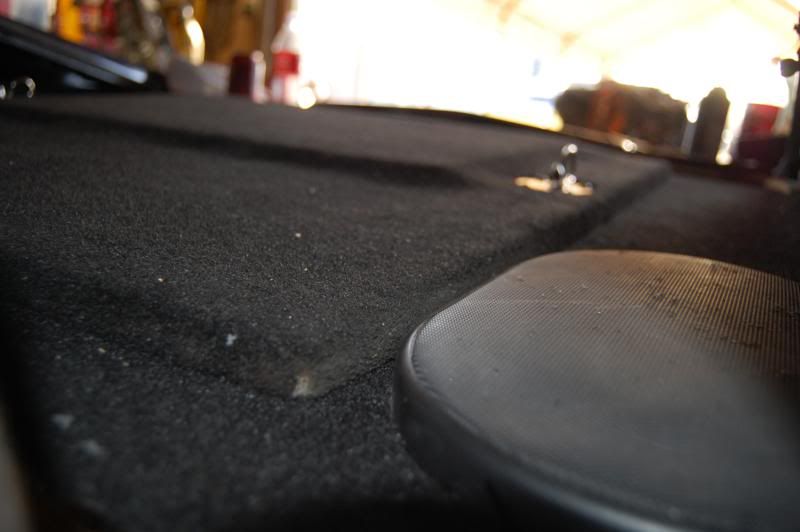 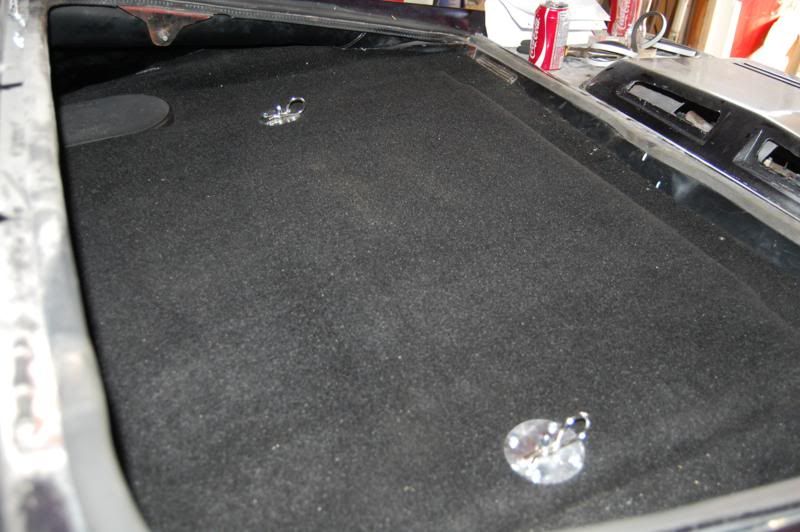 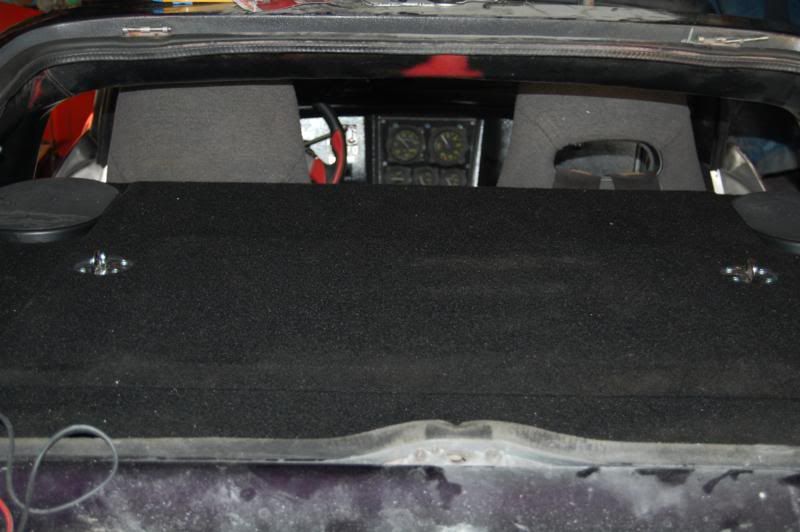 |
|
|
|
Post by Dan MacMillan on Apr 18, 2012 20:47:48 GMT -5
Back to the front, pedal assy. Here is a little upgrade for you all to do. 5/32 hole with a self tapping grease fitting. 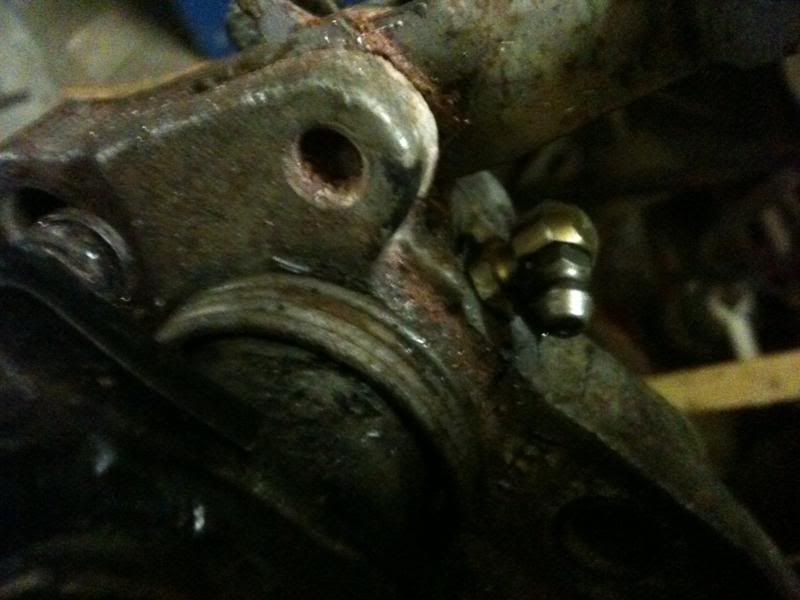 Needed more throttle travel. 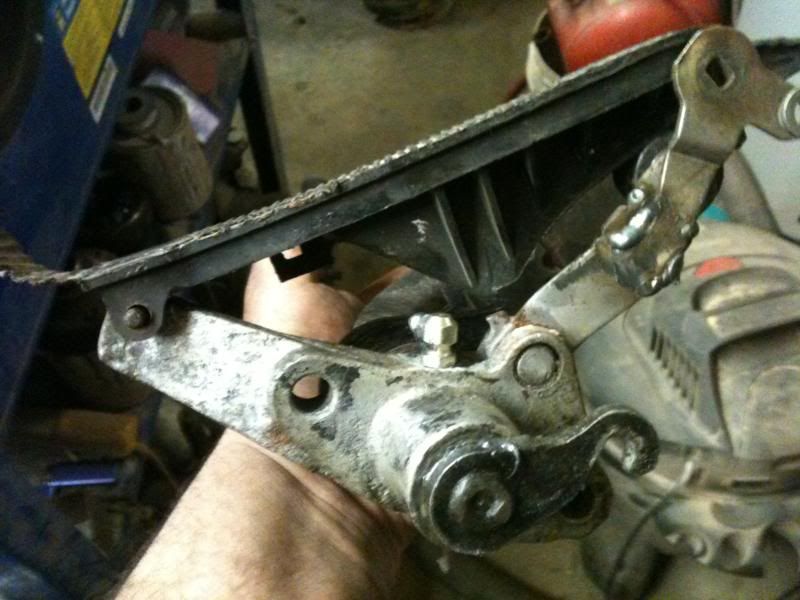 |
|
|
|
Post by horen2tas on Apr 18, 2012 21:57:14 GMT -5
|
|
|
|
Post by Dan MacMillan on Apr 19, 2012 6:23:58 GMT -5
Thanks but it is not an issue. If you have been following this thread you would know I am using a Subaru automatic tranny so the hook is no longer used. In fact my clutch and brake pedals are joined to function as one wider brake pedal. |
|
|
|
Post by horen2tas on Apr 19, 2012 7:17:01 GMT -5
Right you are Dan, there are so many pages of great viewing It didn't dawn on me until after I posted that you were using the Sube auto-tranny with your build. I envy you talent and skills!!
|
|
|
|
Post by Dan MacMillan on Apr 22, 2012 20:56:22 GMT -5
Got some more done. A lot of time went into finishing up the interior. Here is a shot of the inner firewall. Unfortunately this city is out of black boat carpeting so I had to use a different type. Not too bad as I have enough to make floor mats. One of the hardest parts was making the braces that tie the rear frame into the floor and at the same time securing the firewall in place as this all has to be removable. My ecm and transmission control module can be seen when the seat is flipped forward. Beside the ECM is the data link connector. That DVD case at the bottom is my glove box. All important paperwork is inside. Held on with velcro, it is handy when renewing plates ins etc. 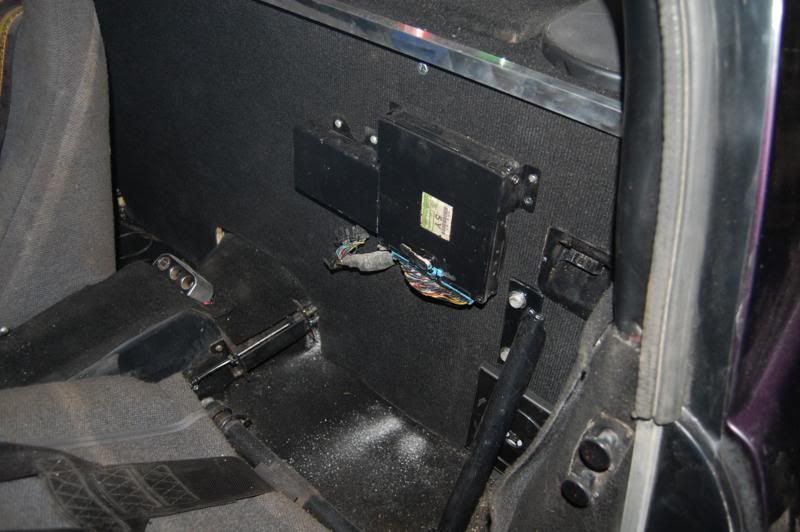 The completed shifter 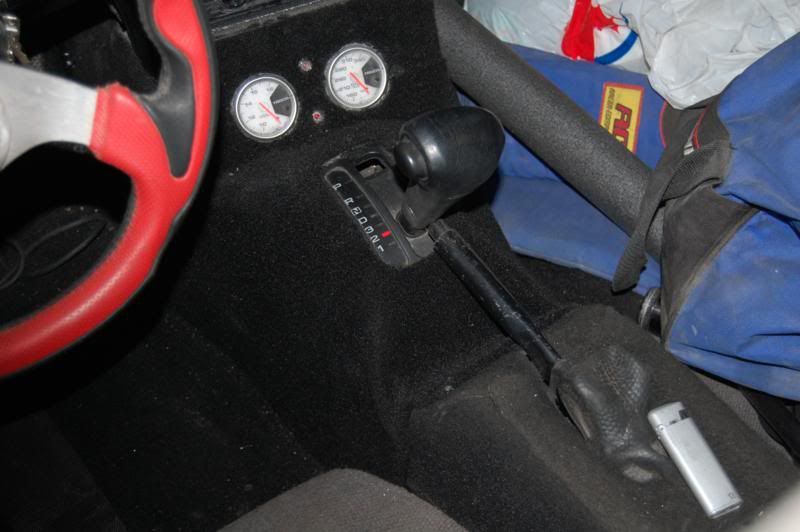 Evaporative emmissions. 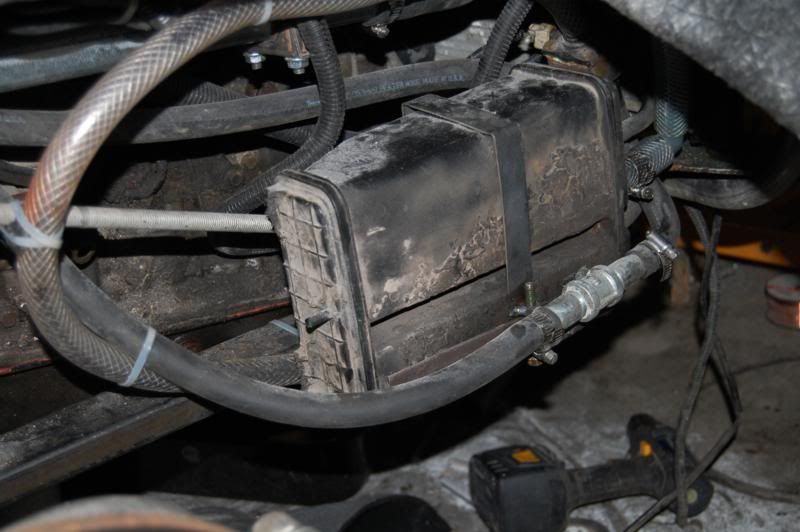 Since no one had any suggestions on my air outlets I bit the bullet and cut the glass once again. 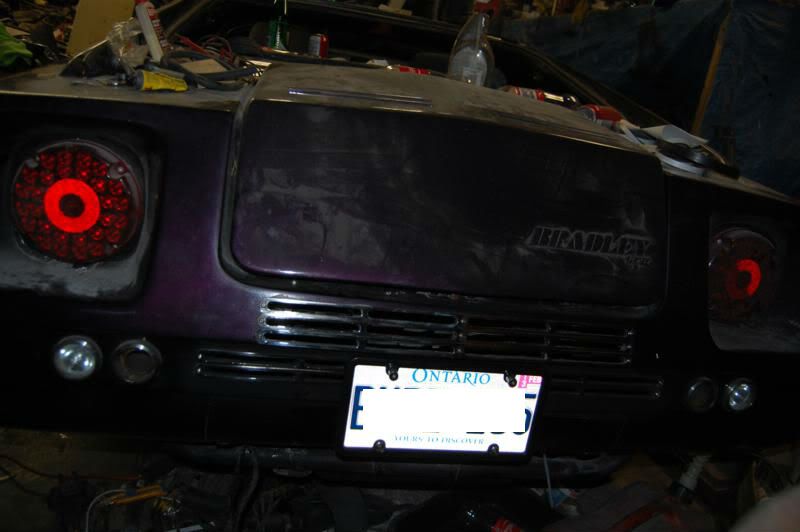 |
|
|
|
Post by dawgdk on Apr 23, 2012 9:56:08 GMT -5
Great job Dan, I loved all the pictures and the build!!
|
|
|
|
Post by skip20 on Apr 26, 2012 4:51:20 GMT -5
 Looking good & a lot of work has gone into this. Great job.
|
|
|
|
Post by Dan MacMillan on May 1, 2012 15:34:37 GMT -5
First test drive done. Goes pretty good. Still some minor bugs. Cranked the rear toe as pos as it will go. Much better handling. Full align in a few weeks.
|
|
|
|
Post by Dan MacMillan on May 18, 2012 17:31:13 GMT -5
I just finished up the heat and will do the AC if I can find a suitable evap core and a place to install it. The heater core/blower has used up most of the fresh air box.  Princess auto. Reg $299 on sale for $125. Went through at $70 after taxes honey START THE CAR}. Fits the fresh air box without mods. 36000 btu. 3 speed dual cage blower. Subaru need coolant recirculating through the heater hoses so I got a 4 hose recirc valve at the wreckers from a ford ranger ( I think ). For the heater tubes I used 2 lengths of 1/2" galvanized electrical conduit 4 pipe unions that just fit over the conduit 4 1/2 barbed fittings that thread into the unions. I brazed one union on one end of each pipe, capped the unions then filled the pipes with sand. Next they were heated with oxt acet and bent to run down the new subframe, 90 deg to the outside of the pan, 90 deg to run down the pan following the shape of the pan then to tuck in behind the front torsion housing. Then the sand was removed and the remaining unions brazed on. I capped on end and applied 60 psi air to leak check. Followed by a good flushing with water. Not much left. I need a vac switch to control water to the heater core and reinstall thev air distribution plenum. It now has 4 air outlets instead of 2. |
|
|
|
Post by Dan MacMillan on May 19, 2012 16:56:59 GMT -5
Wired up the heater, modified the air plenum {will go in tomorrow.} Took it for a 10 mile cruise, so far so good. No overheat problems, the fans do not even come on, holding a steady 210 deg. Axles seem to be doing good, brought it up to 60mph, tried passing gear. Will have to crank the rear spring plate adj another turn. I think next winter I will do a 1" body lift. Stopped in front of 4 cops that were standing outside of a store. All they said was "do you have air conditioning in that thing?"
|
|
|
|
Post by skip20 on May 20, 2012 8:43:04 GMT -5
Check the back of VANS in the junk yards.  The Travel or camper type. In the back corner you will find at the rear A/C unit. The outlets hang from the ceiling. If you see them, get the A/C unit. Looks a lot like your heat, but it have 4 outlet cover on it & you can get ALL the hoses you will ever need & the out vents also. Get the switch off the dash or rear. It's the ON/OFF & FAN 3 SPEED. Make sure you vent the fans for fresh air also. You can get A/C hoses made up to fit you need, just the hi pressure line, the low pressure is just a hose with cramps to hold it. Get a new dryer can also. You can use the Subaru A/C pump on the engine. See how you rad. is in the back it should be easy. It will fit in the pocket on the Bradley GT II & get a smaller heater.Maybe you could us the fans from the A/C unit onto just the heater section???  There a group of switches up front overhead which may com in handy also |
|
|
|
Post by Dan MacMillan on May 20, 2012 12:54:26 GMT -5
Thanks for the tip. I was thinking of mounting the evap directly between the heater and the outlet vents and using the heater fans. I can shut down the water to my heater core. Also my dash vents are adjustable for air flow. My condenser will have to go up front with it's own fans as there is no room at the back. What do you think?
|
|
|
|
Post by Dan MacMillan on May 20, 2012 19:34:27 GMT -5
|
|
|
|
Post by skip20 on May 21, 2012 13:02:17 GMT -5
WHAT dry sump oil system of mine to make the long trip there
|
|