|
|
Post by Dan MacMillan on Dec 21, 2011 21:57:19 GMT -5
Make what?
|
|
|
|
Post by Dan MacMillan on Dec 26, 2011 17:34:23 GMT -5
Spent a few more hours in the garage today. Finished the upper trans mounts on the chassis, installed the starter and the fuel filter mount. Lastly I built the lower rad mounts and test fit the rad. Sandblasted the stock Subaru upper rad mount.
Tomorrow I need to find a lower rad isolation rubber so I can locate the upper rad mount.
|
|
|
|
Post by whcgt on Dec 26, 2011 17:55:59 GMT -5
Are you going to have a strong air conditioning unit...with the powertrain intruding right behind your seats? What about the fumes & noise? Will you make a double layer firewall(with insulation sandwiched in between)?
|
|
|
|
Post by skip20 on Dec 26, 2011 18:46:44 GMT -5
Good work & looking good. I'm keeping an EYE on you!  Hope you had trans fluid in it when you started it. It will come out the rear! Idea on the AWD auto trans rear output. Maybe you could cut the yoke off of the drive shaft making sure it's still plugged in the rear. Then slide it on the output & pin the two together. Nice thing about the auto trans is you can get a new cable made up to get it all the way to the back. Don't forget to loop the cable back to the trans so it will shift correctly.  Where are you mounting the Rad.? In front of the engine? How are you going to get the air flow to it? MR2 has a great little fan on the side inlet to get air into the engine comp. I have the setup & not going to use with all of my scoops. PM me if you can't find it. |
|
|
|
Post by Dan MacMillan on Dec 26, 2011 20:07:37 GMT -5
Are you going to have a strong air conditioning unit...with the powertrain intruding right behind your seats? What about the fumes & noise? Will you make a double layer firewall(with insulation sandwiched in between)? Starting without ac. If it gets too hot, I have the factory Subaru unit I can use. Will definitely have an insulated firewall. |
|
|
|
Post by Dan MacMillan on Dec 26, 2011 20:16:01 GMT -5
Good work & looking good. I'm keeping an EYE on you!  Hope you had trans fluid in it when you started it. It will come out the rear! Idea on the AWD auto trans rear output. Maybe you could cut the yoke off of the drive shaft making sure it's still plugged in the rear. Then slide it on the output & pin the two together. Nice thing about the auto trans is you can get a new cable made up to get it all the way to the back. Don't forget to loop the cable back to the trans so it will shift correctly.  Where are you mounting the Rad.? In front of the engine? How are you going to get the air flow to it? MR2 has a great little fan on the side inlet to get air into the engine comp. I have the setup & not going to use with all of my scoops. PM me if you can't find it. Tranny was full. I made a cover that goes over the tailstock so nothing is spinning externally at the rear. Any idea where to get the cable made? Rad is behing the trans for now. The fuel tank will be in front of iy starting at the rear firewall. As the tank is slopped to the rear, I am hoping air from the stock hood will be directed into the rad. vAir scoop from the bottom to direct air up into the rad. Dual fans with air deflector down out under the license plate. Also I plan to have exit vents above the lic plate. |
|
|
|
Post by Dan MacMillan on Dec 29, 2011 18:00:11 GMT -5
|
|
|
|
Post by leonardabell on Dec 29, 2011 23:14:07 GMT -5
So which are you running in the radiator, Pepsi or Coke? ;D
|
|
|
|
Post by Dan MacMillan on Dec 30, 2011 2:55:14 GMT -5
|
|
|
|
Post by smyrnaguy on Dec 30, 2011 7:17:51 GMT -5
The machine pistol in the door is way cool but I imagine it might panic an approaching cop at a traffic stop. Sweet flames. Bravo.
|
|
|
|
Post by Dan MacMillan on Dec 30, 2011 7:44:13 GMT -5
Cops around here are cool with it. Even without the red paint on the barrel. Cops up here can tell the difference between a cheap toy and the real thing. There is a matching one in the other door. Now hitch hikers are a different story. Picked up a young girl who needed a ride. She was thrilled to be getting a ride in such a cool car. After she said where she was going she looked around, saw the guns and grenade, she looked straight ahead and did not say a word for the whole 20 minute ride. Probably scared her into thinking twice before accepting a ride from strangers.
One of my buggies has rotating license plates, Gives the cops a good laugh when I tell them it is to confuse them.
|
|
|
|
Post by Dan MacMillan on Dec 30, 2011 18:38:52 GMT -5
Managed to get some more done today after a cleanup of my garage. Spent about an hour underneath cutting and removing the remains of the frame horns. This has given me enough clearance so that I can modify the original oil pan instead of having to make a new one. Another hour spent on the remote filter adapter. As purchased it would not spin on. Had clearance issues between the adapter and the block. After many trips between my bench grinder and the car, slowly removing the 2 corners on the adapter, I was able to get it installed and in the correct position. with #10 jic x1/2 pipe fittings. Then another trip into town to get 2 #10 hydraulic hoses made up. Today was my lucky day. The store no longer sells #10 hose but had 2 leftover pieces that were long enough. I supplied my own fittings. Total cost to buy the hose, have them cut it to length and crimp on my fittings...$6.00
|
|
|
|
Post by Dan MacMillan on Dec 31, 2011 17:37:59 GMT -5
Today was a short one. I installed the oil filter hoses and mounted the filter assembly. One hose has hose wrap installed. This was done to help identify the hoses. Eventually they will both get wrapped. 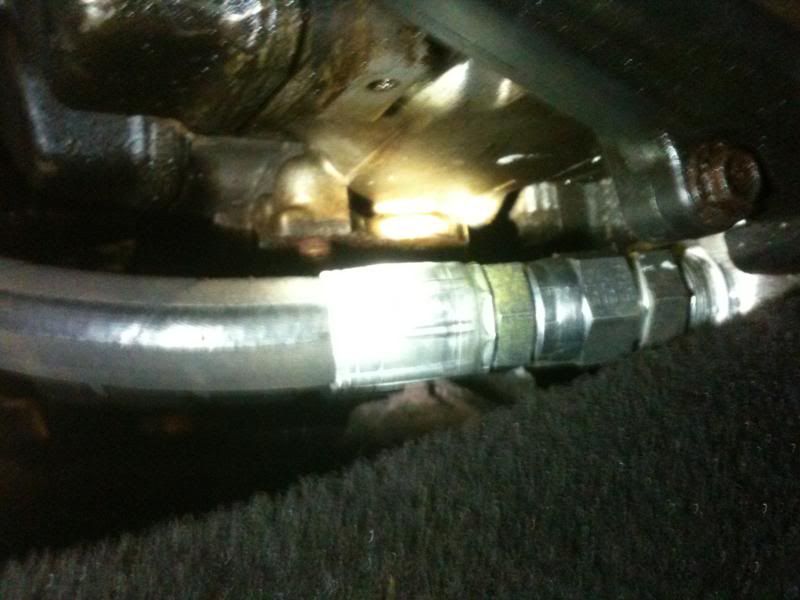 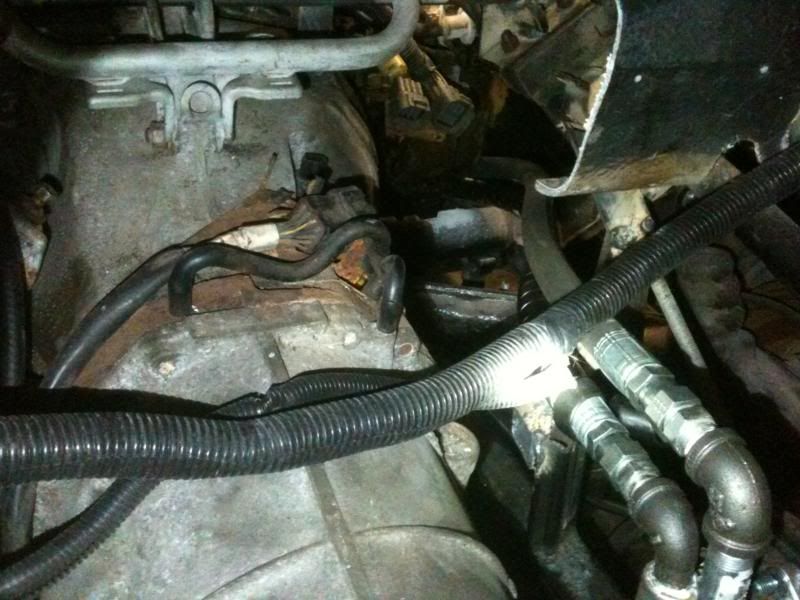 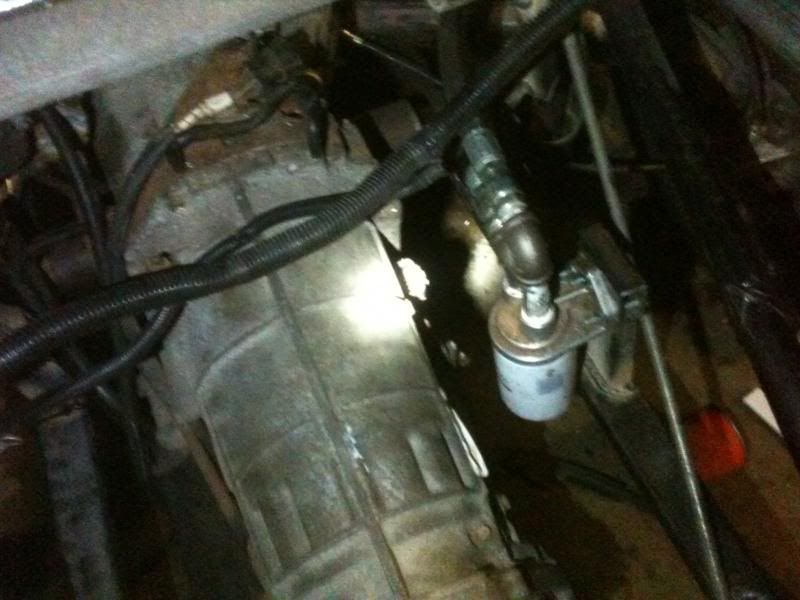 I also made a mockup fuel tank out of 1/4" foam board. It started out just over 15 imp gal but would not fit. Trimming 2 gal was necessary. Using the fuel economy rating for the roughly 3000 lb Legacy I come up with just over 500 km/ 310 mi per 13 gal/49.2l {tank}. Due to the considerable weight difference and the better aerodynamics I should see over 600/372 per tank. At todays price of $1.23/litre it would cost $60.50 to fill it. For me to drive my 2003 windstar to Toronto, 388 km, it costs me about twice as much. 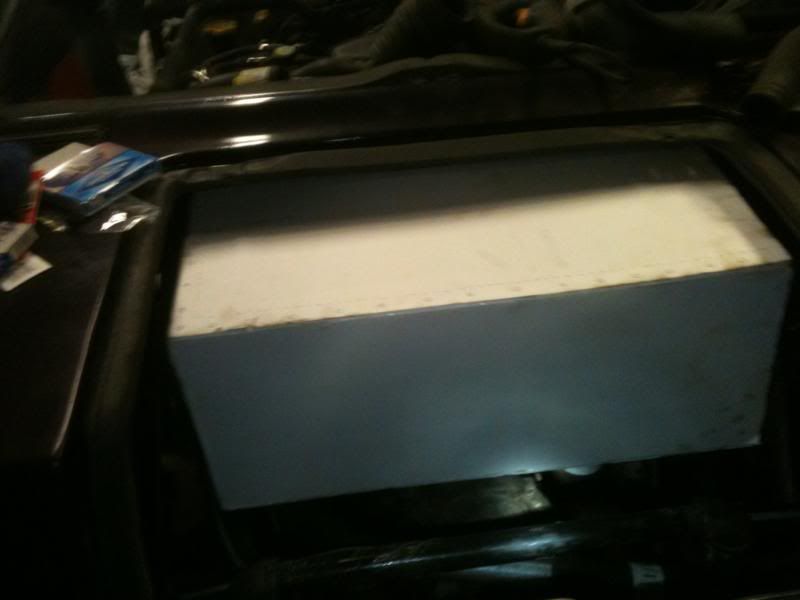 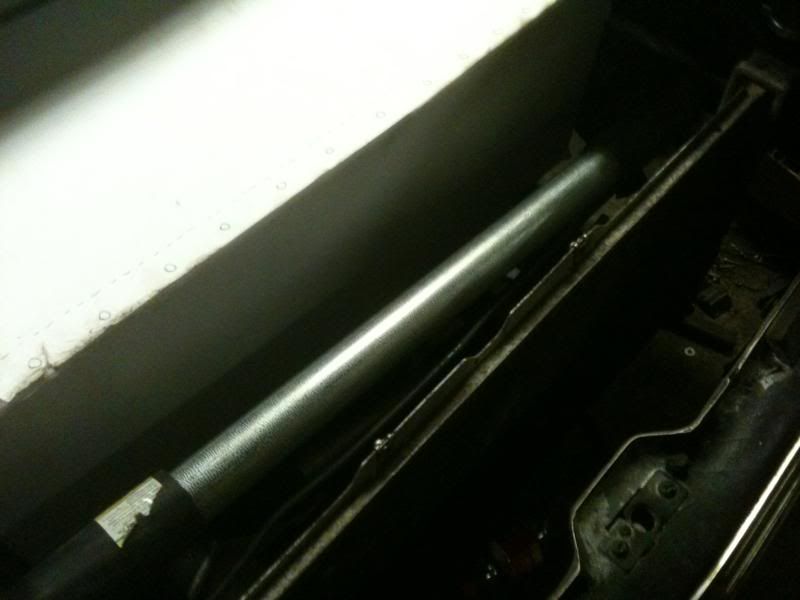 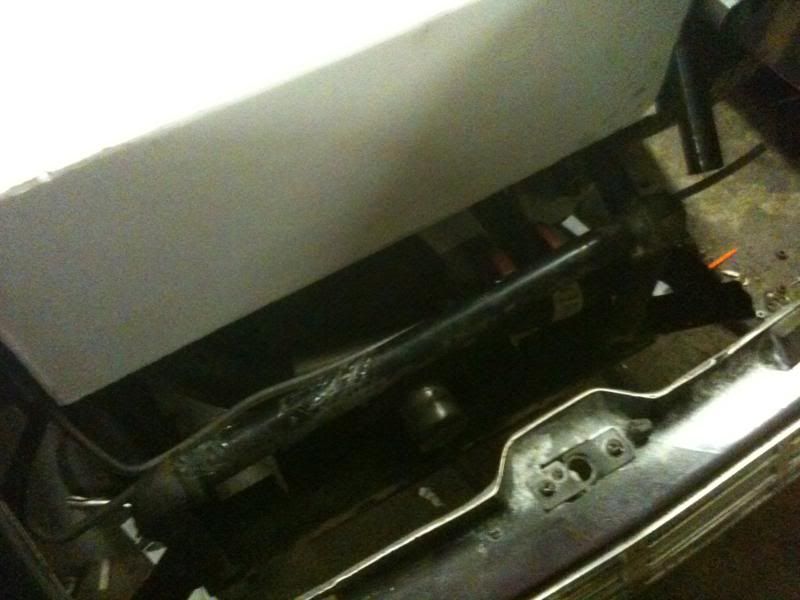 The rad has 2 cooling fans but I may have to install a third under the stock engine cover. Someone asked if I was having the engine under glass. Initially I was not but today my son suggested that I build a vertical wall in front of the engine. with a clear window in the top. This way I would have quick easy engine access just by opening the rear window. Also by running with the rear glass partially open it should draw air from under the car to help cool things down. What are your thoughts? |
|
|
|
Post by Dan MacMillan on Jan 1, 2012 17:27:28 GMT -5
Today was oil pan day. This is the space I had to work with. Once I pull the engine the cut frame horns will be cleaned up and new 12ga steel will be added to reinforce the diagonal arm brackets and torsion housing to chassis. 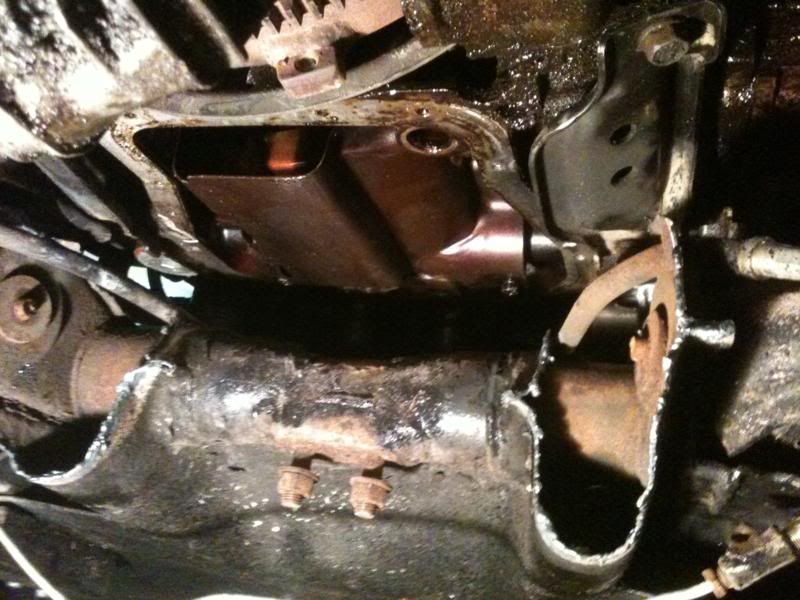 This is the stock pan. 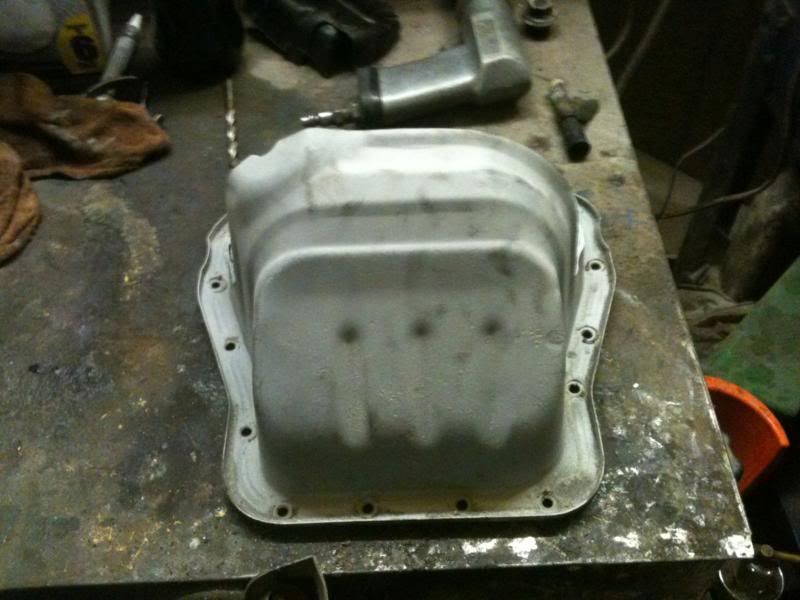 Notch removed to fit in with enough clearance. 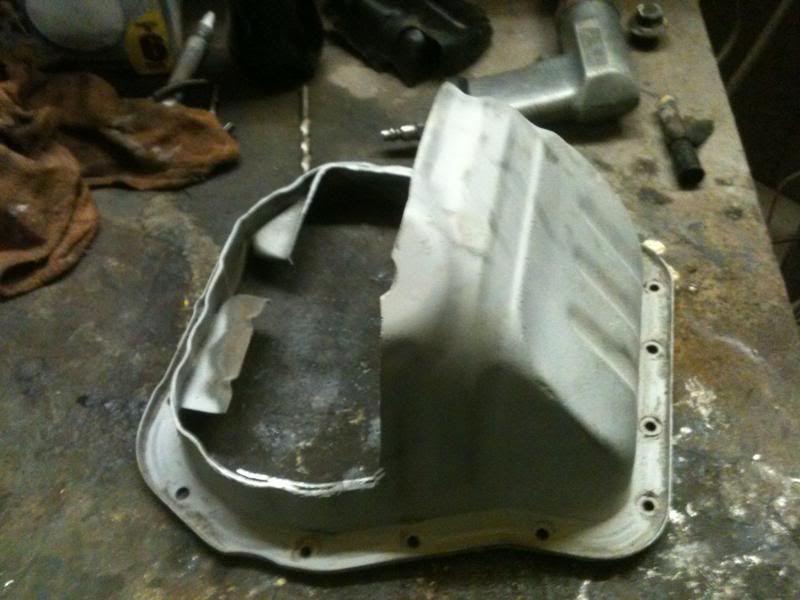 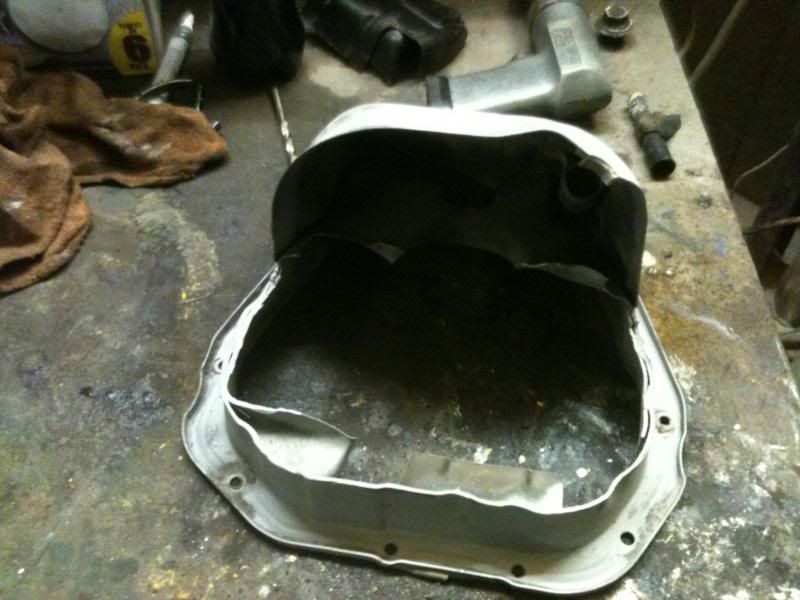 Not pretty, yet, but it is now 3/4 quart bigger and clears everything with ample ground clearance. 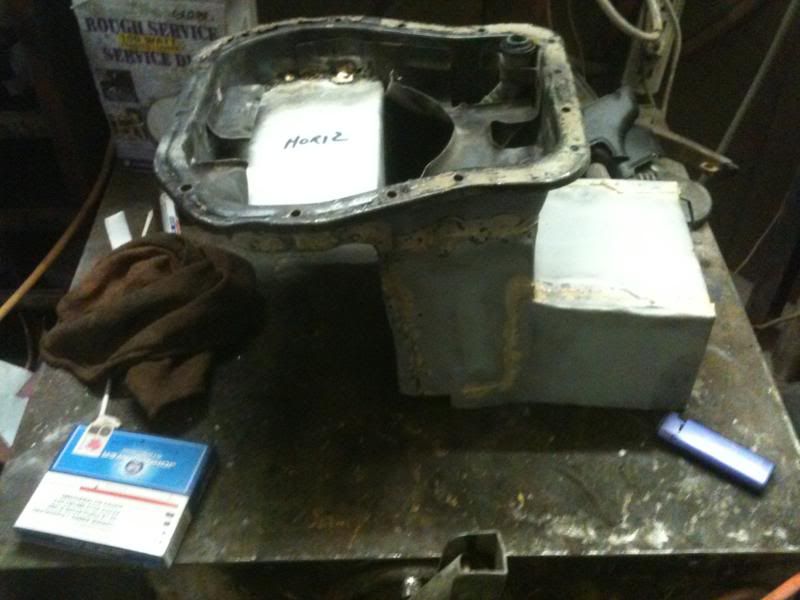 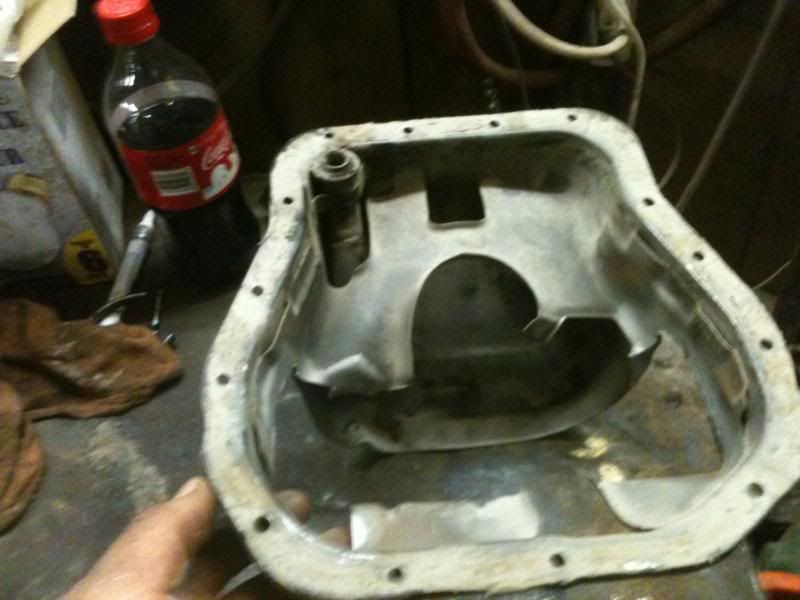 Still have to clean it up and coat it. Once the engine is out I can do the pickup tube. |
|
|
|
Post by Dan MacMillan on Jan 3, 2012 14:58:16 GMT -5
Engine is now back out. Now the fun begins.
Oil pickup tube, finish oil pan, restructure chassis and gusset cage, Clean up engine to make it look pretty, engine back in.
Holidays are over, back underground for 2 night shifts then off for 5. Hoping to complete the above before Jan 11.
|
|
|
|
Post by richardevers on Jan 5, 2012 14:13:54 GMT -5
Enjoyed looking, keep the pic comming Rick from Mississippi
|
|
|
|
Post by big bob on Jan 6, 2012 16:45:39 GMT -5
looking good dan,
i cant even wrap my head around that much work.....
keep inching toward the finish line!
big bob
|
|
|
|
Post by Dan MacMillan on Jan 6, 2012 17:25:24 GMT -5
THANKS FOR THE COMPLIMENTS.
Got off work at 5:30 am, home a 7:30 am, 2 hours sleep then into town to pick up a few more parts and more propane for the furnace. Back into it in the morning, got 4 more days to get the engine back in.
I posted the following ealier but got no replies so here goes again.
Someone asked if I was having the engine under glass. Initially I was not but today my son suggested that I build a vertical wall in front of the engine. with a clear window in the top. This way I would have quick easy engine access just by opening the rear window. Also by running with the rear glass partially open it should draw air from under the car to help cool things down.
What are your thoughts?
|
|
|
|
Post by Dan MacMillan on Jan 7, 2012 21:36:31 GMT -5
Valve covers all clean and blasted, oil pickup tube finished, lower rad support rubbers finally here and installed, new longer coolant tubes are done.
|
|
|
|
Post by Dan MacMillan on Jan 8, 2012 22:41:07 GMT -5
Stripped a bunch of parts off the engine, blasted and painted. Removed timing belt covers to check condition of belt, cleaned covers. Final touches to oil pan, now ready for a coat of glass. Cut and prepped some of the final frame bracing. Had to reshape the stock windage tray to allow for oil pickup tube clearance.
Tomorrow is welding frame and glassing pan day. Pictures will be included.
|
|
|
|
Post by big bob on Jan 9, 2012 9:53:53 GMT -5
hey dan,
if you're talking about a clear sheet as a firewall between driver and engine, i would say probably not. i think a strong thick solid firewall would keep fumes and noise out.
but if you're talking about looking down on the engine through a clear sheet, that could be cool....
big bob
|
|
|
|
Post by Dan MacMillan on Jan 9, 2012 22:02:07 GMT -5
Firewall will probably be 1/2 ply, insulated on engine side, carpetted to match inside. I still have to check if my 914 rear window will fit above the engine cage. This will all be sealed to the interior if the body. Well do to the fact that i am 6'2" 300 lbs I quickly realized that I was not going to fit in the rear seat area to clean things up. So after tracking down my 6'5" 140 lb son and bribing him with cash we were able to get lots of the lower eng bay/torsion housing area cleaned up. Was he ever bent like a pretzel. Better him than me. if it were me I would have needed the overhead winch to get out. Cleaned up torsion/factory cradle arms waiting for reinforcing plates. 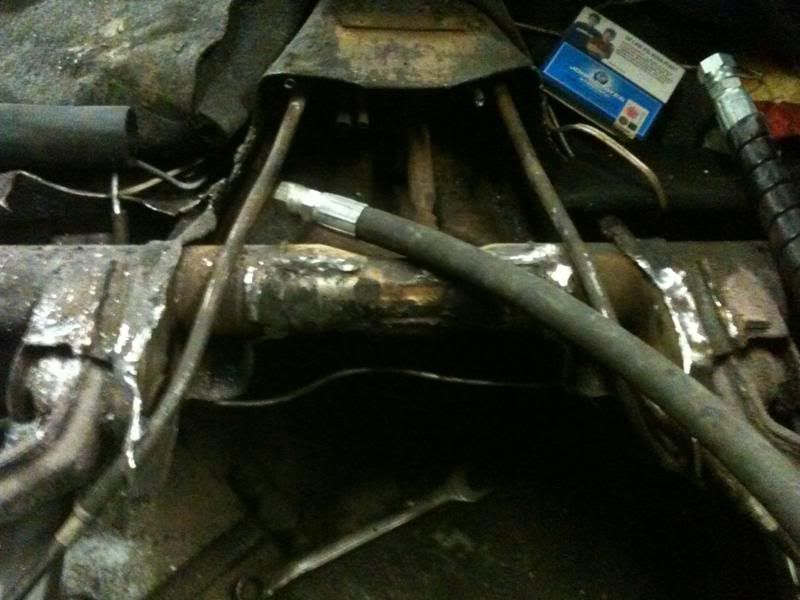 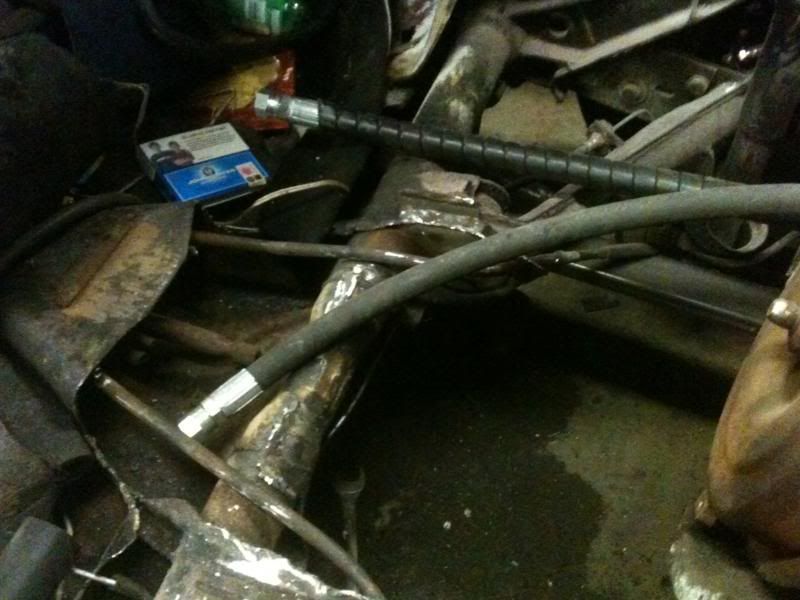 Added 2 bars to rear susp from shock tower arms {Beetle body mounts} to engine cage. age will contonue down to floor along side seats from a point just above these newly added tubes. 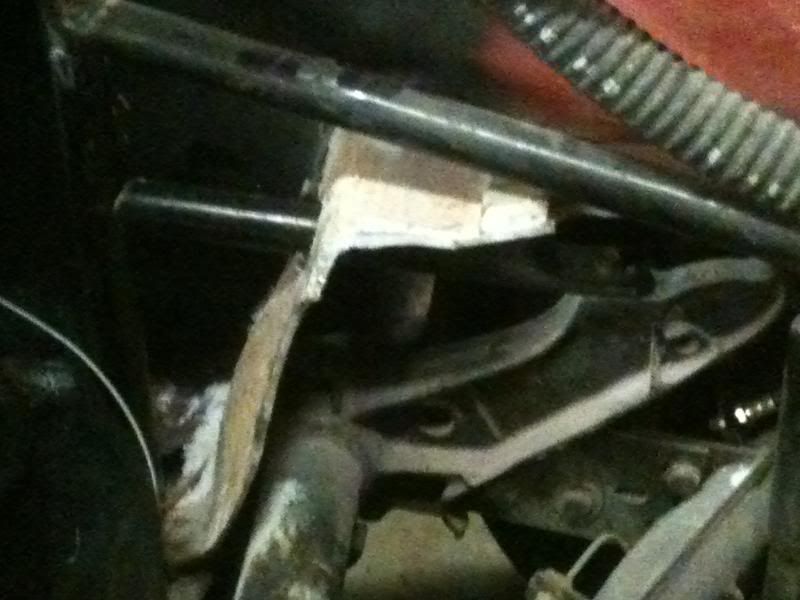 The oil pan is now finished 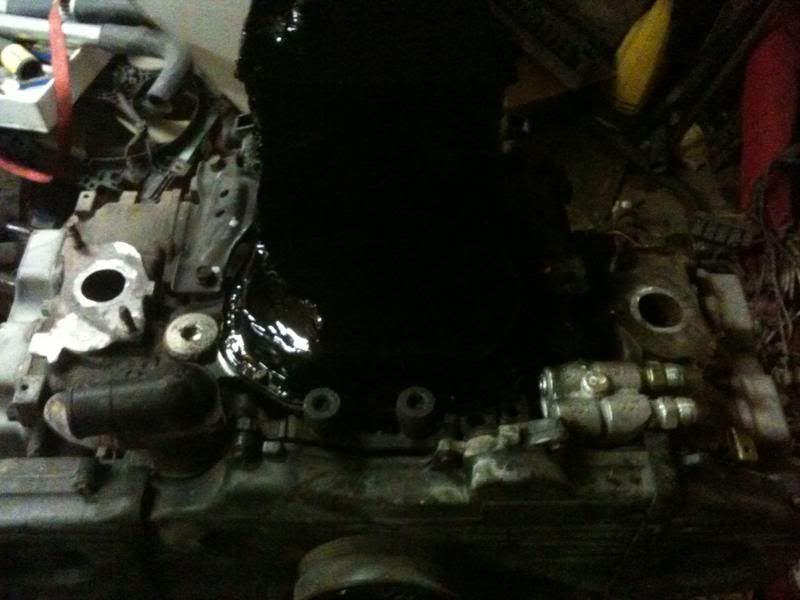 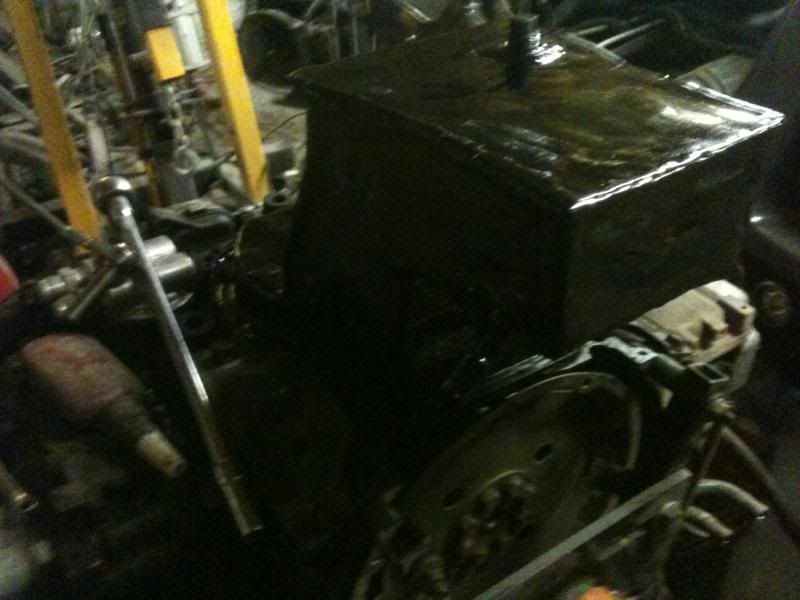 Stock oil tube showing failure.  Modified oil pickup tube. 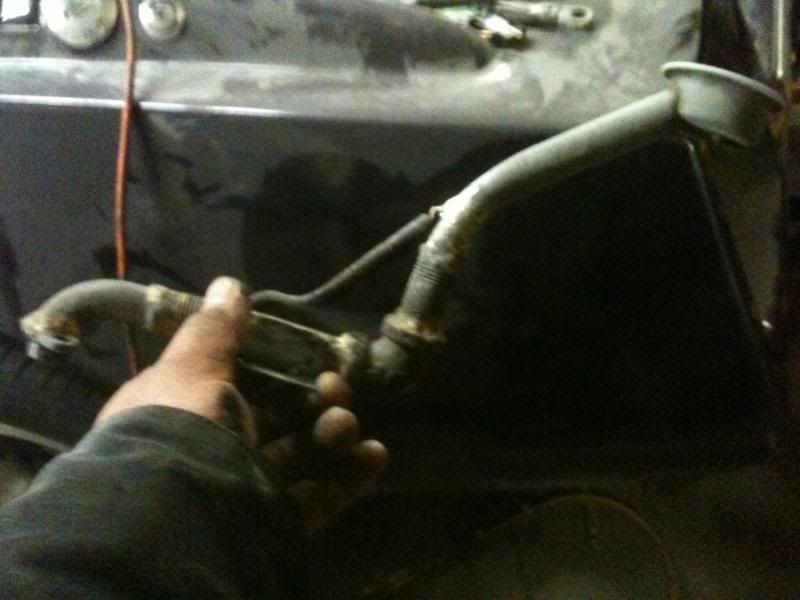 Further research has indicated that I will need more bracing on the tube. The above failure is addressed by bolting it to the windage tray just before the 90 deg corner. The long brace attaches to the block. A secong brace closer to the screen end will go to the block. Although you see brazing on the joints, they are all mig welded first. The bazing is done to ensure no leaks. Topside getting there. Completely stripped alt to blast housing. 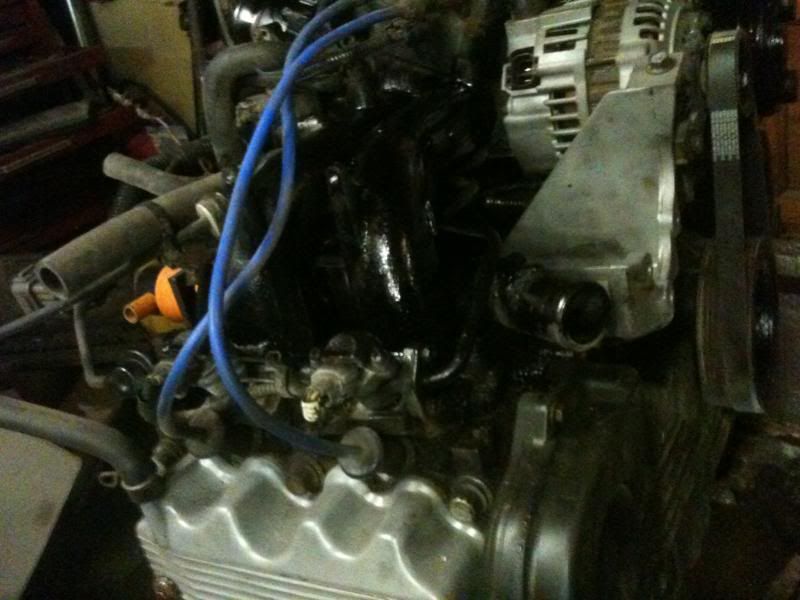 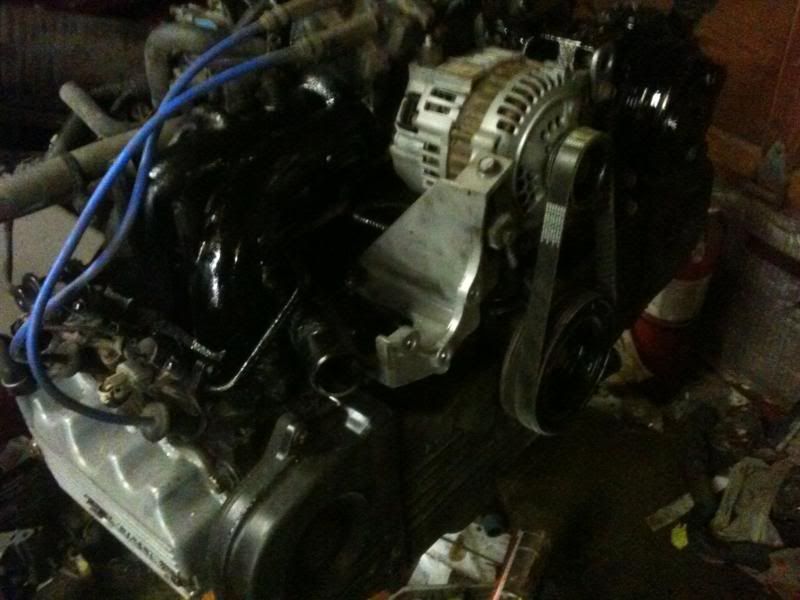 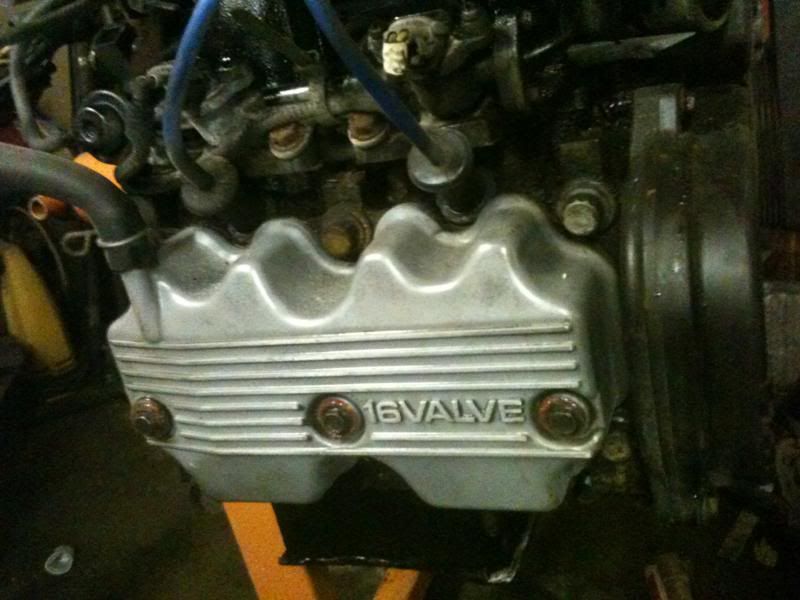 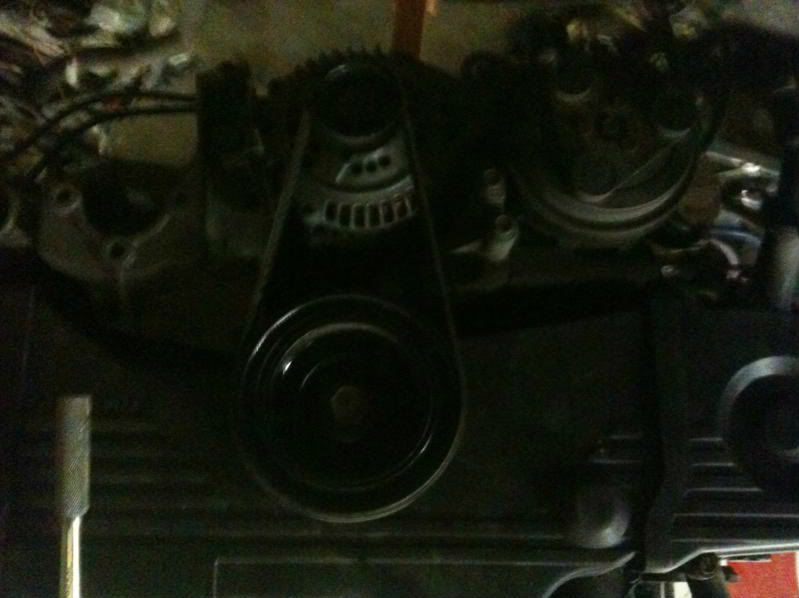 Located a source for a 15 foot shifter cable for $30. Looks like another delay. Just found out we have a family lunch tomorrow, my last day off. |
|
|
|
Post by Dan MacMillan on Jan 17, 2012 16:04:35 GMT -5
As I was not satisfied with the outxome of my oil pickup tube I made a new one today. I found some 3/4" steel tube. filled it with sand tightly packed, and heated the tube so it could be bent. I went from 4 welded jointsto one. The tube is also much lighter so the bracing should be more than strong enough to prevent cracking. The only welded joint is just after the block attachment point. I also sleeved this joint. As I did before, I double sealed the welds, mig and bronze. The oil pan is now on for good. I usedd a Permatex product called Right Stuff for the gasket. This product is awesome where a silicone type gasket is required. It is expensive though. $22.00 for a 5 0z tube. This fits a standard caulking gun but is 1/2 the length of a normal tube. 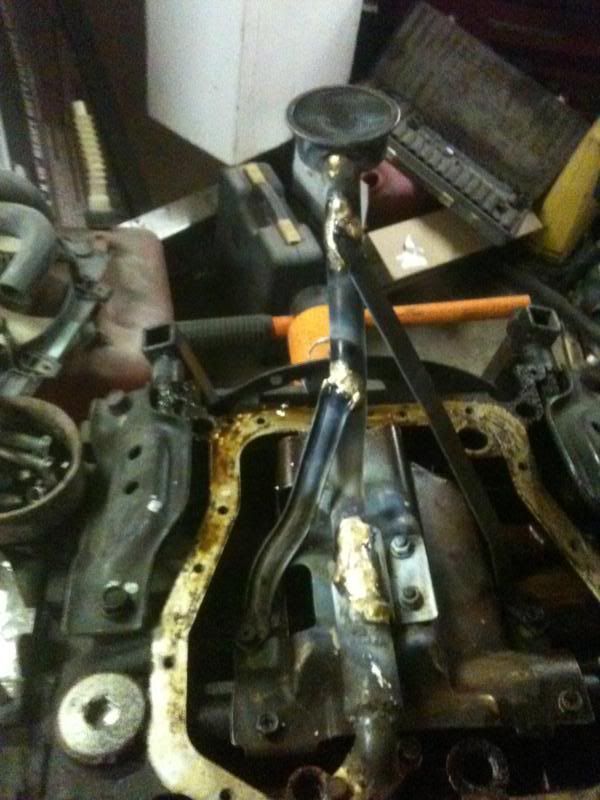 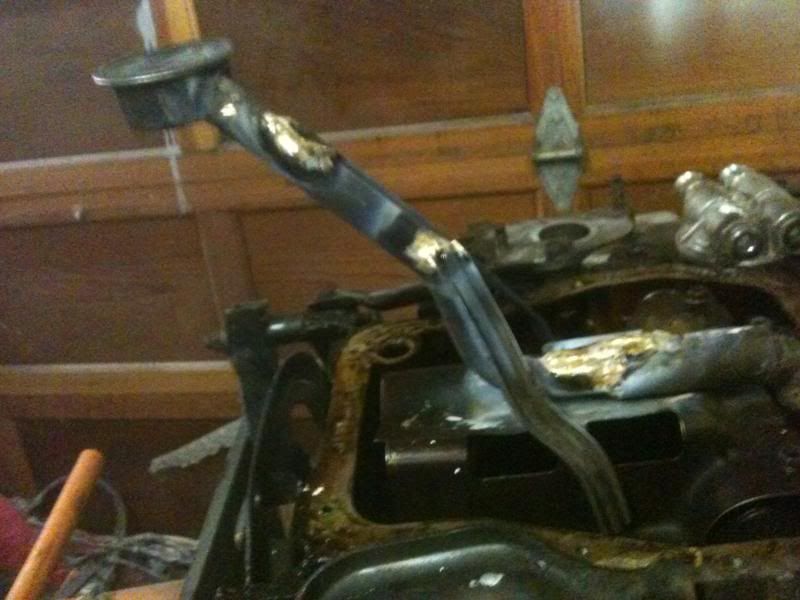 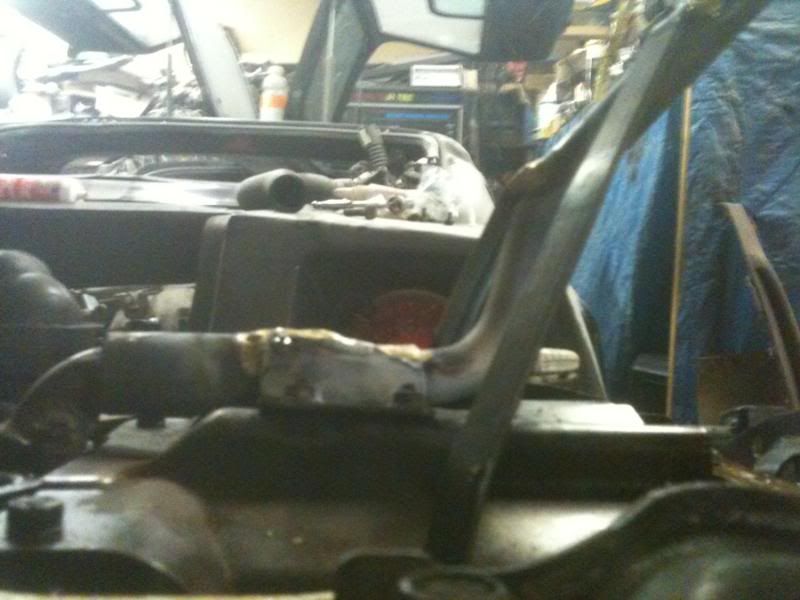 OEM Specified and Approved The Right Stuff was formulated, in partnership with GM, Ford and Chrysler, to meet or exceed very rigorous performance standards for long-term sealability, durability and handling. The result was a material that is so reliable that it is used on their production lines and specified in their service parts programs.  |
|
|
|
Post by Dan MacMillan on Jan 18, 2012 17:48:06 GMT -5
Today was shifter day. View after removing my dragfast shifter 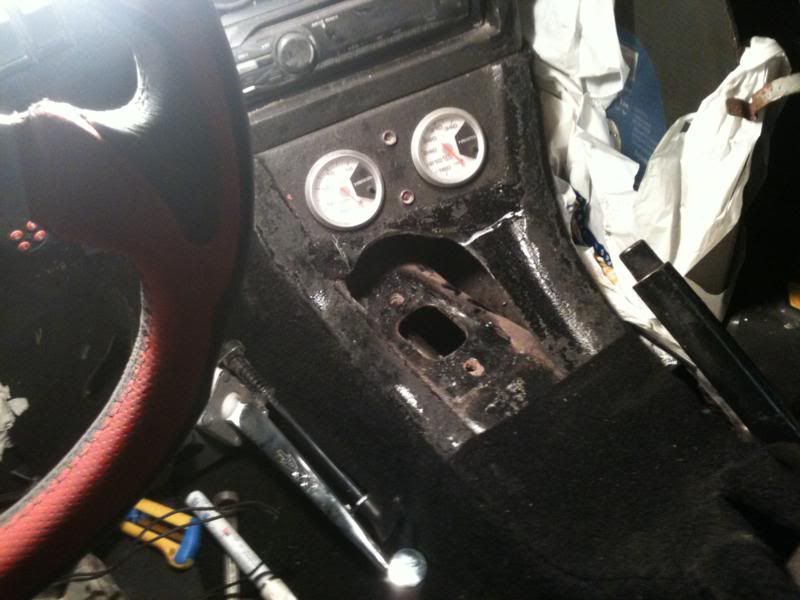 Starting to cut things out. 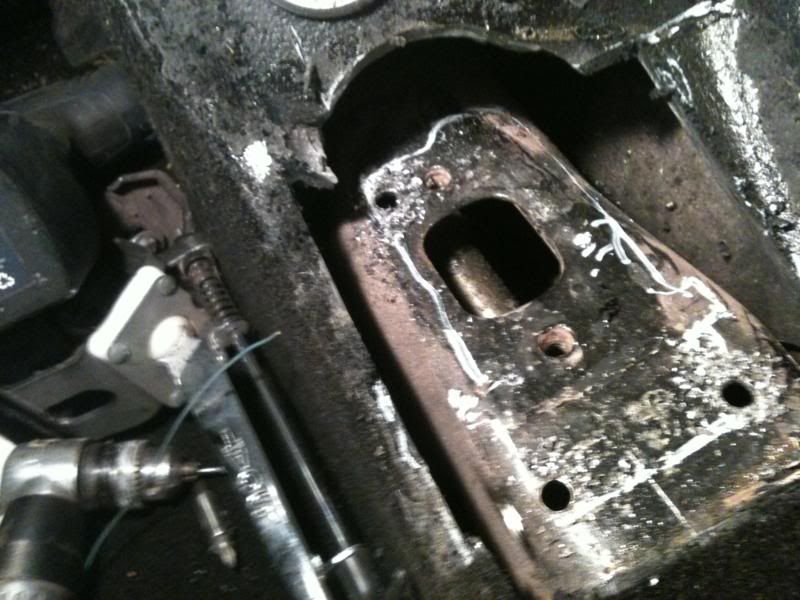 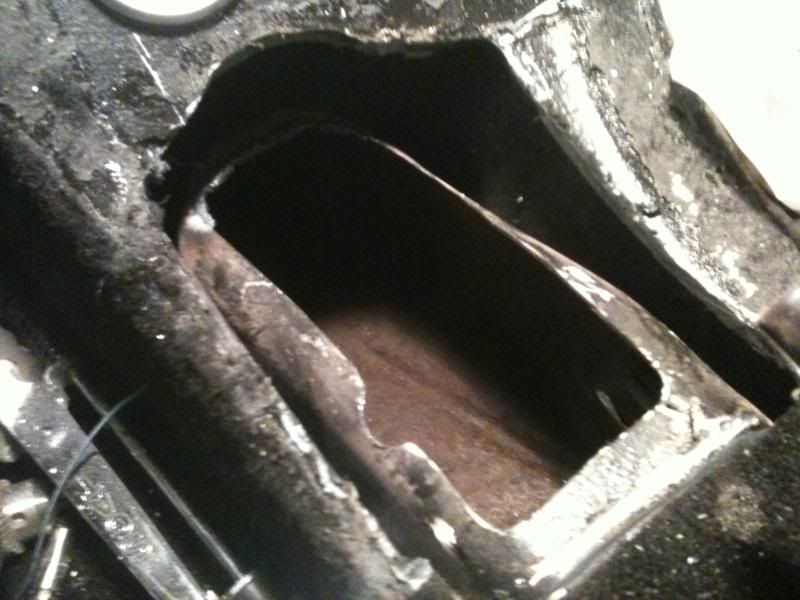 New boxed in section to restore some strength to the tunnel 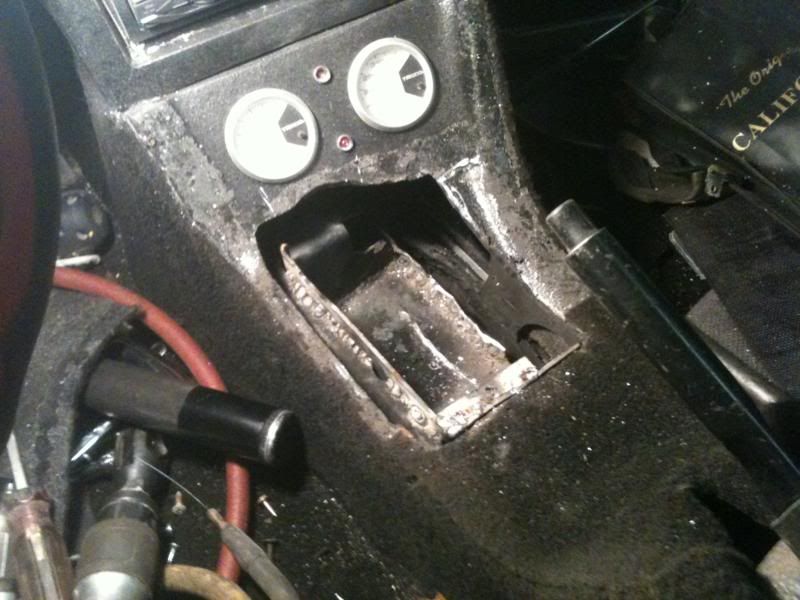 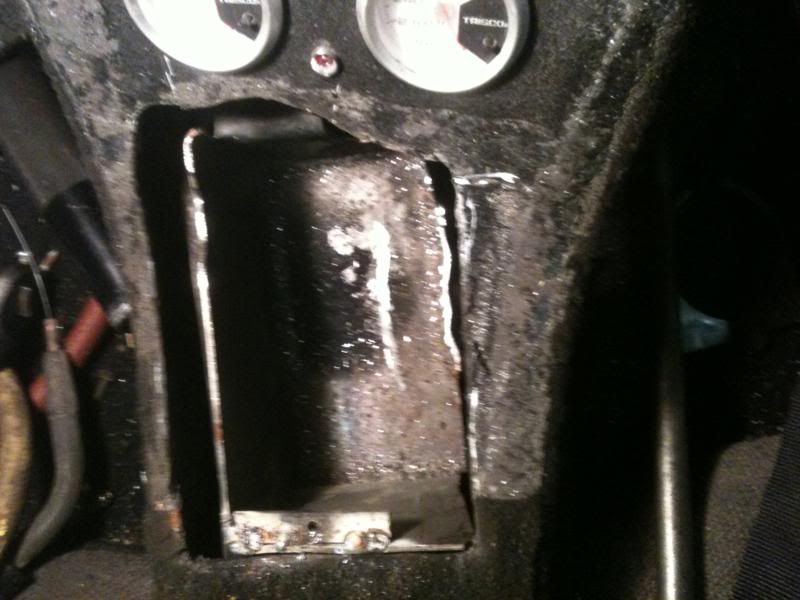 Subaru automatic shifter in place 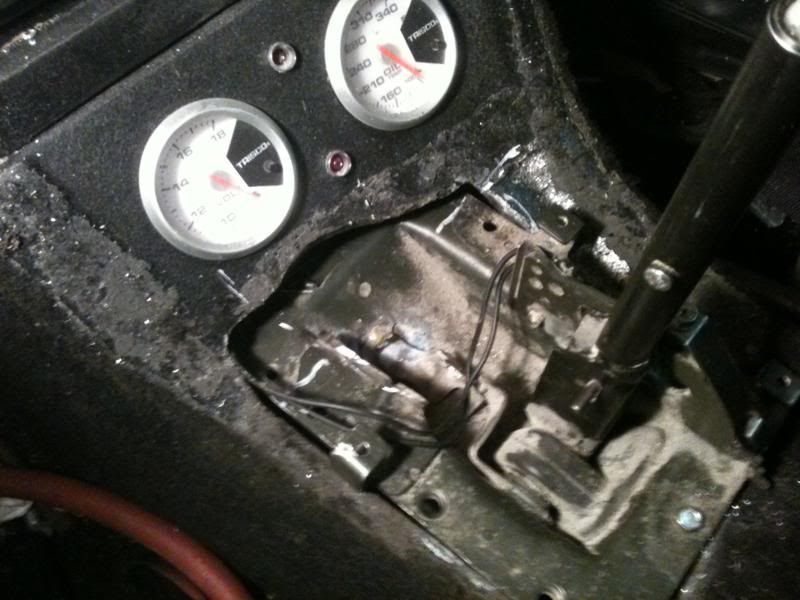 With 1st trim cover and handle. 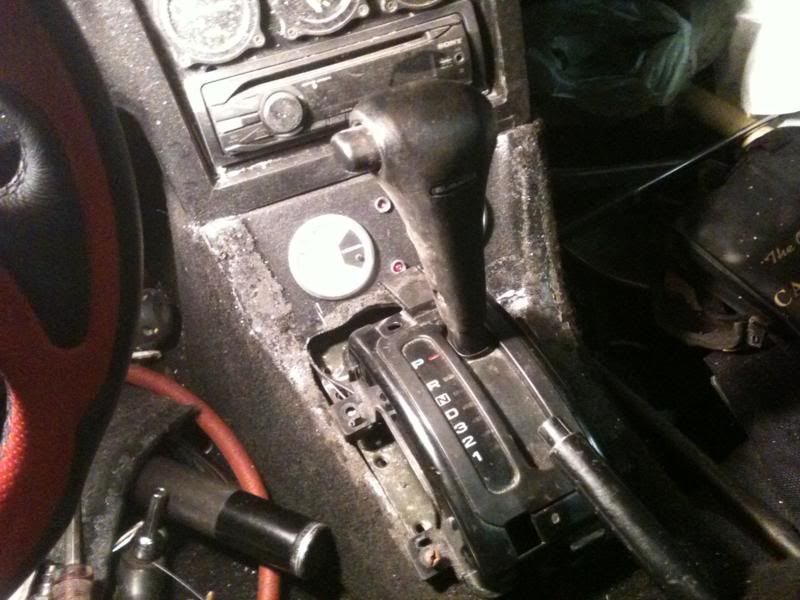 Still some trim to figure out and connect the 13 foot shifter cable. |
|
|
|
Post by skip20 on Jan 18, 2012 18:23:04 GMT -5
That is looking great.  Makes me want to get back to work on mine. To many other project at the moment. Maybe a plastic lid off a container, cut out the hole to fit & paint it. |
|
|
|
Post by mj on Jan 21, 2012 12:43:21 GMT -5
Following your progress. Awesome build.
|
|
|
|
Post by Dan MacMillan on Jan 21, 2012 16:11:02 GMT -5
Thanks for the compliments.
|
|
|
|
Post by Dan MacMillan on Jan 26, 2012 15:02:34 GMT -5
First of all a little heads up on parts. I went to a local flaps to get a thermostat for the Subaru as it is almost impossible to change with the engine installed. The parts guy looked it up in their system by make/year/model/engine size and sold me the last one he had, $20 plus tax. When I got home I went to the manufacturers website and ran the numbers. The numbers were correct for my make/year/size engine, however the package had a part number sticker on it. I peeled back the sticker to reveal a manufacturer printed number [in the same format] on the package. When I ran these numbers Subaru was not an option. Another 1/2 hour drive across the city to the Subaru dealer got me another stat that was looked up by the VIN of my donor car for $28 plus tax. I am glad I looked it up. Even though they both will fit, the Subaru unit is of much better quality and design. 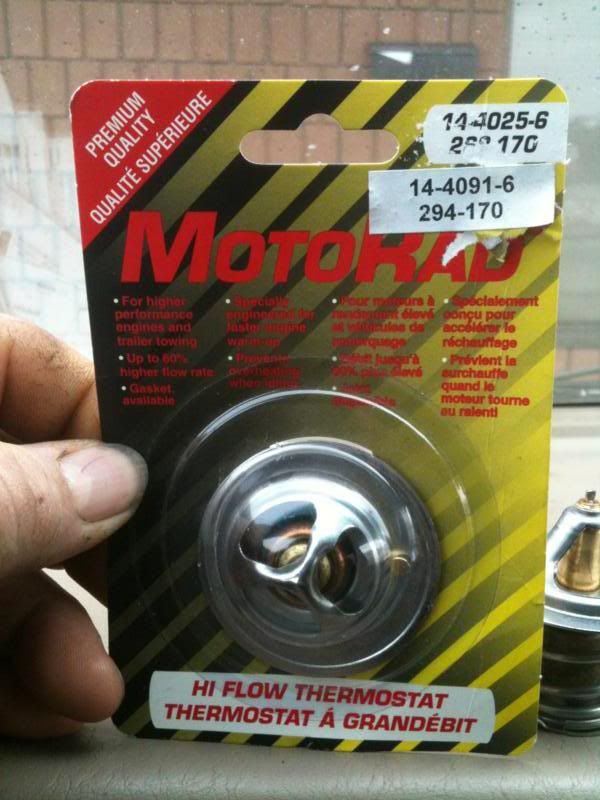 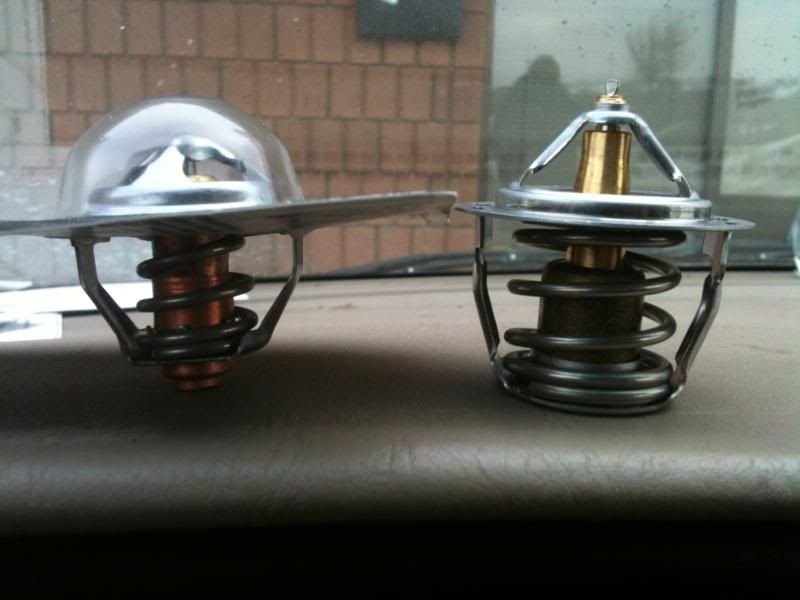 Today's update is short. I cut and welded in the rear tunnel reinforcing plates. 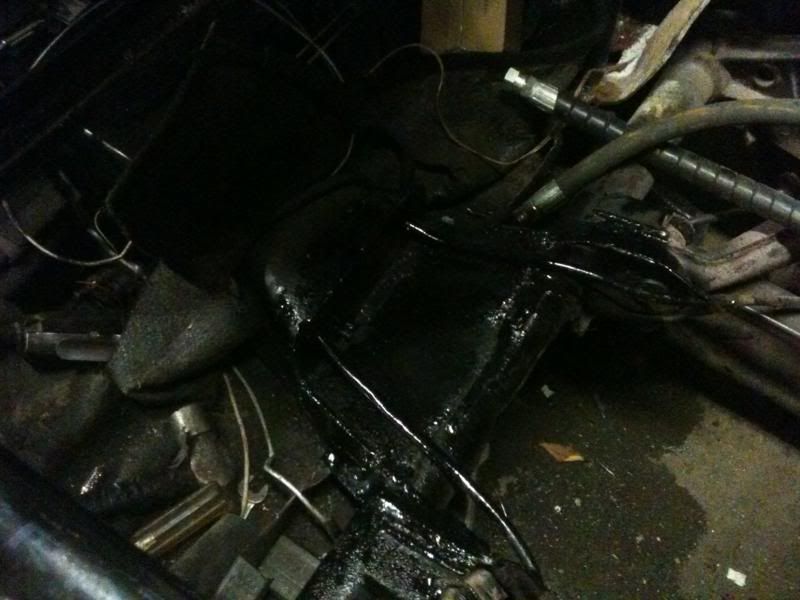 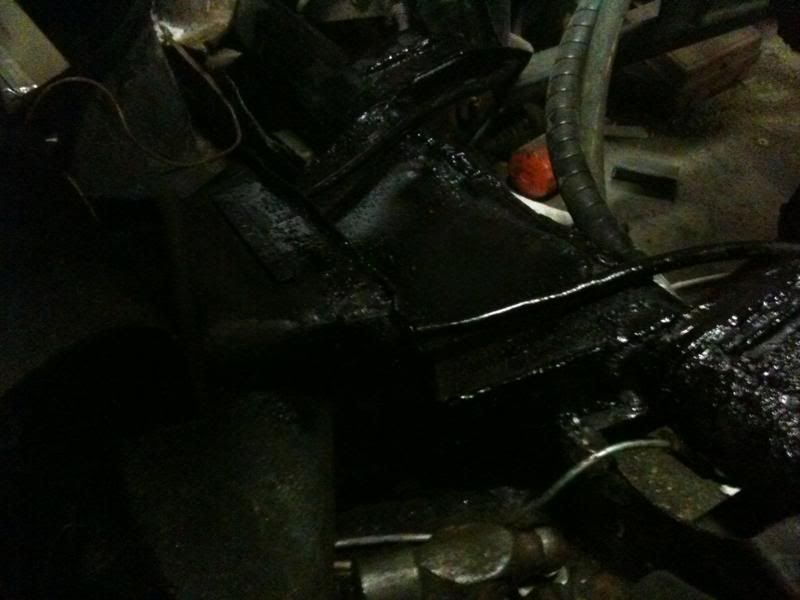 Hopefully by this time tomorrow the engine will be back in. |
|
|
|
Post by Dan MacMillan on Jan 27, 2012 19:18:18 GMT -5
Well the engine is not in. Going in tomorrow. I decided to tie the top of the torsion housing into the floor. I came forward off the torsion housing to a point even with the tunnel notch then down to the floor with a piece of 1 1/4 angle running along the top at the tunnel notch. This is probably overkill but it also serves as a lower mount for the interior firewall. 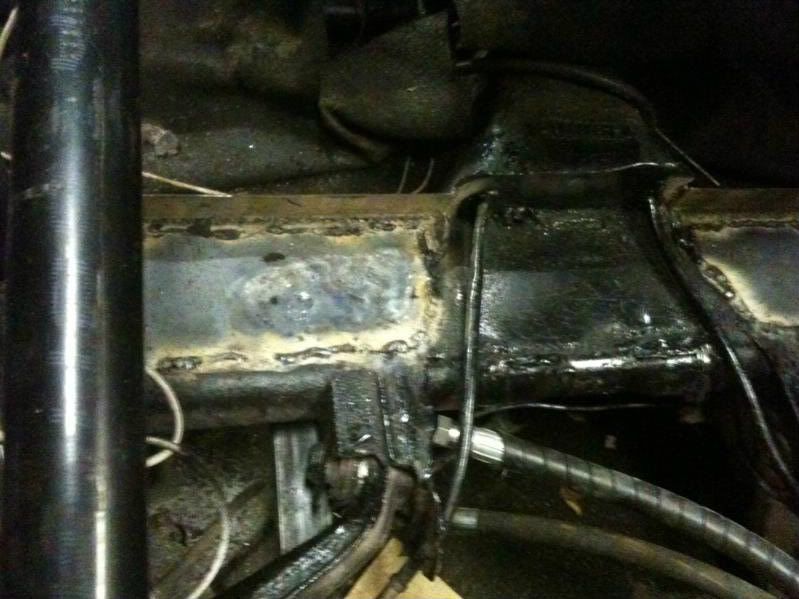 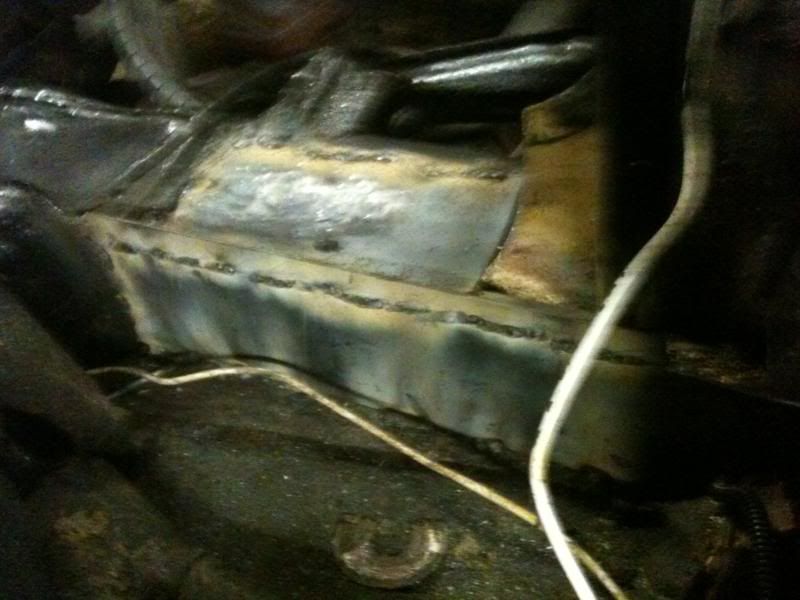 Not sure but I may have screwed up where the lower rad hose goes. Will find out as the engine goes in. |
|
|
|
Post by Dan MacMillan on Jan 28, 2012 17:02:06 GMT -5
Back on schedule. Engine going in. 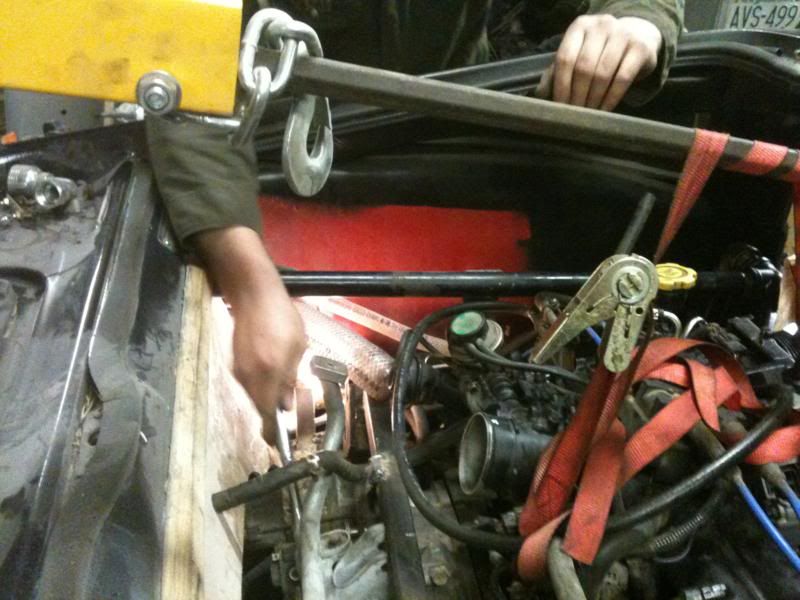 Engine in, secured by trans mount and upper mounts. 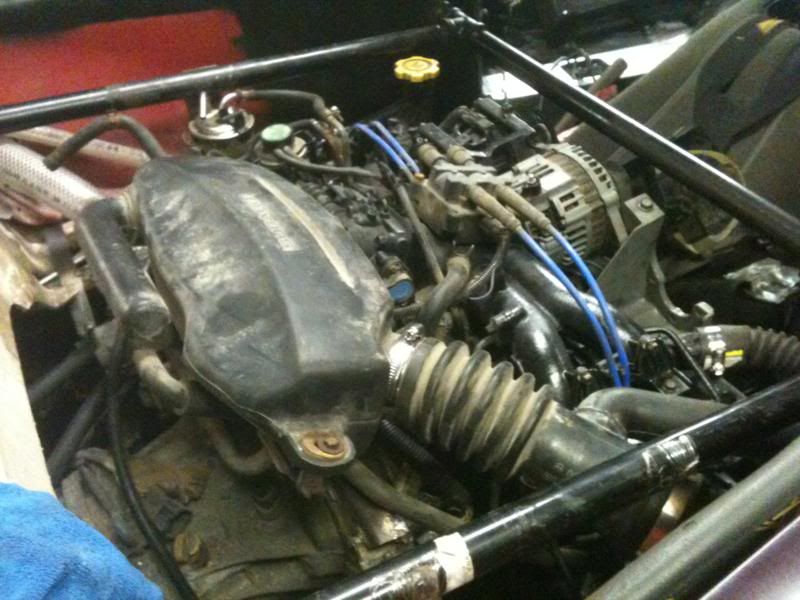 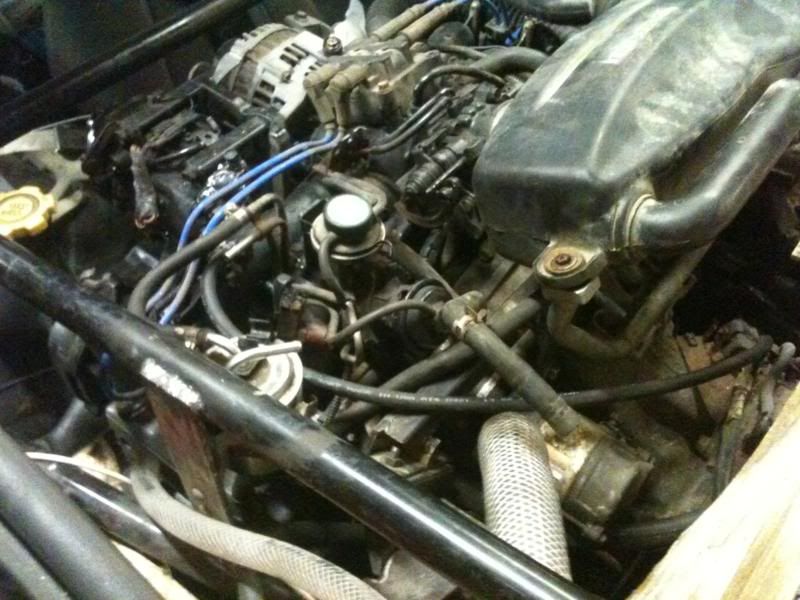 Rear seat view. 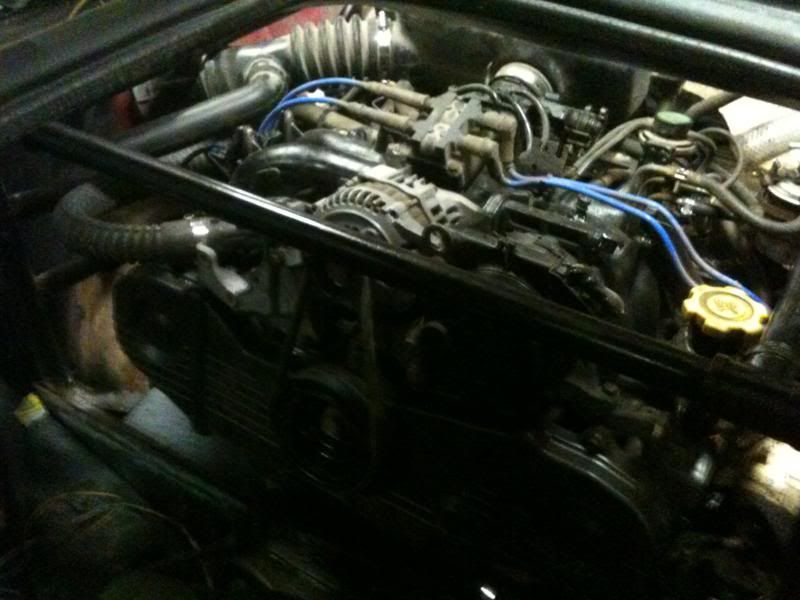 Just enough clearance for the thermostat housing and lower rad hose. Engine torque will lift this side. 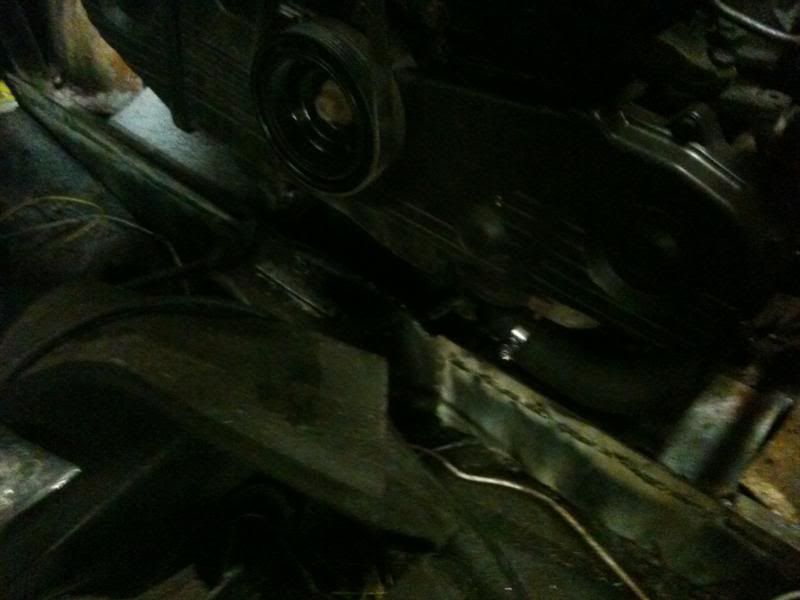 Rad back in. 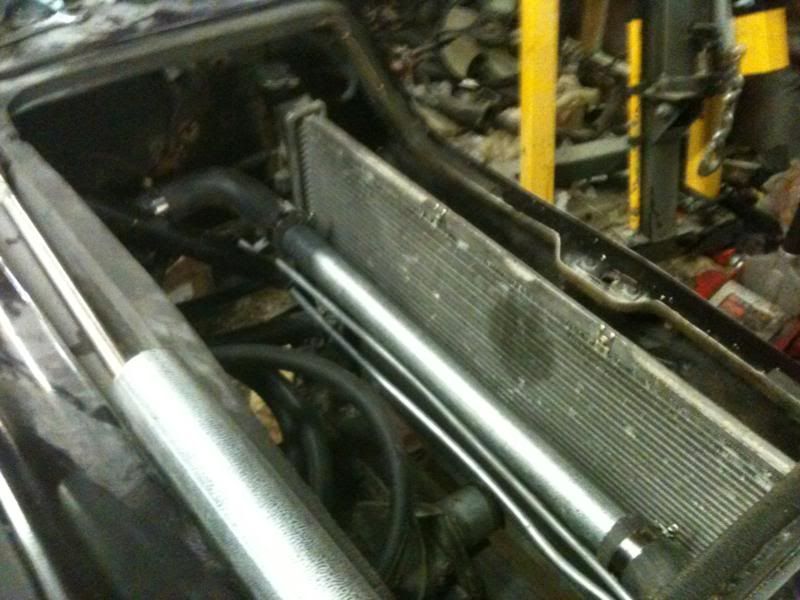 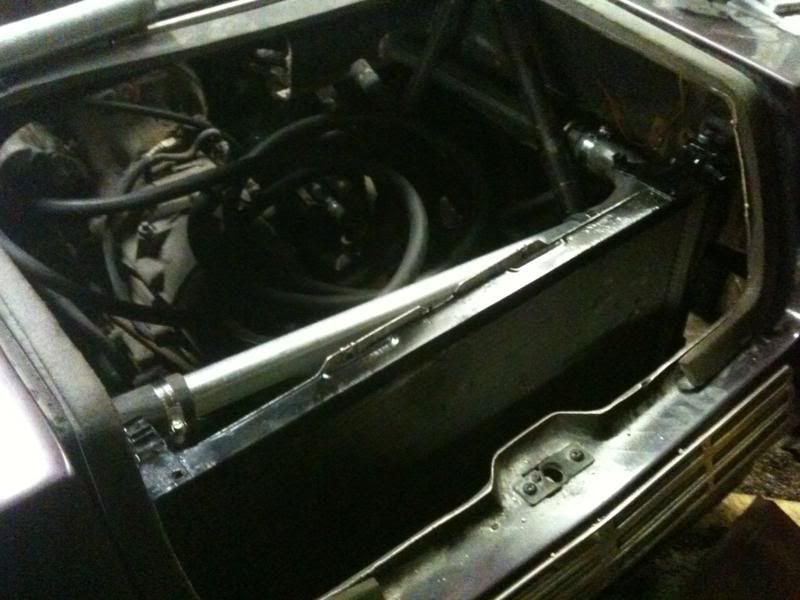 The start of the interior wall. 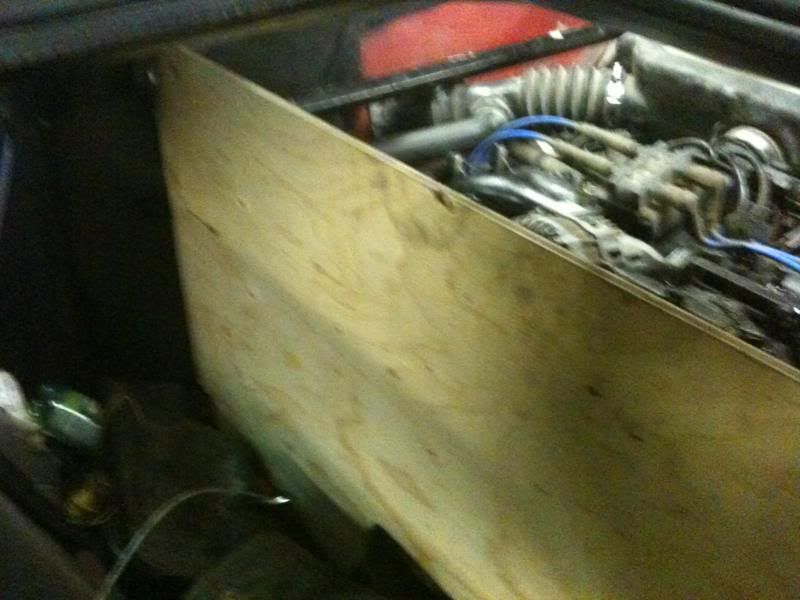 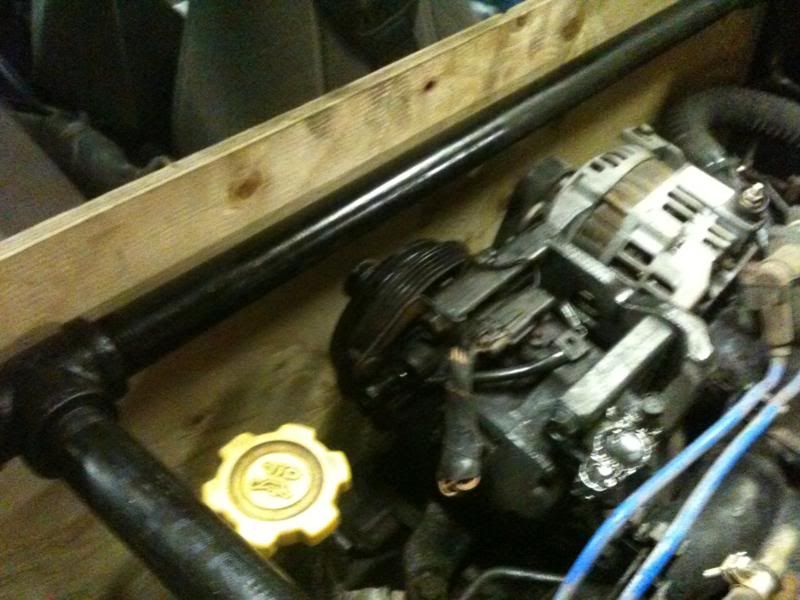 Just enough clearance. 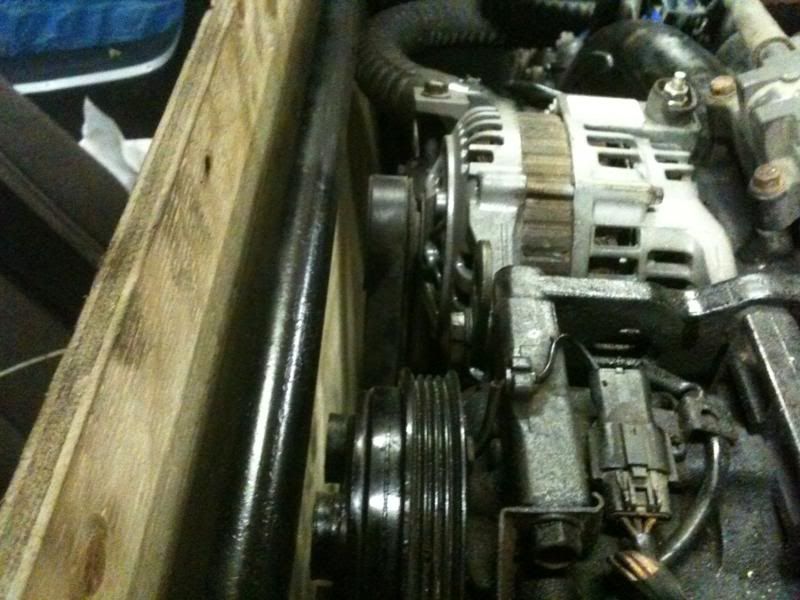 |
|