|
|
Post by Dan MacMillan on Nov 11, 2013 18:05:21 GMT -5
Congrats on a job well done.
|
|
|
|
Post by TexasIceMan on Nov 12, 2013 18:31:59 GMT -5
You should be greatful that you have a grandparent who is willing and able to help you. I see this as a win-win for you; you got the engine running and you got to work with your grandparent.
The next thing that I would consider working on is the brake system. You can always get it going (even if you push it down a hill) but you better make sure that you can get it to stop.
Keep up the progress and send us some more pictures.
|
|
|
|
Post by winger32 on Nov 13, 2013 9:47:00 GMT -5
Ed what's happening with it? and thanks guys for all the help so far!!! its really appretiated
|
|
|
|
Post by Big-birds-ride on Nov 13, 2013 18:14:21 GMT -5
That had to be a real "RUSH" when it started up. Half the fun are the successes as you work your way through it all. Being that it is a "kit car" you can fabricate your way through many items. Have Fun!
|
|
|
|
Post by winger32 on Dec 4, 2013 9:54:53 GMT -5
Update! I haven't got to working on it in awhile (deer season,snow,thanksgiving) but As of yesterday we got her put in the garage so the snow that hasnet been brushed off should melt away and then I can start taking it apart. I just really need to find time to work on it!!!!!
|
|
|
|
Post by TexasIceMan on Dec 4, 2013 19:25:11 GMT -5
It is all a matter of setting your priorities. We have so many electronic "toys" to play with, we lose a lot of time dealing with them, including the old television. Getting it out of the winter weather is a good start. Did you complile a list of things that you would like to work on? If so, you might share it with this group and I am confident that they will help you with your priority items, the sequence and all the "how to" advise that you will need.
Now that you managed to start the engine, you need to periodically start it up and let it run for a while.
Keep us posted
|
|
|
|
Post by winger32 on Dec 5, 2013 10:28:16 GMT -5
the first thing on my list is to take the body off and fix the floor pans, then I wanna work on getting it to move(drive)
|
|
|
|
Post by TexasIceMan on Dec 5, 2013 18:42:52 GMT -5
When you take the body off the frame you might want to take the gas tank out and clean it real good. I would also rework the brake system.
|
|
|
|
Post by winger32 on Dec 5, 2013 23:25:00 GMT -5
Yea pans throttle break lines basically all the frame stuff and then set the body back down.
and does anybody have an idea about to do a body lift instead Of a pan drop or wich ones easyer?
|
|
|
|
Post by TexasIceMan on Dec 6, 2013 8:46:08 GMT -5
Bob Thagard did a 1 inch body lift on his Bradley. He included pictures of what he did. mysite.verizon.net/bobthagard1/car/lift.htmlThere are numerous others who have done somethin similar. I seem to recall that Skip did one as well, but I haven't found his pictures yet. |
|
|
|
Post by winger32 on Dec 6, 2013 9:16:44 GMT -5
Yea ive seen a couple with the body lifted using the decking matierials but could I use something else I mean it just doesn't seem practical?
|
|
|
|
Post by jspbtown on Dec 6, 2013 11:39:04 GMT -5
I used composite decking material for a 3" body lift. It is very easy to work with, very stable, plenty strong and very affordable.
|
|
|
|
Post by winger32 on Dec 6, 2013 14:10:40 GMT -5
ok but how dose a guy attatch it?
|
|
|
|
Post by TexasIceMan on Dec 6, 2013 17:22:00 GMT -5
jspbtown, can you share with us a few pictures of what it looks like and how it is to be installed? Is that like roofing material that comes in sheets? How pliable is it?
I am thinking about lifting my body, too. I am 6'-2" tall and need a little more head room.
Thanks.
|
|
|
|
Post by jspbtown on Dec 6, 2013 22:48:24 GMT -5
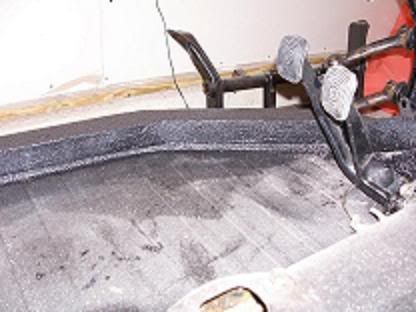
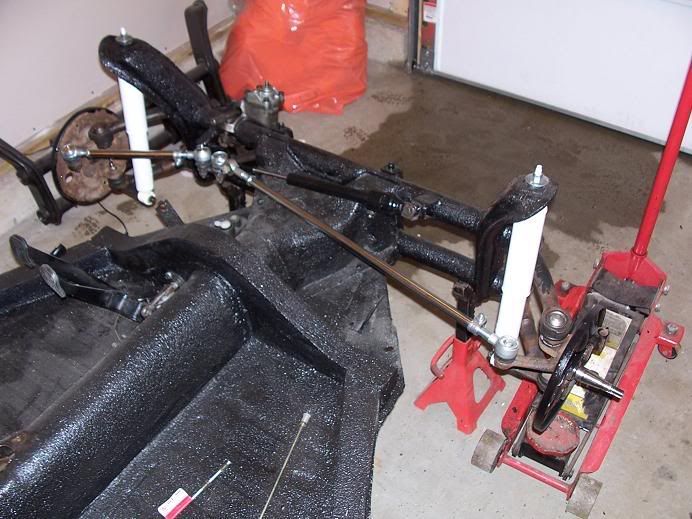
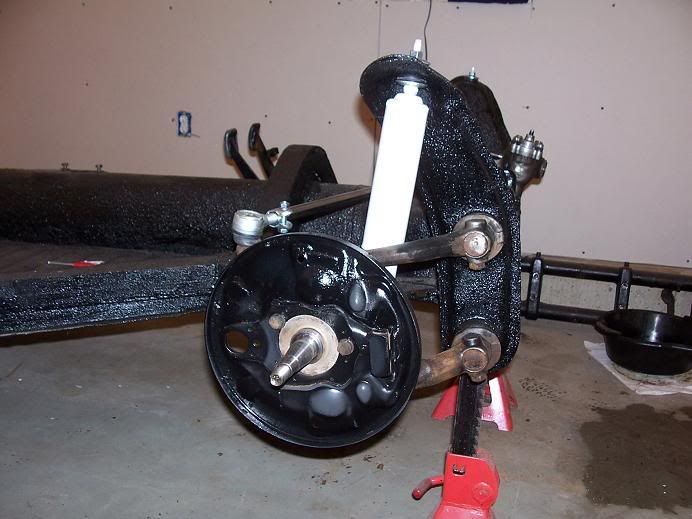
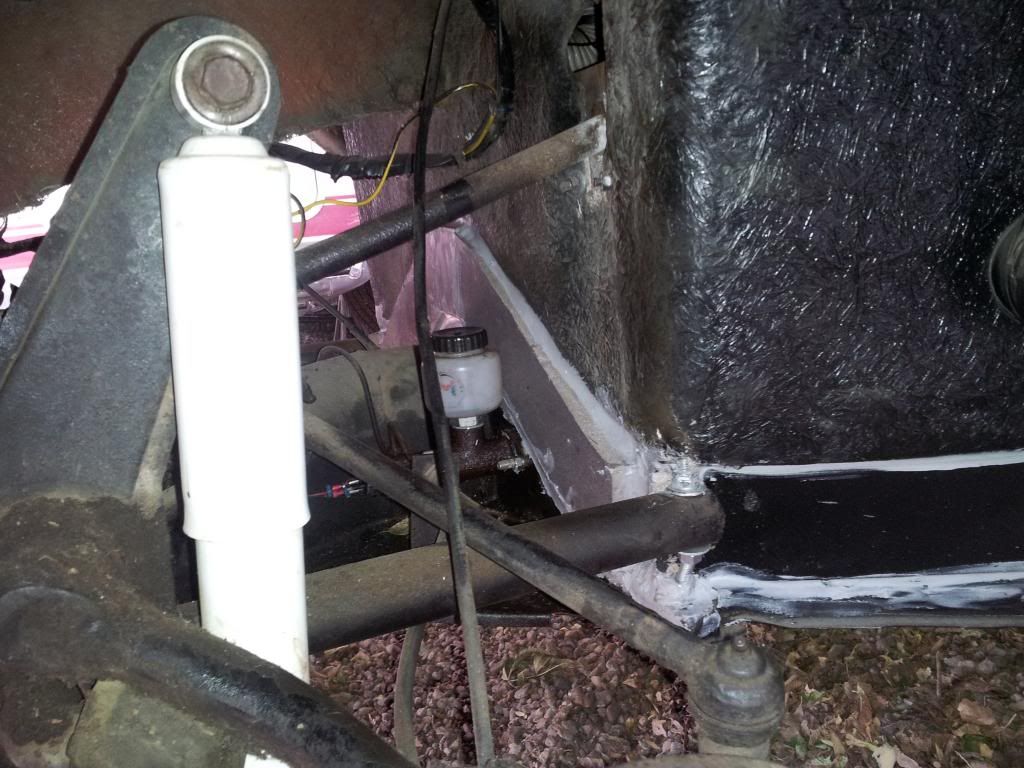
No, its not roofing material its composite decking...think Trex. In comes in 5/4 (1") thick and 6" wide and in almost any length. You laminate 3 pieces together to form the general shape of the outer floor pan rails. I used waterproof adhesive (found in home improvement stores like liquid nails) an a few screws to hold it together. You get the general shape then use a jig saw to make two frame rails. For the front section you can do it several ways. I laminated several pieces together then made a cardboard template (take cardboard and trace the curve of the front bulkhead onto the cardboard, then use a compass to make another line exactly 3" away from the first line) and traced the outline out onto the decking material and cut it out. Do a similar procedure for the 3 pieces in the back. Here are some pics of it attached and coated with Herculiner. When you attach your body you just drill through it and sandwich it between the body and the frame rails.    |
|
|
|
Post by winger32 on Dec 7, 2013 9:58:23 GMT -5
Thanks I'll keep in mind when I do it it seems way easyer than a pan drop
|
|
|
|
Post by Roodog on Dec 8, 2013 19:49:06 GMT -5
www.chadsbradley.co.nrYou may still have to do a pan drop.. Just depends on the seats that you are wanting to put in. I had to do both to fit the seats that I have in there. Just don't do to much of a body lift on it. It will bind up your steering column where it hooks up to the steering gear box. I had to cut the fire wall down almost two inches so the shaft would line up with the gear box. 
|
|
|
|
Post by winger32 on Dec 9, 2013 9:46:48 GMT -5
im still kinda racking my brain about the part that goes "over the hump"
|
|
|
|
Post by jspbtown on Dec 9, 2013 11:37:14 GMT -5
Take a piece of cardboard the entire width of the pan in the front. In the center of the cardboard cut an arch that is the approximate size of the center tunnel. Now slide the cardboard over the tunnel (on the inside side of the pan) and take a marker and mark the back side of the cardboard along the arch of the Napolean hat (The term used for the "hump").
Now take a compass (not the kind that tells direction but the kind that has a point on one arm and a pencil on the other arm) and set the distance between the point of the pencil and the point of the metal pointer to whatever thickness you want your lift. Then take the metal pointer and follow the line you marked on the cardboard. Cut this section out. You now have a template that is exactly what you need.
Glue up some composite material so the template will fit on it. The thickness of your material should be the thickness (not the height) that you want your spacer to be(around 2").
Cut it out on a bandsaw or with a jig saw.
|
|
|
|
Post by winger32 on Dec 9, 2013 11:41:58 GMT -5
ok thank you that helped a lot  smiley! and just do the same for the back? im assuming |
|
|
|
Post by Big-birds-ride on Dec 9, 2013 12:40:34 GMT -5
These guys are the high tech type who have all the room and the tools to do whatever that they can dream up, I am so jealous! My situation is much different in that I don't have alot of space to work on toys, take bodies off frames, that kind of fun stuff. I am 6' 1" and have a pair of the original fiberglass Bradley seats. Rather than dropping pans or raising the body, both of which I don't have the garage space to perform, I had to use other ingenuity to get my head under the roofline.
My seats are mounted as follows: Original VW sliding seat tracks mounted to the pan. Bolted onto the seat tracks is a metal frame, wedge shaped, that runs the length of the seat track mount. It is 3 & 1/2" high in the front and less than 1/2" high in the rear. The seat is bolted to the topside of this wedge and it effectively rotates the headrest downward and the seat bottom upward so that the driver and passenger seats are sitting/laying at an angle where the headrest allows for several inched of headroom when I am in the drivers seat. The sliders still operate so that ones feet can easily reach the pedals; and the view both out the windshield, side doors and rear view mirror are unimpaired.
It took much less work to make and install.
|
|
|
|
Post by winger32 on Dec 9, 2013 13:36:04 GMT -5
rick that seems a lot easyer than a pan drop or a body lift I will deffinetly have to try this the only problem I have is that I don't have any pans  du2 rust |
|
|
|
Post by winger32 on Dec 9, 2013 14:21:05 GMT -5
do you think you could upload a pic or two? I think that wuld work pretty good considering that im not exactly 6'4" and bullet proof lol! (im 5'11") anyways I might need to copy your idea.
|
|
|
|
Post by jspbtown on Dec 9, 2013 20:29:18 GMT -5
The only down side to reclining the seats is you greatly extend the arm reach to the steering wheel.
If you have to take the body off to replace the pans then a body lift is not that hard to do.
|
|
|
|
Post by winger32 on Dec 9, 2013 21:49:50 GMT -5
True jspbtown. Arm length isn't a problem lol but I get what your saying and you do make a good point about the body lift
|
|
|
|
Post by winger32 on Dec 10, 2013 11:54:49 GMT -5
got to work on it a little last night! got most of the snow off of it, theres some ice still but my scrapper broke:/ lol anyways im gonna work on it again tonight maybe start it up?  but at least im inching forward (more like centimetering) |
|
|
|
Post by Big-birds-ride on Dec 10, 2013 13:20:06 GMT -5
do you think you could upload a pic or two? I think that wuld work pretty good considering that im not exactly 6'4" and bullet proof lol! (im 5'11") anyways I might need to copy your idea. I will take some photos this week of the brackets that I made and post them here. I don't have any problem with reaching the steering wheel with my setup. Nor is there a problem shifting or reaching the pedals. However, if you already are going to lift the body off to replace rusted out floor pans, it is not much more work to simply drop the pans a few inches and put in what ever seats you want to use. Dropping the floor pans also adds a little bit more of a chance of bottoming out directly under where you are sitting. If your careful in driving over bumps you can avoid any issues in that regard. |
|
|
|
Post by winger32 on Dec 10, 2013 13:22:11 GMT -5
ok thanks  |
|
|
|
Post by winger32 on Dec 10, 2013 22:20:53 GMT -5
Well me and my Grampa got her started again tonight! Probably for awhile . Now I'm gonna be taking the body off and start the pan work so wish my luck lots of pics to come
|
|
|
|
Post by Big-birds-ride on Dec 11, 2013 20:04:03 GMT -5
Here are some photos of my seat brackets and one of the seat position and extra headroom |
|