|
|
Post by whcgt on May 3, 2017 14:43:59 GMT -5
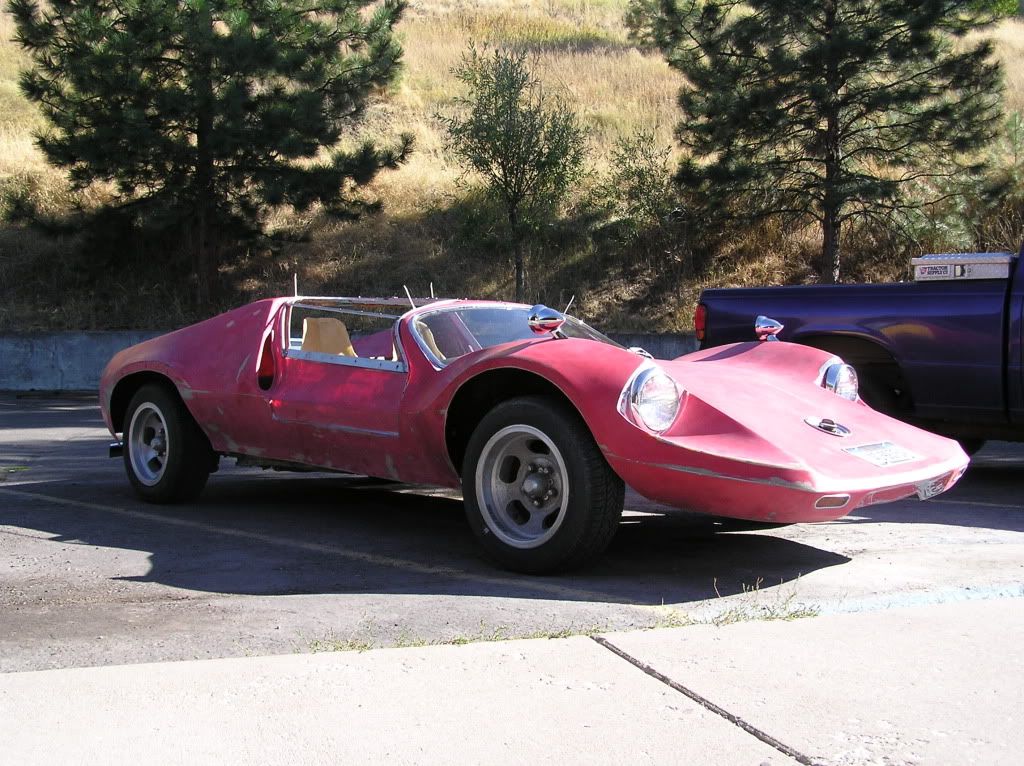
Astra GT going into storage for awhile....moving to downtown & there is no parking place for the car.
|
|
|
|
Post by whcgt on May 3, 2017 14:42:01 GMT -5
What happened to the fourth wheel Just removed at that time temporarily....installed new clutch cable...hehe. |
|
|
|
Post by whcgt on Apr 14, 2015 23:42:18 GMT -5
I still own the Astra GT, I still work on it.
|
|
|
|
Post by whcgt on Sept 27, 2013 7:42:30 GMT -5
Yes, it is indeed on your website priceofhistoys, it was also on facebook. Now, as you know, I am working on this tired, weathered, & damaged, former show car.
|
|
|
|
Post by whcgt on Sept 26, 2013 13:00:12 GMT -5
Yes well, It is just that 3 of the other tires are in great shape. Plus, when I do replace the tires, I have to go with BF Goodrich T/A tires. I have 14" wheels that are pretty wide in the rear. So, it will be costly.
|
|
|
|
Post by whcgt on Sept 25, 2013 20:16:36 GMT -5
I still work on it. Will be getting a replacement headlight switch next month. I have put my car cover on the car, with the weather raining for 3 days in a row. Dont worry, the Astra GT recieves attention & work all the time. You know what really sucks? I have 1 left rear tire, that has been flatspoted really bad. All the other tires are in pretty good shape. They dont even make this tire anymore. So, maybe next spring I'll get some new tires for it.
|
|
|
|
Post by whcgt on Jun 19, 2013 2:25:57 GMT -5
Only description is awesome.  |
|
|
|
Post by whcgt on May 17, 2013 16:19:08 GMT -5
Those Deserter GT buggies, are much sought after. With the work you are doing with yours, you will get good value for it. After you have fun driving & showing it. Good work & those colors are great. Not many peeps using metallic paints these days, nice to see. |
|
|
|
Post by whcgt on May 12, 2013 1:25:47 GMT -5
Rare Scorpion GT on thesamba, bargain priced. |
|
|
|
Post by whcgt on May 11, 2013 18:26:54 GMT -5
There is a metallic Gold colored Bradley GTII, with 17" wheels. Just google(images) Bradley GTII. CB Performance, can make disc brakes in any bolt pattern you want.
|
|
|
|
Post by whcgt on Apr 28, 2013 16:28:19 GMT -5
Missoula, Montana. Busy, pulling every piece & part off my Porsche 914(she is stucturally gone)...as well as working on my Astra GT.
|
|
|
|
Post by whcgt on Apr 25, 2013 18:12:35 GMT -5
You can do a whole lot wrong. Better use a Chilton book & torque those heads back on...in the correct sequence & torque specs. You do it wrong & you can warp the magnesium heads & then you got problems.
|
|
|
|
Post by whcgt on Apr 25, 2013 18:03:54 GMT -5
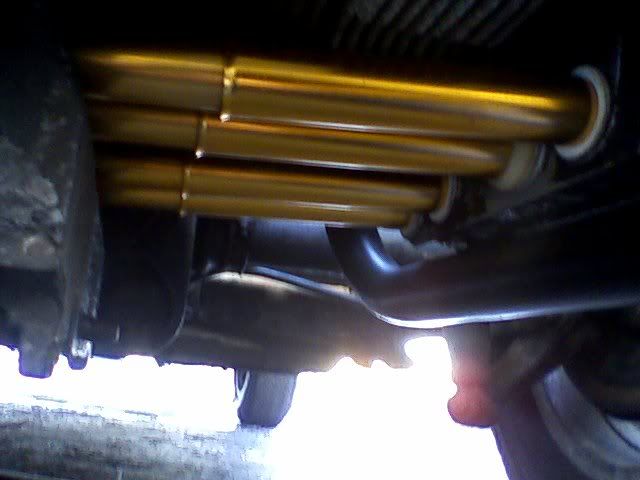
Yeah,I think, If I remember correctly. Those old original aluminum tubes are pretty fragile & are easily damaged. So, yeah, go ahead & remove the heads then. I think those old accordian tubes, are best served in your aluminum can collection for recycling.
|
|
|
|
Post by whcgt on Apr 25, 2013 17:52:44 GMT -5
|
|
|
|
Post by whcgt on Apr 25, 2013 17:45:27 GMT -5
Heck no..you dont want those accordian original pushrod tubes. Just use the S.C.A.T. tubes & rods. I had zero problems with them on my 1500cc engine, that I had in my old Invader GT. Also, you better not use synthetic oil in your engine. You better use GTX & turn the engine over by hand a few times before trying to start it.
|
|
|
|
Post by whcgt on Apr 25, 2013 17:34:40 GMT -5
You dont have to pull the heads off...to replace pushrod tubes. Simply get the S.C.A.T. spring loaded pushrod tubes, also get the pushrods from S.C.A.T.
|
|
|
|
Post by whcgt on Apr 15, 2013 17:45:50 GMT -5
That is going to look spectacular. |
|
|
|
Post by whcgt on Apr 11, 2013 22:38:43 GMT -5
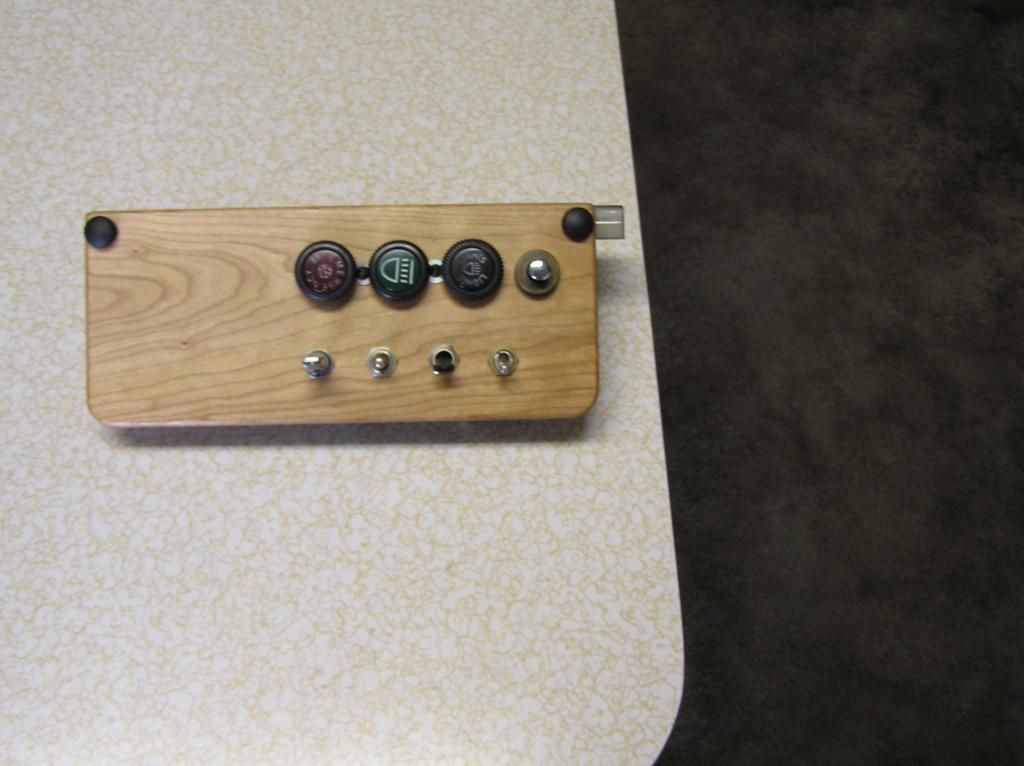
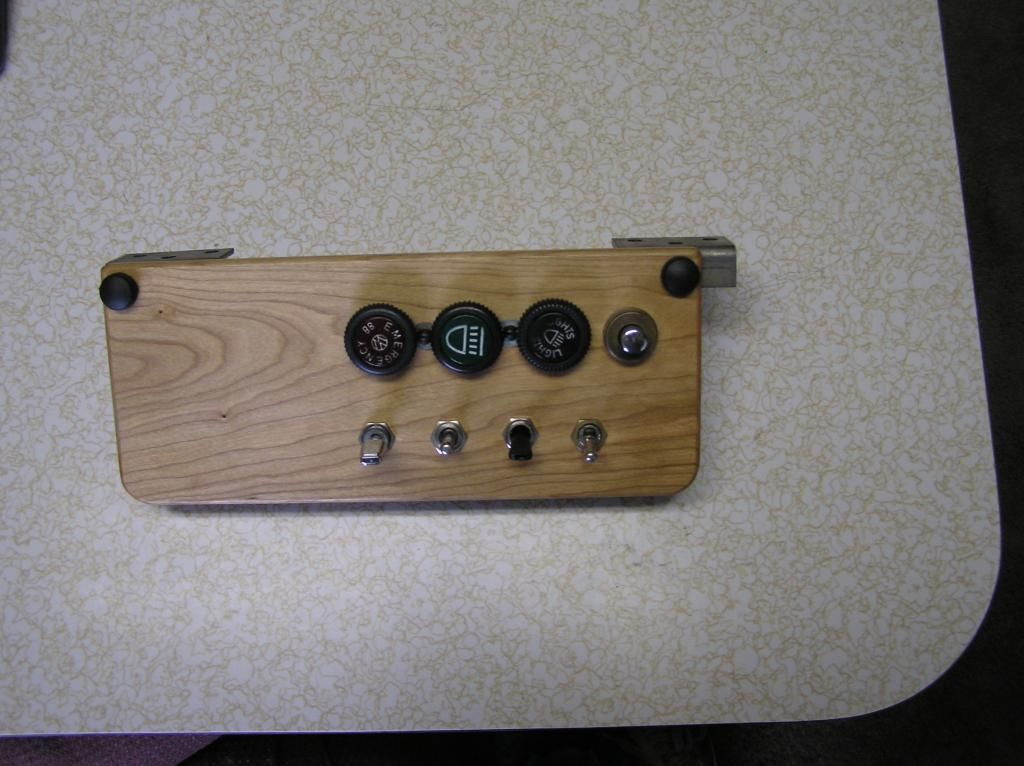
Yeah, maybe so. Anyhow, the round push button switch is for the engine cover release. Then I got an interior light switch, engine electrical fan switch, interior cooling fan,antenna, the 3 big round switches, are headlights,emergency lights. 1 of the 3 round switches..needs replaced with a windshield wiper switch.
|
|
|
|
Post by whcgt on Apr 11, 2013 20:33:38 GMT -5
Oh, just picked the best of what I had..between my Porsche 914 & my Astra GT. Didn't want to use any of the plastic switches.
|
|
|
|
Post by whcgt on Apr 11, 2013 15:43:30 GMT -5
Clean that thing & inventory what you have, before any re-assembly of components. Also, the round holes in your dash pad, are for VW Bus circle vents.
|
|
|
|
Post by whcgt on Apr 11, 2013 15:35:13 GMT -5
|
|
|
|
Post by whcgt on Apr 11, 2013 15:30:05 GMT -5
|
|
|
|
Post by whcgt on Apr 11, 2013 15:28:36 GMT -5
|
|
|
|
Post by whcgt on Apr 11, 2013 15:26:56 GMT -5
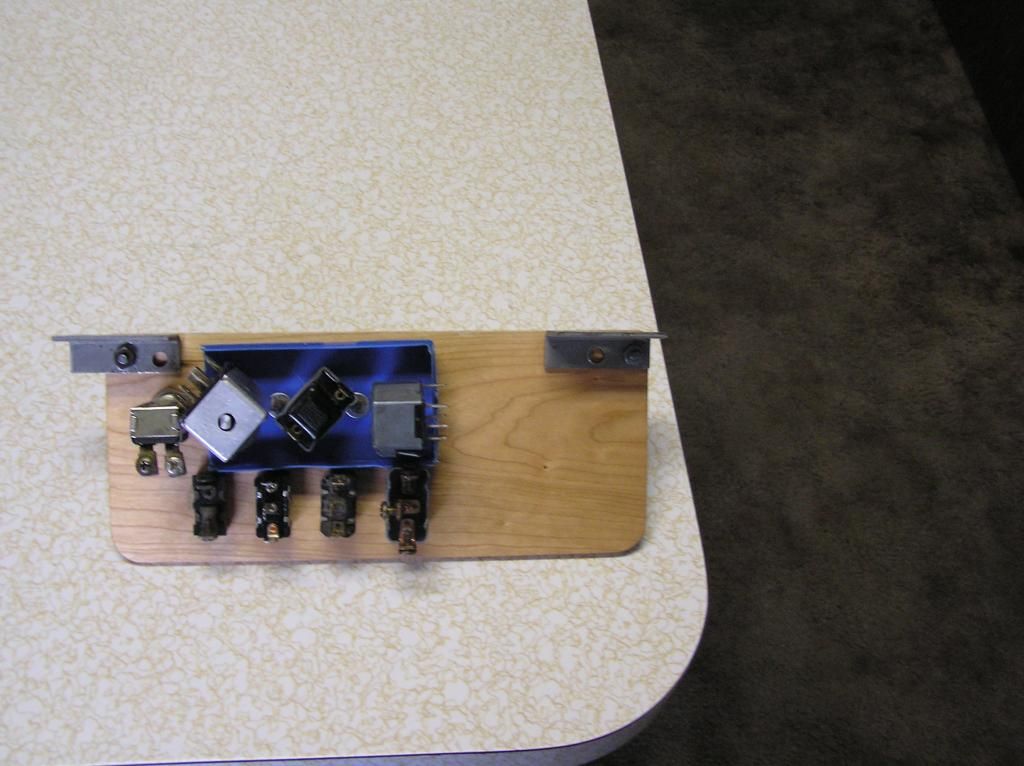
Switch dash, ready to install. I need a 3" VDO clock, to add to the switch dash.
|
|
|
|
Post by whcgt on Apr 11, 2013 4:48:40 GMT -5
You got a VDO clock for sale, that is working?
|
|
|
|
Post by whcgt on Apr 7, 2013 17:40:52 GMT -5
When the time comes, indeed I will have diagrams of the wiring system for a new owner. Including the additional circuits as well as groundwires. It will be awhile before I were to sell it. I would like to build it & enjoy it for awhile.
|
|
|
|
Post by whcgt on Apr 7, 2013 7:11:56 GMT -5
Just a couple of tips. On the fuse panel where you have the red jumpers going down the one side I would lose the jumpers and spread the terminals so they touch each other then solder them toether. Also if using crimp on terminals spend a few extra dollars and et the heat shrink terminals, or strip the plasic off the plain ones-crimp-solder and heat shrink. You know Dan, after I have finished wiring the car. I just might take your advice & take each wire & solder the copper strands within each terminal. If it is not considered over the top & unnecessary. But for now, I am just taking each task as it comes. I'll have the Astra GT up & going pretty soon. |
|
|
|
Post by whcgt on Apr 7, 2013 6:53:33 GMT -5
Those are pretty good tips regarding the terminals. What I do is surgical..regarding even the cheap terminals. 1st I remove the plastic sheath from the terminal & slide it free down the wire(painfull on the fingers,many of those plastic sheaths are on there tight). 2nd I then take my needle nose plyers & take half of the terminal, where it is spilt & crush the wire in the opening.3rd I turn the terminal 90 degrees & then crush the rest of the terminal over the wire. I sort of roll the terminal metal around the copper wire, entrapping the copper strands. I then pre crush the plastic sheath & slide it over the wire & terminal area. I do solder the big gauge wires to secure them tight. I dont have any loose wires within my terminal connections. Any open circuits, of my wiring, will be do to broken copper strands , not any loose terminal to wire connections. Those jumpers wires are exactly as the 1972 VW schematic has them. I am wiring the car exactly like the 1972 VW wiring diagram schematic. I am incooperating some other circuits into it as needed. I would like any future owner to simply be able to pull up the 1972 wiring schematic & be able to solve any electrical issues with the car.
|
|
|
|
Post by whcgt on Apr 6, 2013 18:51:09 GMT -5
Thank you, I keep at it...litttle by little.
|
|
|
|
Post by whcgt on Apr 5, 2013 20:49:18 GMT -5
My new dash & switch dash. 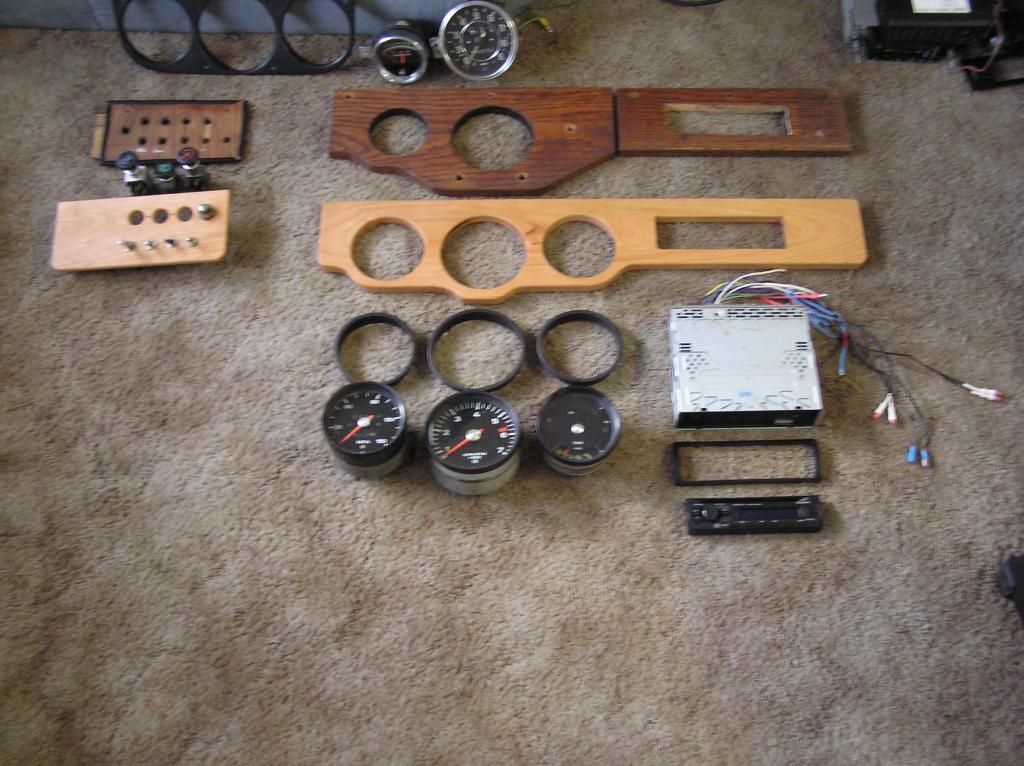 |
|